Good food, drinks, friends and ukulele!!!

Category: Tip of the Week (Page 3 of 8)

Pesto, Pesto, Pesto!

Arugula pesto


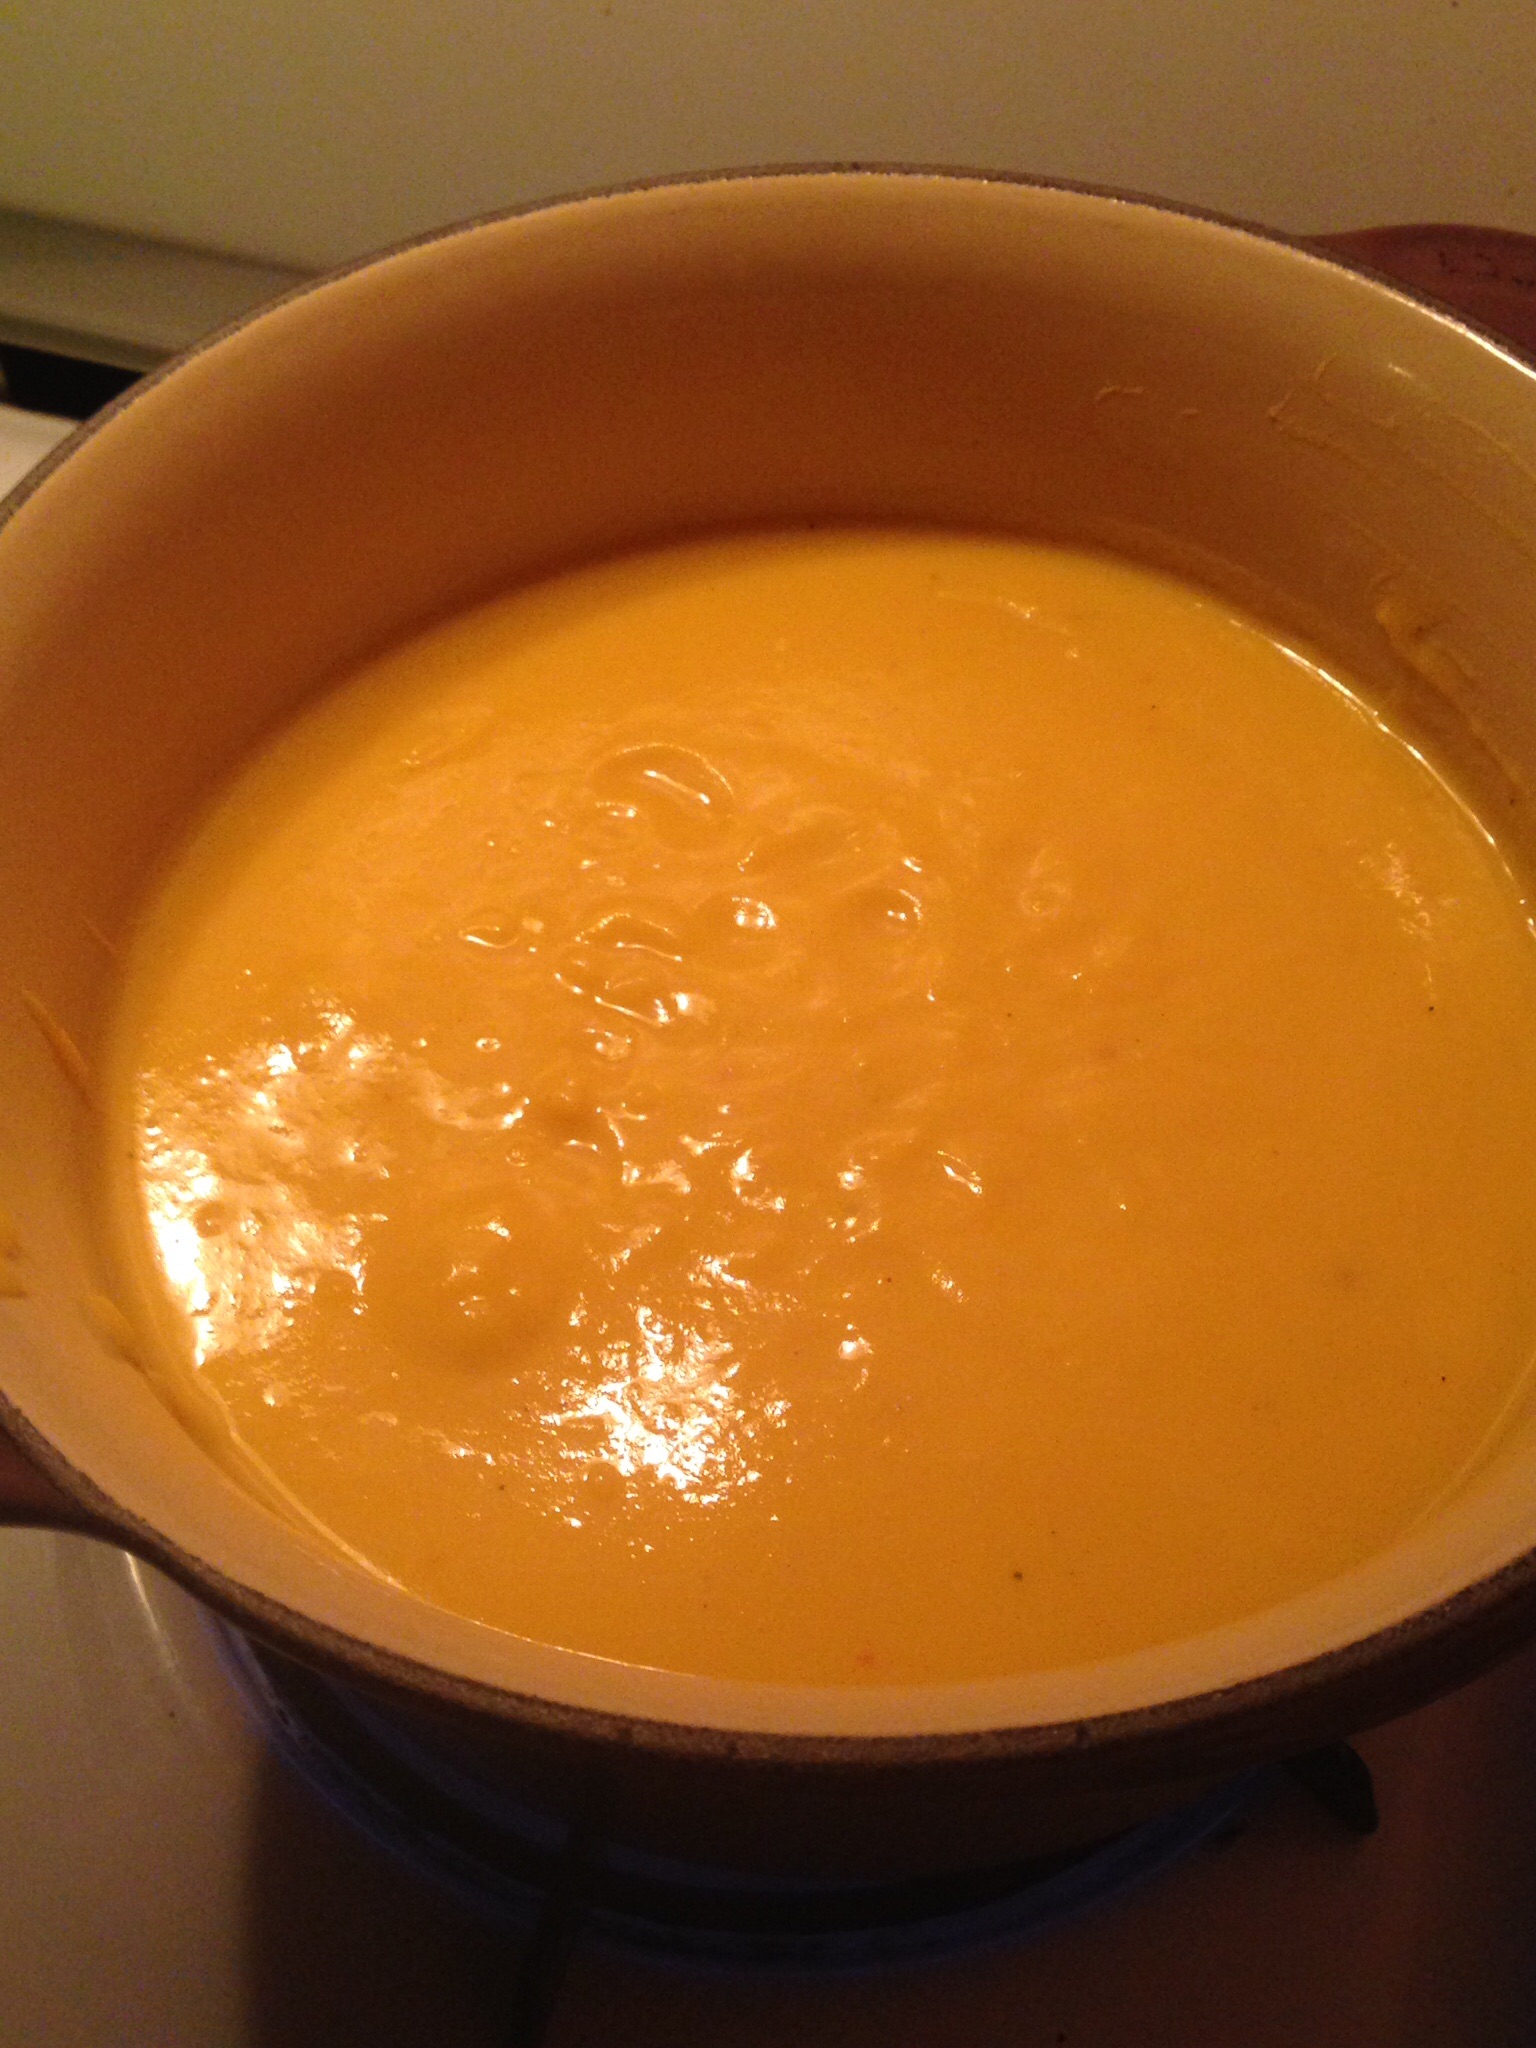
This year Jason decided to get our local CSA so we could have farm fresh food. We have been getting our fresh veggies, capsule dairy and meat since early summer, and we have been loving it! So have our friends. We’ve been having what I call CSA BBQ’s and CSA dinner parties. One thing about getting all this fresh food is, it really is a lot. So you have to be very creative and eat a lot! Having friends willing to help is a blessing. One thing we’ve been getting is greens. Lots and lots of greens. We eat them for breakfast with fried or poached eggs on top, lunch and dinner. But one of my favorite things we have been doing is taking our arugula, cilantro and parsley and making pesto out of them. Not only do we use all of these tasty greens, we get to enjoy them at our leisure. You can use them as spreads, in pasta, as pizza sauce or add to soups, even rub on a chicken and roast it! The pesto will keep in the fridge for about two weeks or you can  freeze it, which is great way to to make sure it doesn’t go to waste.


Arugula and Cilantro/Parsley Pesto
Author: 
Prep time: 
Total time: 
Serves: ½ cup
 
Ingredients
  • 2 cups arugula tightly packed
  • 2 garlic cloves
  • 1 tablespoons pine nuts
  • ¼ cup Parmesan cheese
  • ½ cup olive oil
  • ½ lemon squeezed and separated
  • Pinch of salt and pepper
Instructions
  1. Roast pine nuts
  2. Drizzle a small amount of oil on bottom of blender
  3. Add arugula, Parmesan, pine nuts, half of lemon juice, salt and pepper
  4. Start blending and slowly add oil
  5. Blend till you get a good consistency
  6. Taste and add more salt, pepper and rest of the lemon juice if needed.
Notes
I love garlic that's why I added so much. But if that is too much use one clove.
For cilantro parsley pesto you just need to switch out a few ingredients
1 cup packed cilantro leaves
1 cup packed parsley
2 tablespoons almonds(some say blanched almonds but I don't think it's necessary)
And continue as normal.

Pumpkin and Potato Soup

Pumpkin and Potato Soup - based on Mum's yellow potatoes
Author: 
Prep time: 
Cook time: 
Total time: 
 
Ingredients
  • 1 small sugar pumpkin (3.5 - 4lbs)
  • 4-5 medium potatoes
  • ½ cup heavy cream
  • 4 tablespoons of butter
  • ½ cup vegetable stock
  • House of Zeta Homewrecker Hot Sauce (or similar earthy smoked hot sauce)
  • Salt and pepper
Instructions
  1. Cut pumpkin in quarters and de-seed
  2. Cut pumpkins one more time in half
  3. Peel potatoes and cut into chunks
  4. Steam both separately
  5. When done drain and let cool
  6. Scrape pumpkin into bowl
  7. Add potatoes, and cream, butter.
  8. Mash together adding some salt and pepper
  9. Place mash mix in blender add stock and blend until smooth
  10. Add two or three dashes of the hot sauce to taste
  11. Salt and pepper to taste of needed
  12. Reheat and serve.
Notes
Ratio of pumpkin to potato should be ⅔ pumpkin to ⅓ potato. Keep this in mind when making soup.


Pumpkin and Potato Soup


Is Pumpkin and Potato soup your new staple for this fall and winter? We think so, and here’s why. Jason and I received an invite to our friends annual pumpkin party this last weekend and were told to make something with pumpkin. It was requested that I make Paula Deens pumpkin gooey cake. No problem. I love it and it’s become a staple in our Thanksgiving meals. It even replaces the pumpkin pie! But we also wanted to bring a savory dish as well. Our first thought was pumpkin and potato mash. A side dish Jason grew up with. But as we cooked every thing and started to put it together we noticed that it was looking and tasting like a great soup. So we added some vegetable stock to thin it out a bit and next thing you know we had an amazing soup! Jason also added a bit of our Home Wrecker hot sauce for a little surprise. At the party people were practically licking their bowls, or was that just us?! We recreated the recipe here. It’s easy and very un-fussy. The hardest part is cutting up the pumpkin. But it’s worth it as you get to roast the seeds! With fall and winter settling in remember your new best friend, pumpkin and potato soup. It’s the perfect starter or side dish with a grilled turkey and cheese sandwich.

Fall Camping


Our first fall camping trip got off to a slow start, cure we accidentally boarded the wrong train! But luckily it was a happy accident. By the time we made it to Tuxedo and Harrimon Park the slight rain that was plaguing us all morning had stopped. We bought our final supplies and headed to the trail, visit this arriving just in time to collect firewood, make camp and start dinner before sunset. Steak, baked potatoes and cilantro pesto corn were the evening meal and a lovely moon to gaze at. Later with the fire and moon in full force we just sat back and took it all in, before heading of to sleep.

The next day we awoke to a beautiful misty fog rolling over the hills and exposing Lake Skenonto in all its fall foliage beauty. The birds sang hello while we made coffee and breakfast. The sky cleared up and it was a glorious fall day to be in the woods. So naturally we pulled out the ukuleles and serenaded the animals with our songs. After some more quiet time it was time to head back to the city. So we packed up, said goodbye to our animal friends and headed for the train and Chinese food. This may have been our first fall camping trip but it won’t be our last.


Hot sauce of the month club!

We are excited to announce our hot sauce of the month club!  Every month we will post a new hot sauce or salsa.  Join our facebook page to get your monthly reminder and tips on what we are using our sauces with.  If you want one for yourself or a friend just like the sauce of the month and we will contact you and get it out right away.   Of course you can always write us here and we will be glad to help.   Happy saucing!!!

https://www.facebook.com/zetahotsauce

Vegetarian Chili for Camping

Chili Chili fixin's Chili veggies


One of the easiest things to make for camping is vegetarian chili. You just chuck everything in a pot, no rx let it simmer for a while and tah dah! It’s done. I’ve made this so many times that I don’t measure anymore. Who am I kidding a never measure! Ok so I’ve gotten better at measuring thanks to writing about what we cook. You can keep it vegetarian or add meat it’s all up to you. We usually are out for a couple days so keeping it meat free is best. I also freeze it so it becomes part of the ice we use to keep everything fresh. I like to add as many fresh ingredients as possible, like tomatoes, corn, carrots, onions, bell peppers and sometimes zucchini. This is a great dish to experiment with and have fun.


Vegetarian Chili for Camping
Author: 
Recipe type: Main dish
Prep time: 
Cook time: 
Total time: 
Serves: 6-8
 
Ingredients
  • 1 8oz can of black beans
  • 1 8oz can of dark kidney beans
  • 1 8oz can of pink beans
  • 1 28oz can of whole tomatoes
  • 1 14.5 oz can of chopped tomatoes
  • 1 15 oz can of tomato sauce
  • 1-2 6oz cans of tomato paste( depending on how thick you want it)
  • 2 tomatoes
  • 1 med onion
  • 1 med green bell pepper
  • 1 med red or yellow or orange bell pepper(your choice)
  • 2 carrots(3 if small)
  • 1 med zucchini
  • 2 cloves of garlic
  • 1 teaspoon of oregano
  • ¼ teaspoon of cumin
  • 2 tablespoons of chili powder
  • ¼ teaspoon of ancho chile powder
  • 1 large or two medium bay leaves
  • ½ tablespoon of salt
  • ½ tablespoon of pepper
  • Pinch of red pepper flakes
  • Olive oil
Instructions
  1. Peel and chop onion
  2. Peel and chop carrots
  3. Chop bell peppers and zucchini into cubes
  4. Cut kernels off corn
  5. Chop tomatoes
  6. Peel and rough chop garlic
  7. In large sauce pan add some olive oil and onion
  8. A sprinkle of salt and pepper
  9. Sauté for a few minutes
  10. Add tomatoes and simmer for a few minutes till tomatoes start falling apart
  11. Add remaining vegetables, garlic and cans of tomatoes, sauce and paste
  12. Rinse beans and add them to the pot
  13. Add spices and herbs, salt and pepper
  14. Simmer for about 20 minutes
  15. let cool and put in freezer bags and freeze.
Notes
If you aren't a camper that's ok, this is a great meal anytime. They say to let chili sit overnight that way it incorporates all the flavors. I usually can't wait, but if you can, let the pot cool off, refrigerate and reheat the next day.
Don't for get the hot sauce, cheese and sour cream for the ultimate bowl of chili!

Final hot sauce is here!


Wow! It’s the last hot sauce of  our hot sauce mania month! We can’t believe it.  So we accidentally took a couple weeks off and our month turned into six weeks.  We are human and needed to rest and enjoy the summer.  But now it is back to work.  And without further ado I give you:


Blossoming Tumescence


Blossoming Tumescence
Author: 
Recipe type: Condiment
Prep time: 
Cook time: 
Total time: 
 
Ingredients
  • 8 Puya
  • 2 mulato
  • 2 japones
  • 2 New Mexico
  • 1 chipotle
  • 4 garlic
  • ¼ cup chili water
  • ¾ cup of vinegar
  • ¼ cup apple cider vinegar
Instructions
  1. Soak your peppers in hot water for 30 minutes
  2. Either in a bowl weighed down so chili's are submerged or in a ziplock bag
  3. When chili's are done pull off stems and discard
  4. Also discard any seed and veins that come with stems
  5. Combine all ingredients into a blender and blend till smooth
  6. Strain through a sieve and discard any solids
  7. Serve immediately, mind or put on your favorite bottle for later


Hot Sauce number 3. It’s a Cheap Trick!

Here is the latest in our month long(.. A hum…6week) hot sauce mania.  Great for BBQed Meats!!!


Cheap Trick
Author: 
Recipe type: Condiments
 
Ingredients
  • 4 New Mexico chile
  • 6 Japones red chile
  • 3 Pulla chile
  • 5 birds eye chile
  • 4 cloves garlic
  • ½ cup vinegar
  • ¼ cup of Apple cider vinegar
  • Salt pepper
  • Splash of chili water
Instructions
  1. Soak your peppers in hot water for 30 minutes
  2. Either in a bowl weighed down so chili's are submerged or in a ziplock bag
  3. When chili's are done pull off stems and discard
  4. Also discard any seed and veins that come with stems
  5. Combine all ingredients into a blender and blend till smooth
  6. Serve immediately.


Hot Salsa? Yes Please

Salsa


Our newest hot sauce is more of a salsa but not quite.  We added tomatoes so you can really sink your chips into it.

Also we don’t put this one threw a sieve but if you want a smoother sauce than you can.  With a heat most hot sauce lovers can handle this one will disappear fast!


Hot Suff
Author: 
Recipe type: Condiment
Prep time: 
Total time: 
 
Ingredients
  • 2 packages of grape tomatoes
  • 1 chipotle chile
  • 3 mulatto chili's
  • 1¾ habanero chili(deseeded and destemmed)
  • 4-5 garlic cloves
  • Small handful of cilantro
  • ½ cup vinegar
  • * Splash of chili water
  • Salt and pepper
Instructions
  1. Soak your peppers in hot water for 30 minutes
  2. Either in a bowl weighed down so chili's are submerged or in a ziplock bag
  3. When chili's are done pull off stems and discard
  4. Also discard any seed and veins that come with stems
  5. Combine all ingredients into a blender and blend till smooth
  6. Serve immediately.
Notes
If your worried about it being too hot, generic add some lime juice and or decrease the amount of Habanero peppers.

* Chili water is the water you soaked the chili's in.

Hot Sauce Mania!

Hot sauce of the week! We shared a new red pepper hot sauce last week and decided to feature a new one every week! We will start out with an easy one. It’s not spicy, link just smokey and delicious. Perfect for that person who can’t handle the heat but wants a great sauce for their tacos or eggs in the morning. Or if you just want to easy into the heat.

Chili's and hot sauce

Easy Lay
Author: 
Cuisine: Condiment
Prep time: 
Cook time: 
Total time: 
 
Ingredients
  • 4 Dried Pasilla
  • 5 Dried Puya
  • 4 Dried Arbol
  • 1 Jalapeño
  • 1 clove of garlic
  • ½ cup of vinegar
  • Salt and pepper
Instructions
  1. Soak dried peppers in a bowl of hot water for 30 minutes.
  2. Make sure peppers are completely submerged.
  3. I use a heavier smaller blow for this
  4. Or you can use a ziplock bag.
  5. Just make sure it is on a flat surface and you flip it half way through .
  6. Once peppers have soaked pull off stems and discard them.
  7. Some seeds and veins will come with the stems and that's fine.
  8. Not all your peppers will be completely soft, approved that is ok.
  9. Take the chili's, more about garlic, vinegar and blend, adding salt and pepper to taste.
  10. Once done put sauce through a sieve to remove excess solids
  11. Take sauce and put in your favorite jar or container.
  12. Discard leftover solids*
Notes
* if your anything like us chances are you don't like to waste things. As we kept making hot sauces, one thing was bothering us. What to do with the left over solids? We think we are coming up with some great ideas. And if you stay tuned we will share our discoveries.


It’s Getting Hot in Here

It’s hot sauce mania here at The Lab.  We have been obsessed you could say.  It all started with Christmas and has spilled over.  Our latest sauces have been gobbled up by everyone and it seems there is not stopping us or them.  I can’t believe it started with just wanting to make something nice for Christmas that wouldn’t break my bank account.  We are really honing our skills, patient and what we want out of the sauces.  From mild and smokey, order to oh my god get me a bucket of water!  Our latest is a smoked red pepper hot sauce that has that sweetness of peppers and heat from some red Jalapeño’s.   It was inspired by a restaurant in LA that makes the most amazing yellow pepper dipping sauce.   One day I will crack that recipe!  Here is one of the new ones, enjoy!  Oh and don’t forget the homemade corn chips!!!

20140203-232842.jpg


20140203-232900.jpg


Red Hot Red Pepper Sauce
Author: 
Recipe type: Sauces
Prep time: 
Total time: 
 
Ingredients
  • 6 red peppers
  • 2 garlic cloves
  • 1 red Jalapeño
  • ¼ white onion
  • Small handful of cilantro
Instructions
  1. Slice peppers in half lengthwise.
  2. Place on shallow pan in broiler, skin side up.
  3. Or line bottom of broiler with foil.
  4. Cook peppers til skin is black on most of the pepper.
  5. Check regularly so as not to burn peppers or housed down!
  6. When peppers are done place on plate to cool.
  7. In the meantime, Chop onion, garlic, jalapeño, cilantro and put in blender or food processor.
  8. Peel skin off peppers and put them with the rest of the ingredients.
  9. Blend till smooth
  10. Salt and pepper to taste.
  11. Serve warm or cold.
Notes
You can also roast peppers directly on stove tops open flame, but this is only for experienced cooks.


« Older posts Newer posts »

© 2024 House of Zeta

Theme by Anders NorenUp ↑