Good food, drinks, friends and ukulele!!!

Courses: Main dish

Vegetarian Chili for Camping

Chili Chili fixin's Chili veggies


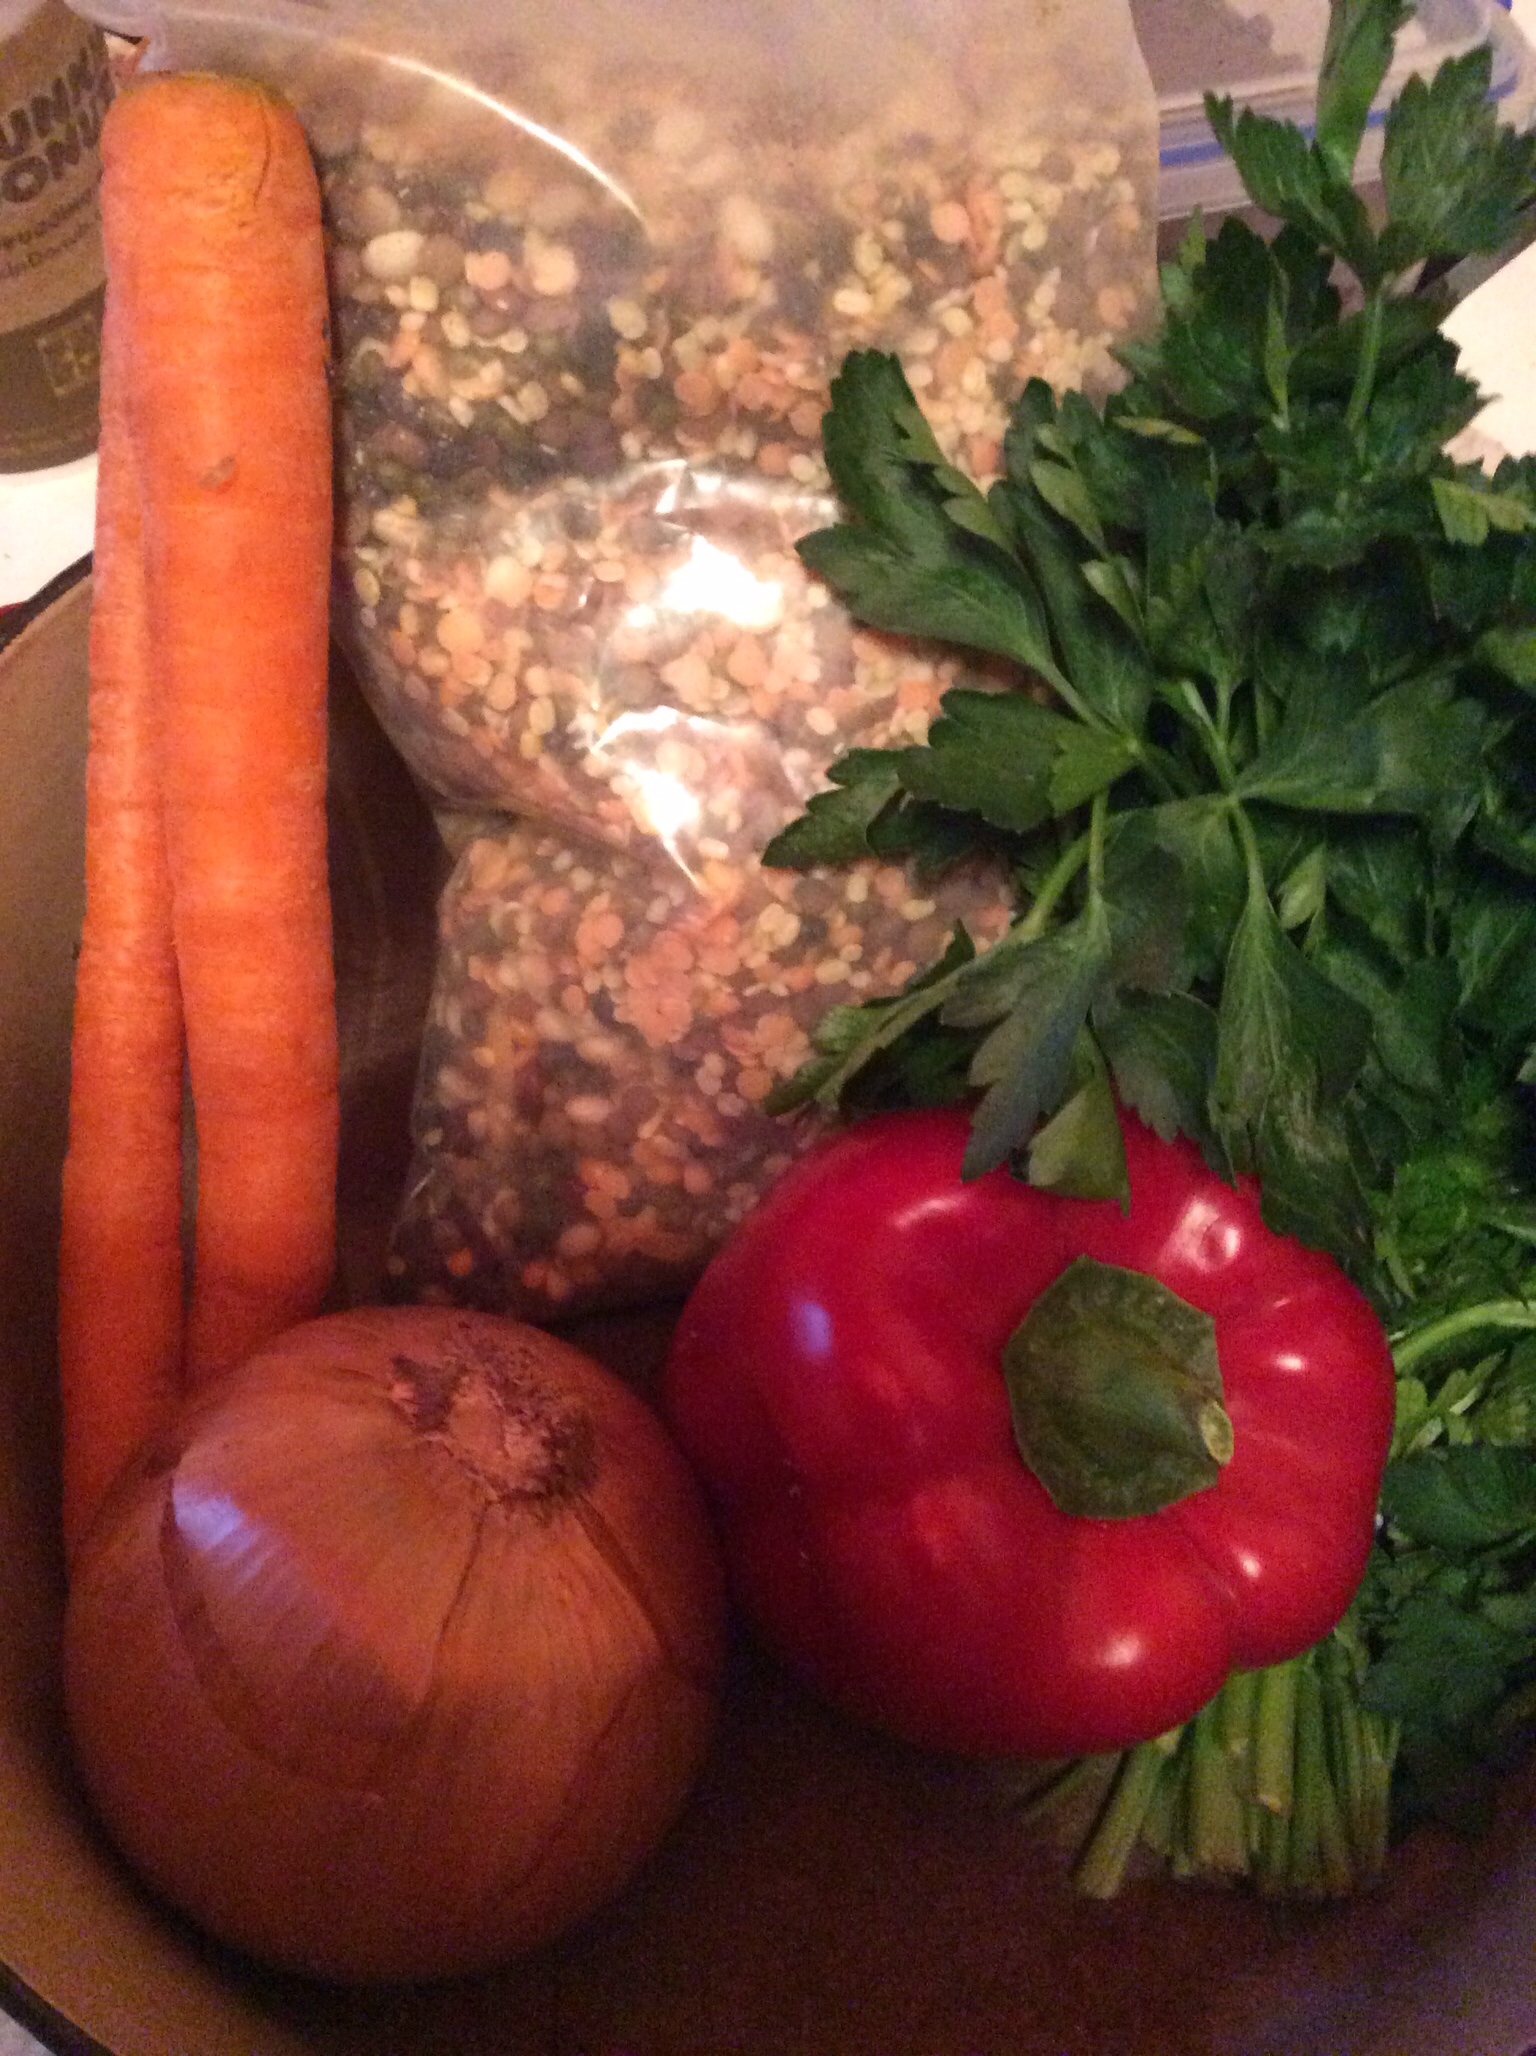
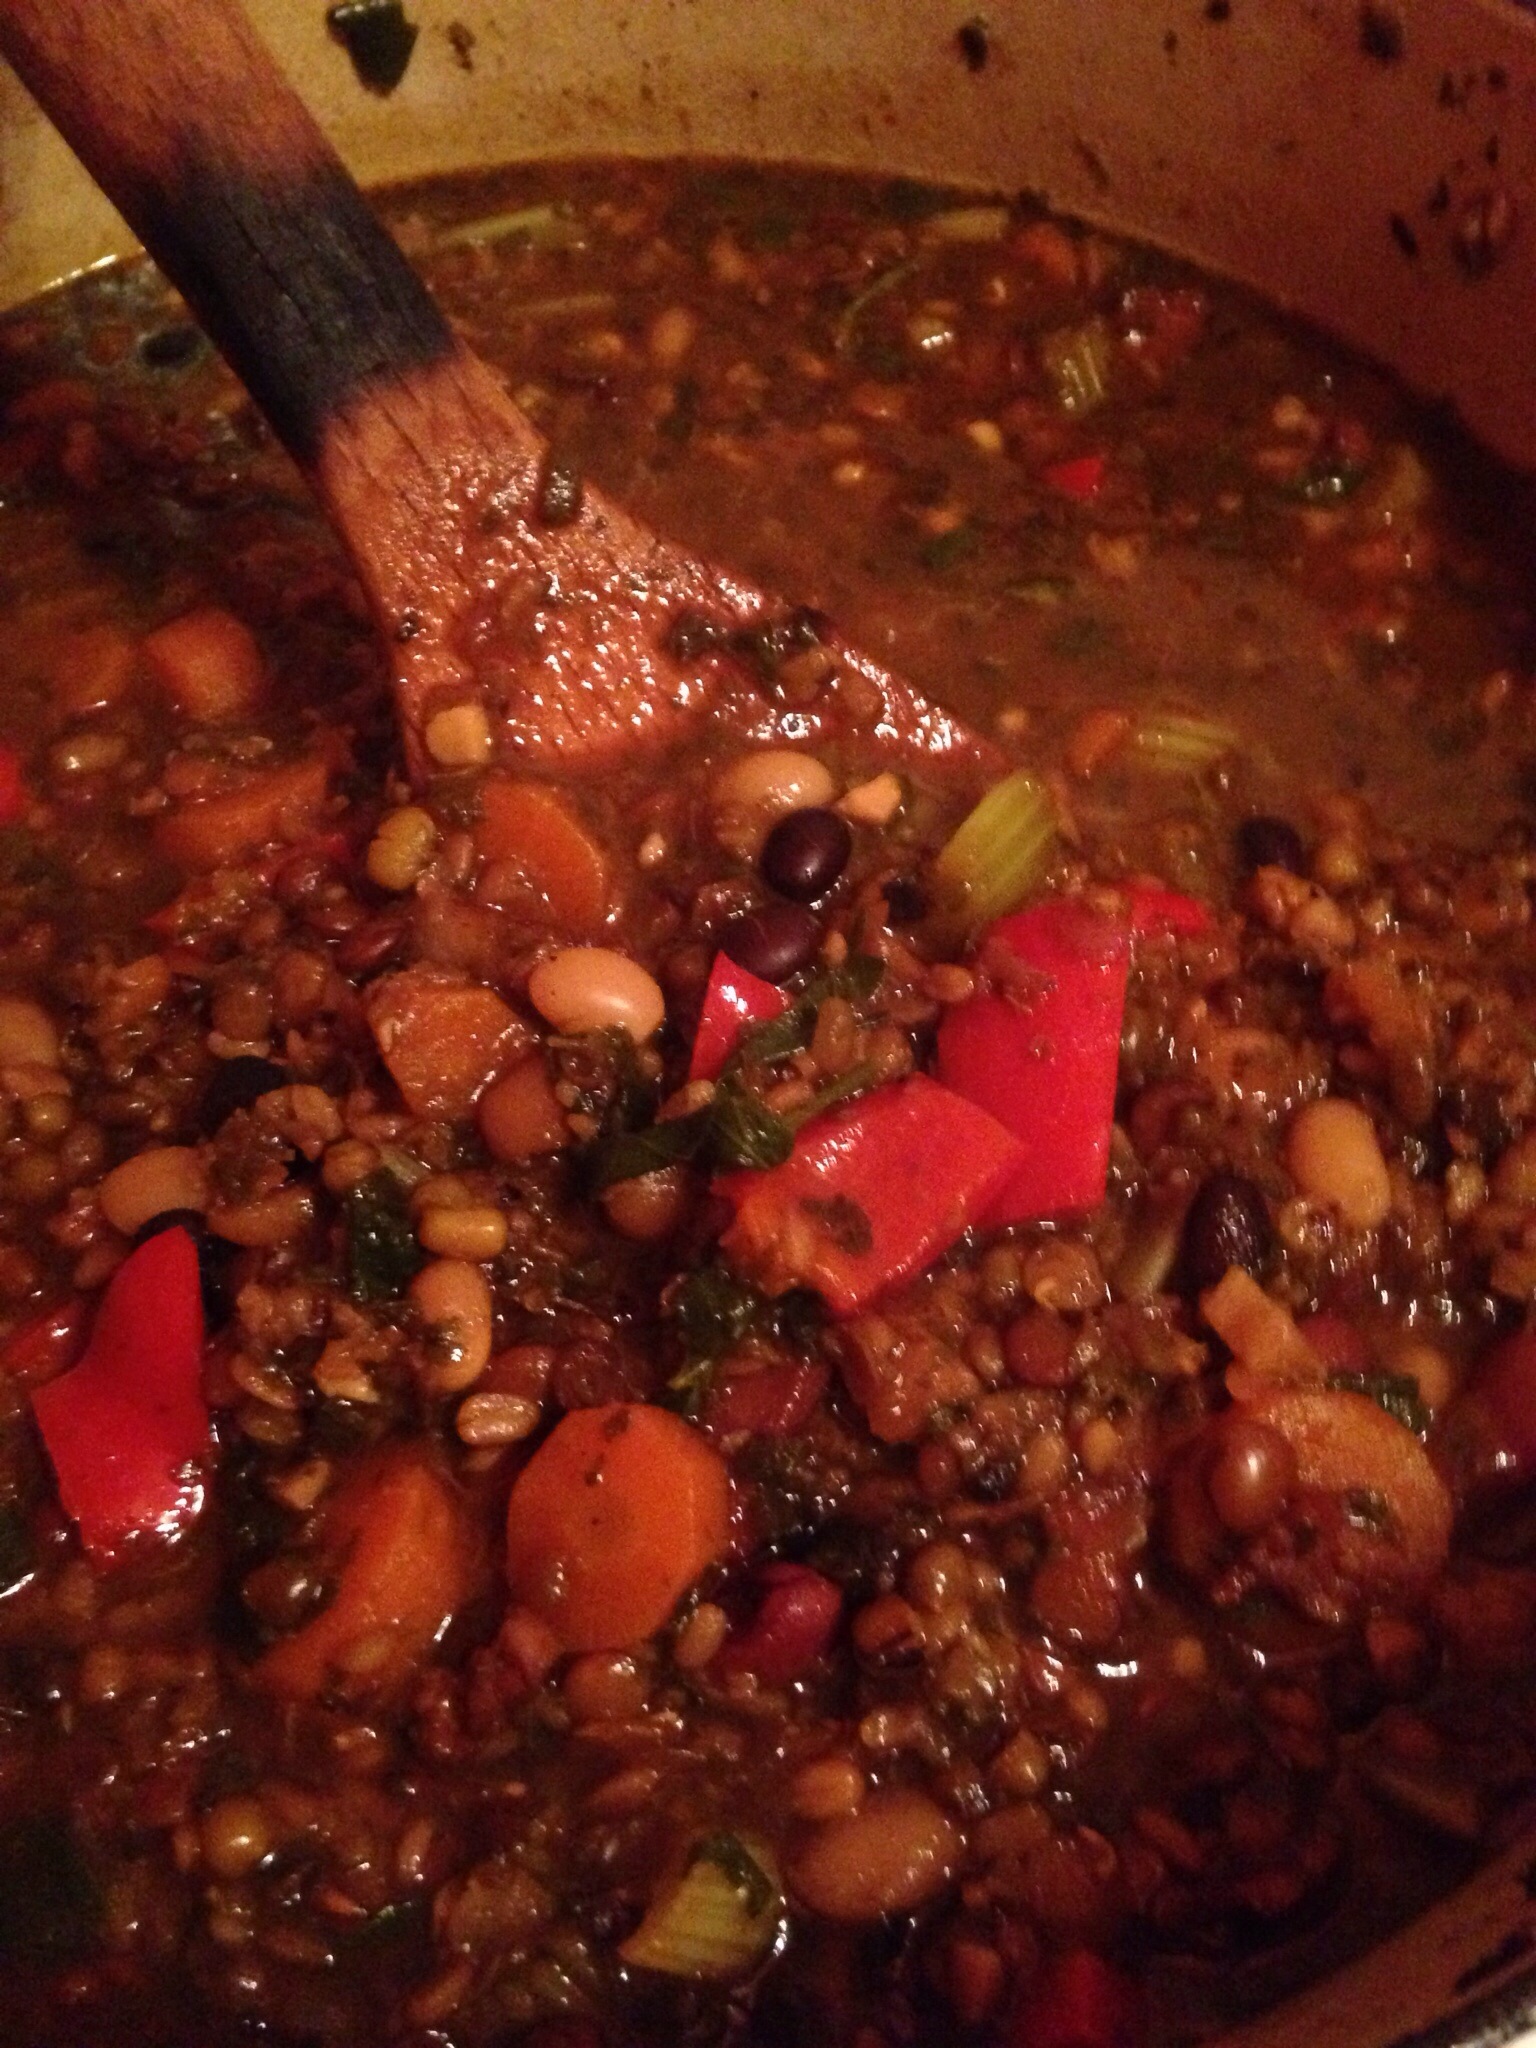
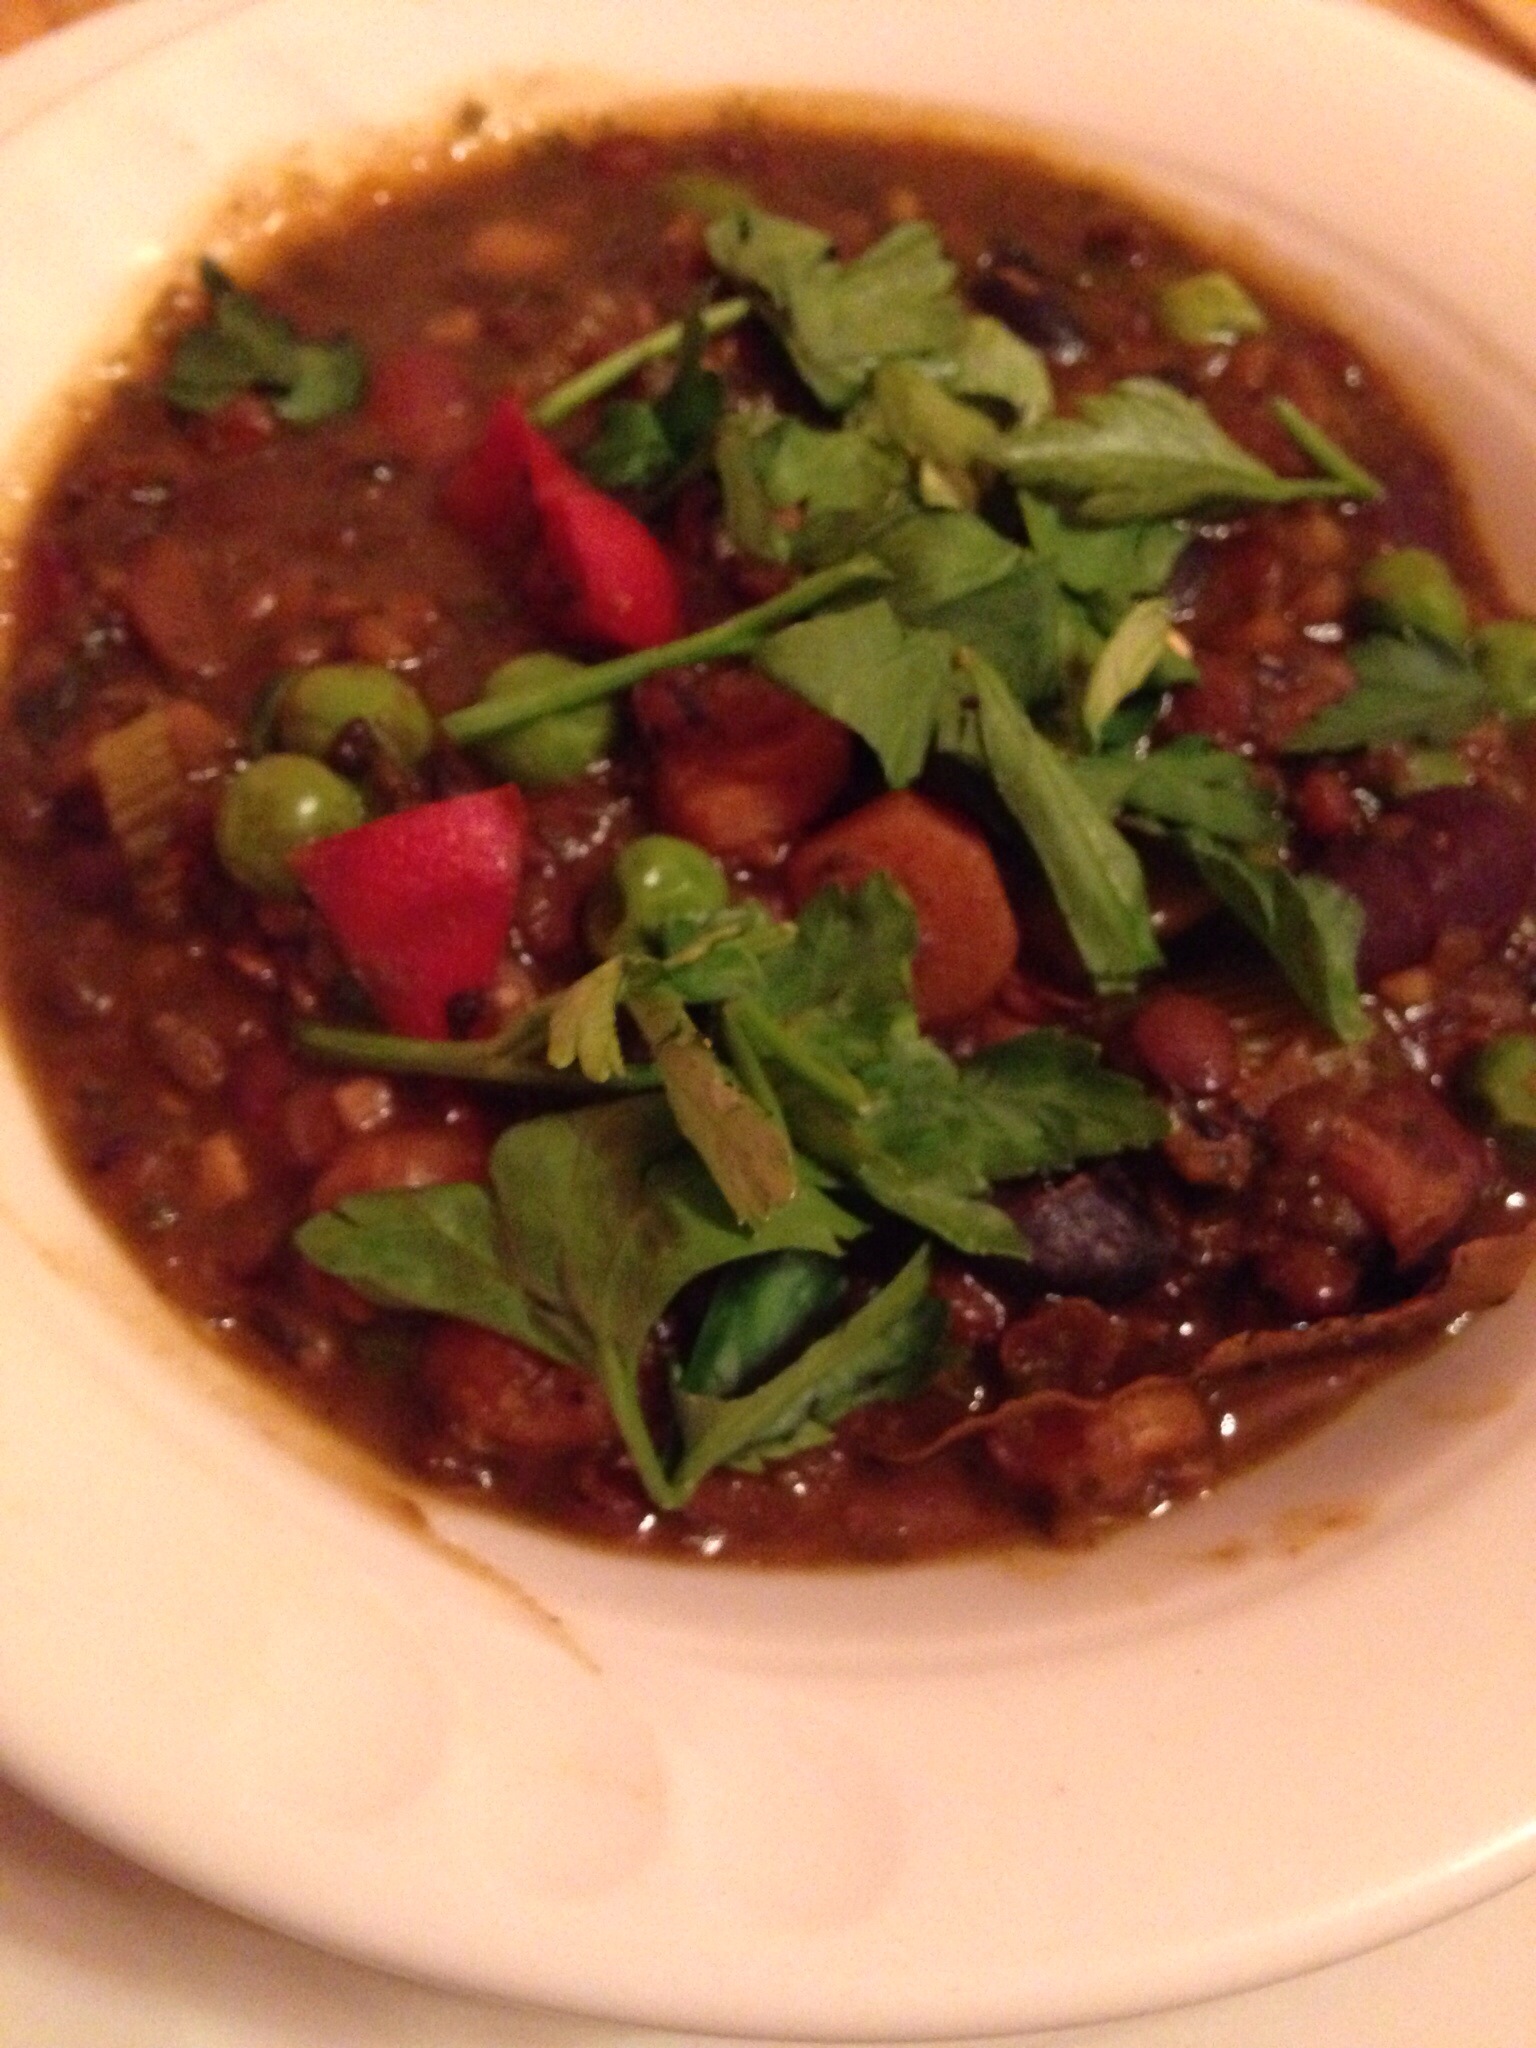
One of the easiest things to make for camping is vegetarian chili. You just chuck everything in a pot, no rx let it simmer for a while and tah dah! It’s done. I’ve made this so many times that I don’t measure anymore. Who am I kidding a never measure! Ok so I’ve gotten better at measuring thanks to writing about what we cook. You can keep it vegetarian or add meat it’s all up to you. We usually are out for a couple days so keeping it meat free is best. I also freeze it so it becomes part of the ice we use to keep everything fresh. I like to add as many fresh ingredients as possible, like tomatoes, corn, carrots, onions, bell peppers and sometimes zucchini. This is a great dish to experiment with and have fun.


Vegetarian Chili for Camping
Author: 
Recipe type: Main dish
Prep time: 
Cook time: 
Total time: 
Serves: 6-8
 
Ingredients
  • 1 8oz can of black beans
  • 1 8oz can of dark kidney beans
  • 1 8oz can of pink beans
  • 1 28oz can of whole tomatoes
  • 1 14.5 oz can of chopped tomatoes
  • 1 15 oz can of tomato sauce
  • 1-2 6oz cans of tomato paste( depending on how thick you want it)
  • 2 tomatoes
  • 1 med onion
  • 1 med green bell pepper
  • 1 med red or yellow or orange bell pepper(your choice)
  • 2 carrots(3 if small)
  • 1 med zucchini
  • 2 cloves of garlic
  • 1 teaspoon of oregano
  • ¼ teaspoon of cumin
  • 2 tablespoons of chili powder
  • ¼ teaspoon of ancho chile powder
  • 1 large or two medium bay leaves
  • ½ tablespoon of salt
  • ½ tablespoon of pepper
  • Pinch of red pepper flakes
  • Olive oil
Instructions
  1. Peel and chop onion
  2. Peel and chop carrots
  3. Chop bell peppers and zucchini into cubes
  4. Cut kernels off corn
  5. Chop tomatoes
  6. Peel and rough chop garlic
  7. In large sauce pan add some olive oil and onion
  8. A sprinkle of salt and pepper
  9. Sauté for a few minutes
  10. Add tomatoes and simmer for a few minutes till tomatoes start falling apart
  11. Add remaining vegetables, garlic and cans of tomatoes, sauce and paste
  12. Rinse beans and add them to the pot
  13. Add spices and herbs, salt and pepper
  14. Simmer for about 20 minutes
  15. let cool and put in freezer bags and freeze.
Notes
If you aren't a camper that's ok, this is a great meal anytime. They say to let chili sit overnight that way it incorporates all the flavors. I usually can't wait, but if you can, let the pot cool off, refrigerate and reheat the next day.
Don't for get the hot sauce, cheese and sour cream for the ultimate bowl of chili!

Remodeling and The Bean Soup

Mixed Bean and Lentil Soup with Bacon
Author: 
Recipe type: Main dish
Prep time: 
Cook time: 
Total time: 
Serves: 6-8
 
This is a very easy recipe that you can leave and get things done. Once you have done the prep all you have to do wait.
Ingredients
  • 1 lb of mixed beans and lentils
  • 2 Tbsp of butter
  • 1 Tbsp of olive oil
  • 6 cups of stock(your choice)
  • 4 pieces of bacon chopped
  • 1 onion
  • 1 red bell pepper
  • 4 celery ribs
  • 4 carrots
  • 1 bunch of flat leaf parsley
  • ½ box of frozen peas
  • 1 lime cut in half and separated
  • 2 bay leaves
  • 2 cloves of garlic chopped
  • dry herb mix- oregano, salve dill, medical chive, celery leaf, kale, parsley
  • (you can make your own mix)
  • Splash of red wine or beer or water
  • Salt and pepper to taste
Instructions
  1. Chop up bacon
  2. Chop up onion
  3. Cut celery into ½ inch pieces
  4. Peel and cut carrots into ½ inch rounds
  5. Cut red pepper into ½ in squares
  6. Rough chop parsley and set half to the side
  7. On med to high heat put oil and butter in large soup/stock pot
  8. Add onion and cook till they get soft
  9. Make a ring on the edge of the pot with onions
  10. Add bacon in the center and let cook for a couple minutes
  11. Stir onions and bacon together and cook till bacon starts to get crisp
  12. Add stock, beans and lentils and herb mix
  13. Bring to boil and lower flame to very low
  14. Let simmer for 4-5 hours with lid on
  15. Last hour add celery, carrots and bell peppers
  16. Add beer or wine or water if soup seems too thick
  17. (this is if the soup starts to get to dry)
  18. You want some broth
  19. The last 15 minutes add the peas and half the parsley
  20. Save the other half for garnish
  21. Salt and pepper to taste
Notes
The beans and lentils can be any combo you want. Also I say 6 hours but the soup can be ready between 4- 6 hours. It just depends on how you like your beans. Adjust times accordingly


We started the remodel because Jason’s friend suggested it.  Not only suggested it, but had developed a plan.  Jason was all ears.  I heard about it second hand.  It sounded vague but promising.  So we headed to this warehouse in Greenpoint to get these colorful brackets that were the basis of this mini make over.  They were bright, but something about them and the ideas that were being talked about made sense.  We walked out with a bunch of them.  The plan was in motion. We stopped at a bar to discuss the rest of the plan as it existed at that time.  As things came together, salvaged wood shelving, the color scheme of the kitchen, things changed and evolved.  Next thing you know we are painting the ceiling terracotta/brick red and the inside of the pantry became canary yellow.

The apartment is in complete disarray.  So cooking is not easy, to say the least.  But the Lab must continue to experiment and make new food.  The latest is a mixed bean, lentil and bacon soup that could sit for hours as we continued to work on the shelving.  It’s a basic soup but with a few extras thrown in on purpose and also just for the fun of it.  We started with a bag of beans and lentils we found at our local Indian market.  You could easily replicate the of mix beans and lentils if you don’t have access to store like this.  From there it was what broth to use?  We chose a combo of beef and vegetable.  One, because it’s what we had available and two because given the chance I will always use broth over water.  For reasons that are obvious.  We also had an herb bag for soup that we found during our excavation of the pantry.  Also from the Indian store.  From there we added onion, bacon, celery, carrot and a red bell pepper. As the soup cooked and as I tasted it, it also changed. From seasoning, to consistency, to the acidity. I added half the juice and pulp of a lime.  I always have citrus around as it’s always good for such occasions.  It took the bite out the soup that I couldn’t help but wonder how it got there.  I thank my friend Regina for this trick.  She is a brilliant cook.

Four hours and a few layers of polyurethane later we were ready to eat.  The soup was amazing and though we aren’t nearly finished with the kitchen and the shelving, at least we finished another food journey that will be part of our cannon for years to come.  Now if we could just get the rest of the kitchen off the living room floor!

Mole, Ole!

I love Chicken Mole, order it is a staple in my house.  Growing up I always loved the smell of it, more about the cinnamon and chocolate, clinic the earthiness of it, I could eat it almost every day.   We never made it from scratch as that was considered way too much work.  Thankfully chefs have been able to shorten the normal 2-3 days it takes to make this chocolate, cinnamon goodness.  Unfortunately I have not done this, but one day I will conquer this mammoth task.  Until then I refer to my childhood version, or the closest I can come to it.  Being on the East Coast has made life a little more challenging to make my Mexican comfort foods but I have and continue to seek out the ingredients I need and the foods I crave.  Usually  I end up making it myself, like west coast Chorizo.  Here in NYC the Spanish version is popular.   It’s good but its a hard, almost salami like sausage, as apposed to the crumbly spicy sausage I am used to.   I grew using  a can of dry Mole spices that you add to stock, here on the east coast it’s a jar of paste.  I had seen it on the west coast when I lived there but always went for the dry can.   I usually add a little more cinnamon and a small amount of sugar, just to get it the way I like it.  I have also come to the conclusion that onions are key to helping get that sweetness that I remember.  Now I’m not big on super sweet Mole but there should be a hint of that sweetness in there.  Also a little heat is nice.  I find when I order it at restaurants they skip that part and I am usually disappointed.  So last night to continue with my comfort food week,  I made Chicken Mole!!!  I paired it with the beans I  made on Sunday along with some flour tortillas and had a great flashback to my childhood and the comforts good food can bring.

Mole, Ole!
Author: 
Recipe type: Main dish
 
Ingredients
  • 1 Whole Chicken
  • 3 Quarts of Water
  • 1 Tablespoon of Salt
  • ½ Tablespoon of Pepper
  • 2 Medium Onions chopped- divided
  • 1 Clove of Garlic chopped
  • 1 Jar of Mole paste
  • ¼ teaspoon of sugar
  • ¼ teaspoon of cinnamon
  • Pinch of chile flakes(optional)
Instructions
  1. In a large stock pot add chicken and water.
  2. Add one onion, garlic, salt and pepper
  3. Bring to boil and reduce heat to low/medium
  4. Simmer for about 20 minutes or till chicken is done
  5. Set chicken aside in colander in sink to cool
  6. Save broth
  7. When chicken is cooled off enough to handle, strip meat from bone, set aside
  8. Keep bones and skin for stock.
  9. Measure 4 cups of broth and save the rest
  10. Combine stock and mole paste in stock pot
  11. Simmer on low to medium heat till paste is dissolved(use whisk)
  12. Add sugar and cinnamon
  13. Add chicken and second onion
  14. Simmer for about 10 minutes or till onions are translucent
  15. consistency should be thick but not too thick.
  16. Serve immediately
Notes
You can omit the sugar and cinnamon if you want a less sweet sauce. You can add chile flakes if you want some heat. But be careful. Serve over rice with beans on the side. Don't forget the tortillas!!!


© 2024 House of Zeta

Theme by Anders NorenUp ↑