Good food, drinks, friends and ukulele!!!

Category: What Can I Do With This? (Page 2 of 3)

Must make something out of what you have in kitchen.

Spinach And Onion Tart With Cherry Tomatoes

Every once in a while we have some free time at work and I like to make something out of what’s around.   As most of you know, sales this is one of my favorite things to do.   We always have a few ingredients lying around, ask like dough, sildenafil onions, eggs, among other random items.  So on this rare slow day, I decided to put some of these ingredients to use.  Well, we did plan this the day before, as we needed a few extra ingredients, but you get the picture.  It turned out so good, my colleague’s said I had to write about it.  As usual I didn’t really measure, but don’t let that stop you, it’s quite easy to make.  This is a recipe for two tarts. We make dough in huge quantities so if you only want one tart cut recipe in half, but use one whole onion.  Also, I don’t know how much commercial store bought dough makes, so use your best judgement.  Of course homemade dough is best!


Spinach And Onion Tart With Cherry Tomatoes
Author: 
Prep time: 
Cook time: 
Total time: 
 
Ingredients
  • 1 round of pastry dough devided into two
  • 2 packages of frozen spinach
  • 1½ large onions
  • 1 package of grape tomatoes
  • 1 8oz package of Gouda cheese
  • 2 garlic cloves
  • 2 tablespoons of butter
  • Salt and pepper
  • Milk or egg for wash on crust, or combine and use both.
Instructions
  1. Preheat oven to 350
  2. Thaw spinach and squeeze out the liquid
  3. Roll dough into a rectangle like shape and place on parchment baking sheet, put in fridge
  4. In large skillet melt butter
  5. On medium heat sauté onion with salt and pepper
  6. Cover for about 20 minutes till you get some browning
  7. Chop garlic and separate the cloves
  8. Rinse and chop tomatoes in half, set to the side.
  9. Grate cheese
  10. Add spinach, garlic salt and pepper and sauté till ingredients are incorporated
  11. Grab dough and sprinkle a little bit of cheese on dough
  12. Then place spinach, onion in center of dough
  13. Spread it out leaving about an inch of dough for a crust
  14. Add tomatoe halves and sprinkle rest of cheese on top
  15. Fold edges of dough around the mixture.
  16. Doesn't have to be pretty, just make it so nothing will flow over.
  17. Egg or milk wash the crust.
  18. Back for 25-30 minutes.
  19. Check after 25 minutes
  20. You want a golden crust and bottom of tart to cook but don't burn it.
  21. Let cool before cutting and serving.


Ham, Potato and Bean Soup

What to do with holiday leftovers is as much a tradition as the holidays themselves.   So with that in mind, viagra I decided to go along and add a dish to the leftover tradition.   We had ham, as do a lot of people.  And like lot’s of people, we had lot’s of it left over.  After a few days of eating it I was starting to wonder what else besides sandwiches or frying it up with my morning eggs I could do with it.  I thought about for a little while and decided a soup would be good.  But what kind?  My friend said potato and ham.  I thought genius, but it needed something else.  I then thought bean with bacon!   So I thought use the ham,  instead of bacon.  And our ham, potato and bean soup was born.  This was supposed to be a cream soup, but I couldn’t decide whether to blend just the potato, or the beans, or both.  As I was cooking,  I realized that if I cut some of the potatoes small, and cooked them long enough, the potatoes would start to break down and create a creamy effect.  Thus, solving the problem of what to blend.  In the end, what I got was a brothy soup with bit of a creamy texture that is simply divine.  Enjoy!


Ham, Potato and Bean Soup


Ham, Potato and Bean Soup
Author: 
Prep time: 
Cook time: 
Total time: 
 
Ingredients
  • 1 med onion
  • 2 carrots
  • 2 celery ribs
  • 3 potatoes
  • 2 cups chopped ham, fat and grizzle removed
  • 1 can of white cannellini beans, drained
  • 4 cups broth
  • 1 bay leaf
  • 1 clove of garlic
  • 1 teaspoon Italian herbs
  • Pinch of thyme
  • Salt
  • Pepper
  • Olive oil
Instructions
  1. Chop ham to bite size pieces, fat and grizzle removed
  2. Peel and chop carrots and celery
  3. Peel and chop onion
  4. Peel and chop two of the potatoes
  5. The the third potato chop into smaller pieces
  6. Chop garlic clove.
  7. Sauté onion in olive oil till translucent
  8. Add salt and pepper
  9. Add celery and carrots and sauté for a few minutes
  10. Add potatoes and garlic, sauté for a few minutes
  11. Add ham, beans and stock
  12. Add Italian herbs and pinch of thyme
  13. Bring to boil then simmer on low till small potatoes start to disappear
  14. Salt and pepper to taste.
  15. If needed add more herbs

Chicken Soup With Rice and Thyme

It’s deep in the fall and the weather is unusually warm.  But that doesn’t mean you can’t make a great soup.  And what better one then a classic?   This time I will keep it simple but very flavorful.   I had some leftover chicken broth from a previous meal and froze it.  I decided instead of taking that and making stock out of it I would use it as is to be my base for this soup.  It’s basically chicken water but it lended itself beautifully to this recipe.   But if you don’t have any lying around regular chicken sock will work.  I hope you enjoy it! I did!


Chicken soup with Rice and Thyme
Prep time: 
Cook time: 
Total time: 
 
Ingredients
  • 2 boneless skinless chicken breast
  • 4 cups chicken broth(water)
  • ½ cup of rice uncooked
  • 3 ribs of celery
  • 2-3 carrots
  • 1 medium onion
  • 2 cloves of garlic
  • 1 bay leaf
  • Thyme
  • Olive oil
  • Salt and pepper
Instructions
  1. When I say 2 chicken breasts I mean two halves.
  2. Make them good sized ones.
  3. This should still be a hearty soup.
  4. Cut chicken into bite sized chunks
  5. Chop onion
  6. Chop celery
  7. Peel and chop carrots
  8. Chop garlic and separate
  9. In a large stock pot, pilule sauté onion and half of garlic in olive oil
  10. Add celery and carrots
  11. A little thyme
  12. A pinch Salt and pepper
  13. Add chicken and cook till done
  14. While cooking the chicken, cook rice till it's almost done.
  15. When chicken is done, add stock/chicken water
  16. Add bay leaf, garlic and a generous amount of Thyme.
  17. Don't over do the thyme!
  18. It should be prominent but not over powering.
  19. Taste and smell as you add
  20. Salt and pepper to taste.
  21. When rice is almost done add it to the soup.
  22. Cook soup for another 10-15 minutes on medium till rice is fully cooked and soup is fully heated
  23. Chicken should be tender and veggies should still have a little crunch.
  24. If you like softer veggies cook a little longer

What To Do With Your Hot Sauce!

Chile smashing! image


As you all know we are now making hot sauces. What started out as Christmas gifts has blown up to be a part time business. Hopefully this year we can make it a full time job. But in the meantime people keep asking us what we use our hot sauce for? Well we like to put it on anything that will stand still. But not everyone is like us, shop so here are a few of our favorite things…

Deviled eggs
Who doesn’t love deviled eggs??? What we do is instead of mustard we add a little hot sauce in the mayonnaise and egg yolk mixture to give it a little kick and a drop on top for decoration.

Hot wings
The Super Bowl favorite or an Oscar guilty pleasure. If you’ve made hot wings at home you can just imagine what out hot sauce will do to those little bits of mouth watering chickadees. Yum!

Pasta salad
Just like the deviled eggs, add a little to your potato salad for a nice punch and an unexpected heat that your guests will love and wonder how you did it.

Chicken salad
This is one of my favorites. I mix this with chicken, mayonnaise, a dash of mustard, celery, carrots and red onions, sometimes a little cilantro, and presto you have the beginning of a great salad or wrap or sandwich.

There are so many things you can do with our hot sauces. Treat them like an ingredient in your kitchen arsenal. Let your imagination go wild. That’s what we do! We hope you like the tips and will use them and create your own fun dishes. Till next time, spicy love to all!!

Hot sauce of the month club!

We are excited to announce our hot sauce of the month club!  Every month we will post a new hot sauce or salsa.  Join our facebook page to get your monthly reminder and tips on what we are using our sauces with.  If you want one for yourself or a friend just like the sauce of the month and we will contact you and get it out right away.   Of course you can always write us here and we will be glad to help.   Happy saucing!!!

https://www.facebook.com/zetahotsauce

Vegetarian Chili for Camping

Chili Chili fixin's Chili veggies


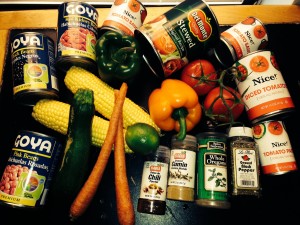
One of the easiest things to make for camping is vegetarian chili. You just chuck everything in a pot, no rx let it simmer for a while and tah dah! It’s done. I’ve made this so many times that I don’t measure anymore. Who am I kidding a never measure! Ok so I’ve gotten better at measuring thanks to writing about what we cook. You can keep it vegetarian or add meat it’s all up to you. We usually are out for a couple days so keeping it meat free is best. I also freeze it so it becomes part of the ice we use to keep everything fresh. I like to add as many fresh ingredients as possible, like tomatoes, corn, carrots, onions, bell peppers and sometimes zucchini. This is a great dish to experiment with and have fun.


Vegetarian Chili for Camping
Author: 
Recipe type: Main dish
Prep time: 
Cook time: 
Total time: 
Serves: 6-8
 
Ingredients
  • 1 8oz can of black beans
  • 1 8oz can of dark kidney beans
  • 1 8oz can of pink beans
  • 1 28oz can of whole tomatoes
  • 1 14.5 oz can of chopped tomatoes
  • 1 15 oz can of tomato sauce
  • 1-2 6oz cans of tomato paste( depending on how thick you want it)
  • 2 tomatoes
  • 1 med onion
  • 1 med green bell pepper
  • 1 med red or yellow or orange bell pepper(your choice)
  • 2 carrots(3 if small)
  • 1 med zucchini
  • 2 cloves of garlic
  • 1 teaspoon of oregano
  • ¼ teaspoon of cumin
  • 2 tablespoons of chili powder
  • ¼ teaspoon of ancho chile powder
  • 1 large or two medium bay leaves
  • ½ tablespoon of salt
  • ½ tablespoon of pepper
  • Pinch of red pepper flakes
  • Olive oil
Instructions
  1. Peel and chop onion
  2. Peel and chop carrots
  3. Chop bell peppers and zucchini into cubes
  4. Cut kernels off corn
  5. Chop tomatoes
  6. Peel and rough chop garlic
  7. In large sauce pan add some olive oil and onion
  8. A sprinkle of salt and pepper
  9. Sauté for a few minutes
  10. Add tomatoes and simmer for a few minutes till tomatoes start falling apart
  11. Add remaining vegetables, garlic and cans of tomatoes, sauce and paste
  12. Rinse beans and add them to the pot
  13. Add spices and herbs, salt and pepper
  14. Simmer for about 20 minutes
  15. let cool and put in freezer bags and freeze.
Notes
If you aren't a camper that's ok, this is a great meal anytime. They say to let chili sit overnight that way it incorporates all the flavors. I usually can't wait, but if you can, let the pot cool off, refrigerate and reheat the next day.
Don't for get the hot sauce, cheese and sour cream for the ultimate bowl of chili!

Final hot sauce is here!


Wow! It’s the last hot sauce of  our hot sauce mania month! We can’t believe it.  So we accidentally took a couple weeks off and our month turned into six weeks.  We are human and needed to rest and enjoy the summer.  But now it is back to work.  And without further ado I give you:


Blossoming Tumescence


Blossoming Tumescence
Author: 
Recipe type: Condiment
Prep time: 
Cook time: 
Total time: 
 
Ingredients
  • 8 Puya
  • 2 mulato
  • 2 japones
  • 2 New Mexico
  • 1 chipotle
  • 4 garlic
  • ¼ cup chili water
  • ¾ cup of vinegar
  • ¼ cup apple cider vinegar
Instructions
  1. Soak your peppers in hot water for 30 minutes
  2. Either in a bowl weighed down so chili's are submerged or in a ziplock bag
  3. When chili's are done pull off stems and discard
  4. Also discard any seed and veins that come with stems
  5. Combine all ingredients into a blender and blend till smooth
  6. Strain through a sieve and discard any solids
  7. Serve immediately, mind or put on your favorite bottle for later


Remodeling and The Bean Soup

Mixed Bean and Lentil Soup with Bacon
Author: 
Recipe type: Main dish
Prep time: 
Cook time: 
Total time: 
Serves: 6-8
 
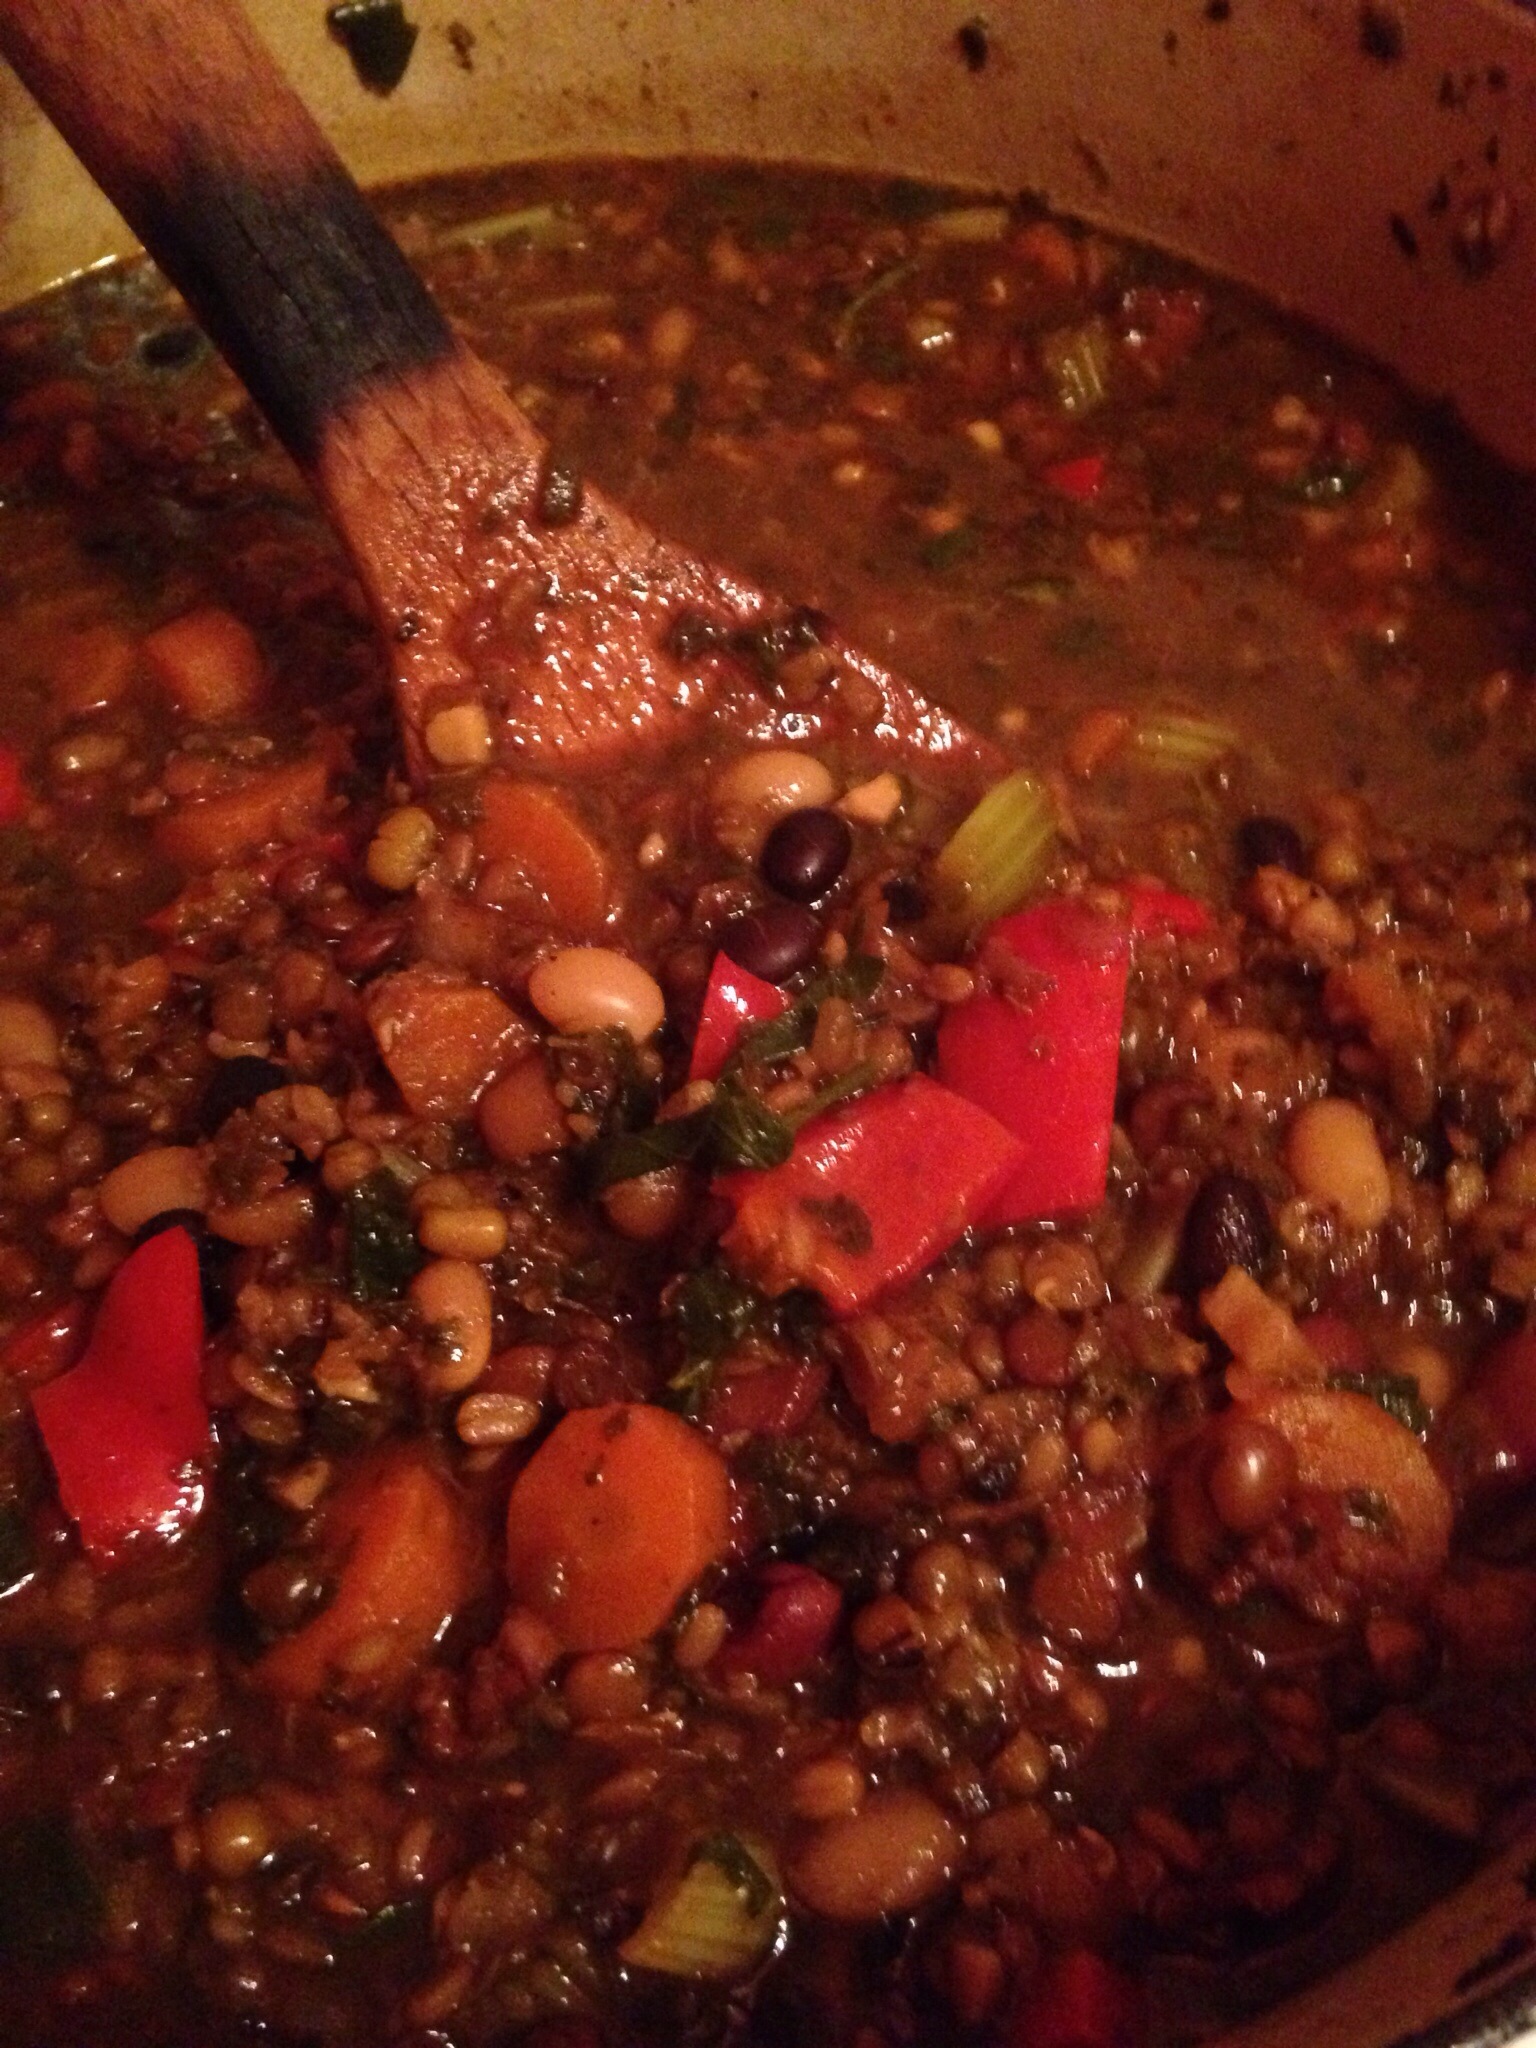
This is a very easy recipe that you can leave and get things done. Once you have done the prep all you have to do wait.
Ingredients
  • 1 lb of mixed beans and lentils
  • 2 Tbsp of butter
  • 1 Tbsp of olive oil
  • 6 cups of stock(your choice)
  • 4 pieces of bacon chopped
  • 1 onion
  • 1 red bell pepper
  • 4 celery ribs
  • 4 carrots
  • 1 bunch of flat leaf parsley
  • ½ box of frozen peas
  • 1 lime cut in half and separated
  • 2 bay leaves
  • 2 cloves of garlic chopped
  • dry herb mix- oregano, salve dill, medical chive, celery leaf, kale, parsley
  • (you can make your own mix)
  • Splash of red wine or beer or water
  • Salt and pepper to taste
Instructions
  1. Chop up bacon
  2. Chop up onion
  3. Cut celery into ½ inch pieces
  4. Peel and cut carrots into ½ inch rounds
  5. Cut red pepper into ½ in squares
  6. Rough chop parsley and set half to the side
  7. On med to high heat put oil and butter in large soup/stock pot
  8. Add onion and cook till they get soft
  9. Make a ring on the edge of the pot with onions
  10. Add bacon in the center and let cook for a couple minutes
  11. Stir onions and bacon together and cook till bacon starts to get crisp
  12. Add stock, beans and lentils and herb mix
  13. Bring to boil and lower flame to very low
  14. Let simmer for 4-5 hours with lid on
  15. Last hour add celery, carrots and bell peppers
  16. Add beer or wine or water if soup seems too thick
  17. (this is if the soup starts to get to dry)
  18. You want some broth
  19. The last 15 minutes add the peas and half the parsley
  20. Save the other half for garnish
  21. Salt and pepper to taste
Notes
The beans and lentils can be any combo you want. Also I say 6 hours but the soup can be ready between 4- 6 hours. It just depends on how you like your beans. Adjust times accordingly


We started the remodel because Jason’s friend suggested it.  Not only suggested it, but had developed a plan.  Jason was all ears.  I heard about it second hand.  It sounded vague but promising.  So we headed to this warehouse in Greenpoint to get these colorful brackets that were the basis of this mini make over.  They were bright, but something about them and the ideas that were being talked about made sense.  We walked out with a bunch of them.  The plan was in motion. We stopped at a bar to discuss the rest of the plan as it existed at that time.  As things came together, salvaged wood shelving, the color scheme of the kitchen, things changed and evolved.  Next thing you know we are painting the ceiling terracotta/brick red and the inside of the pantry became canary yellow.

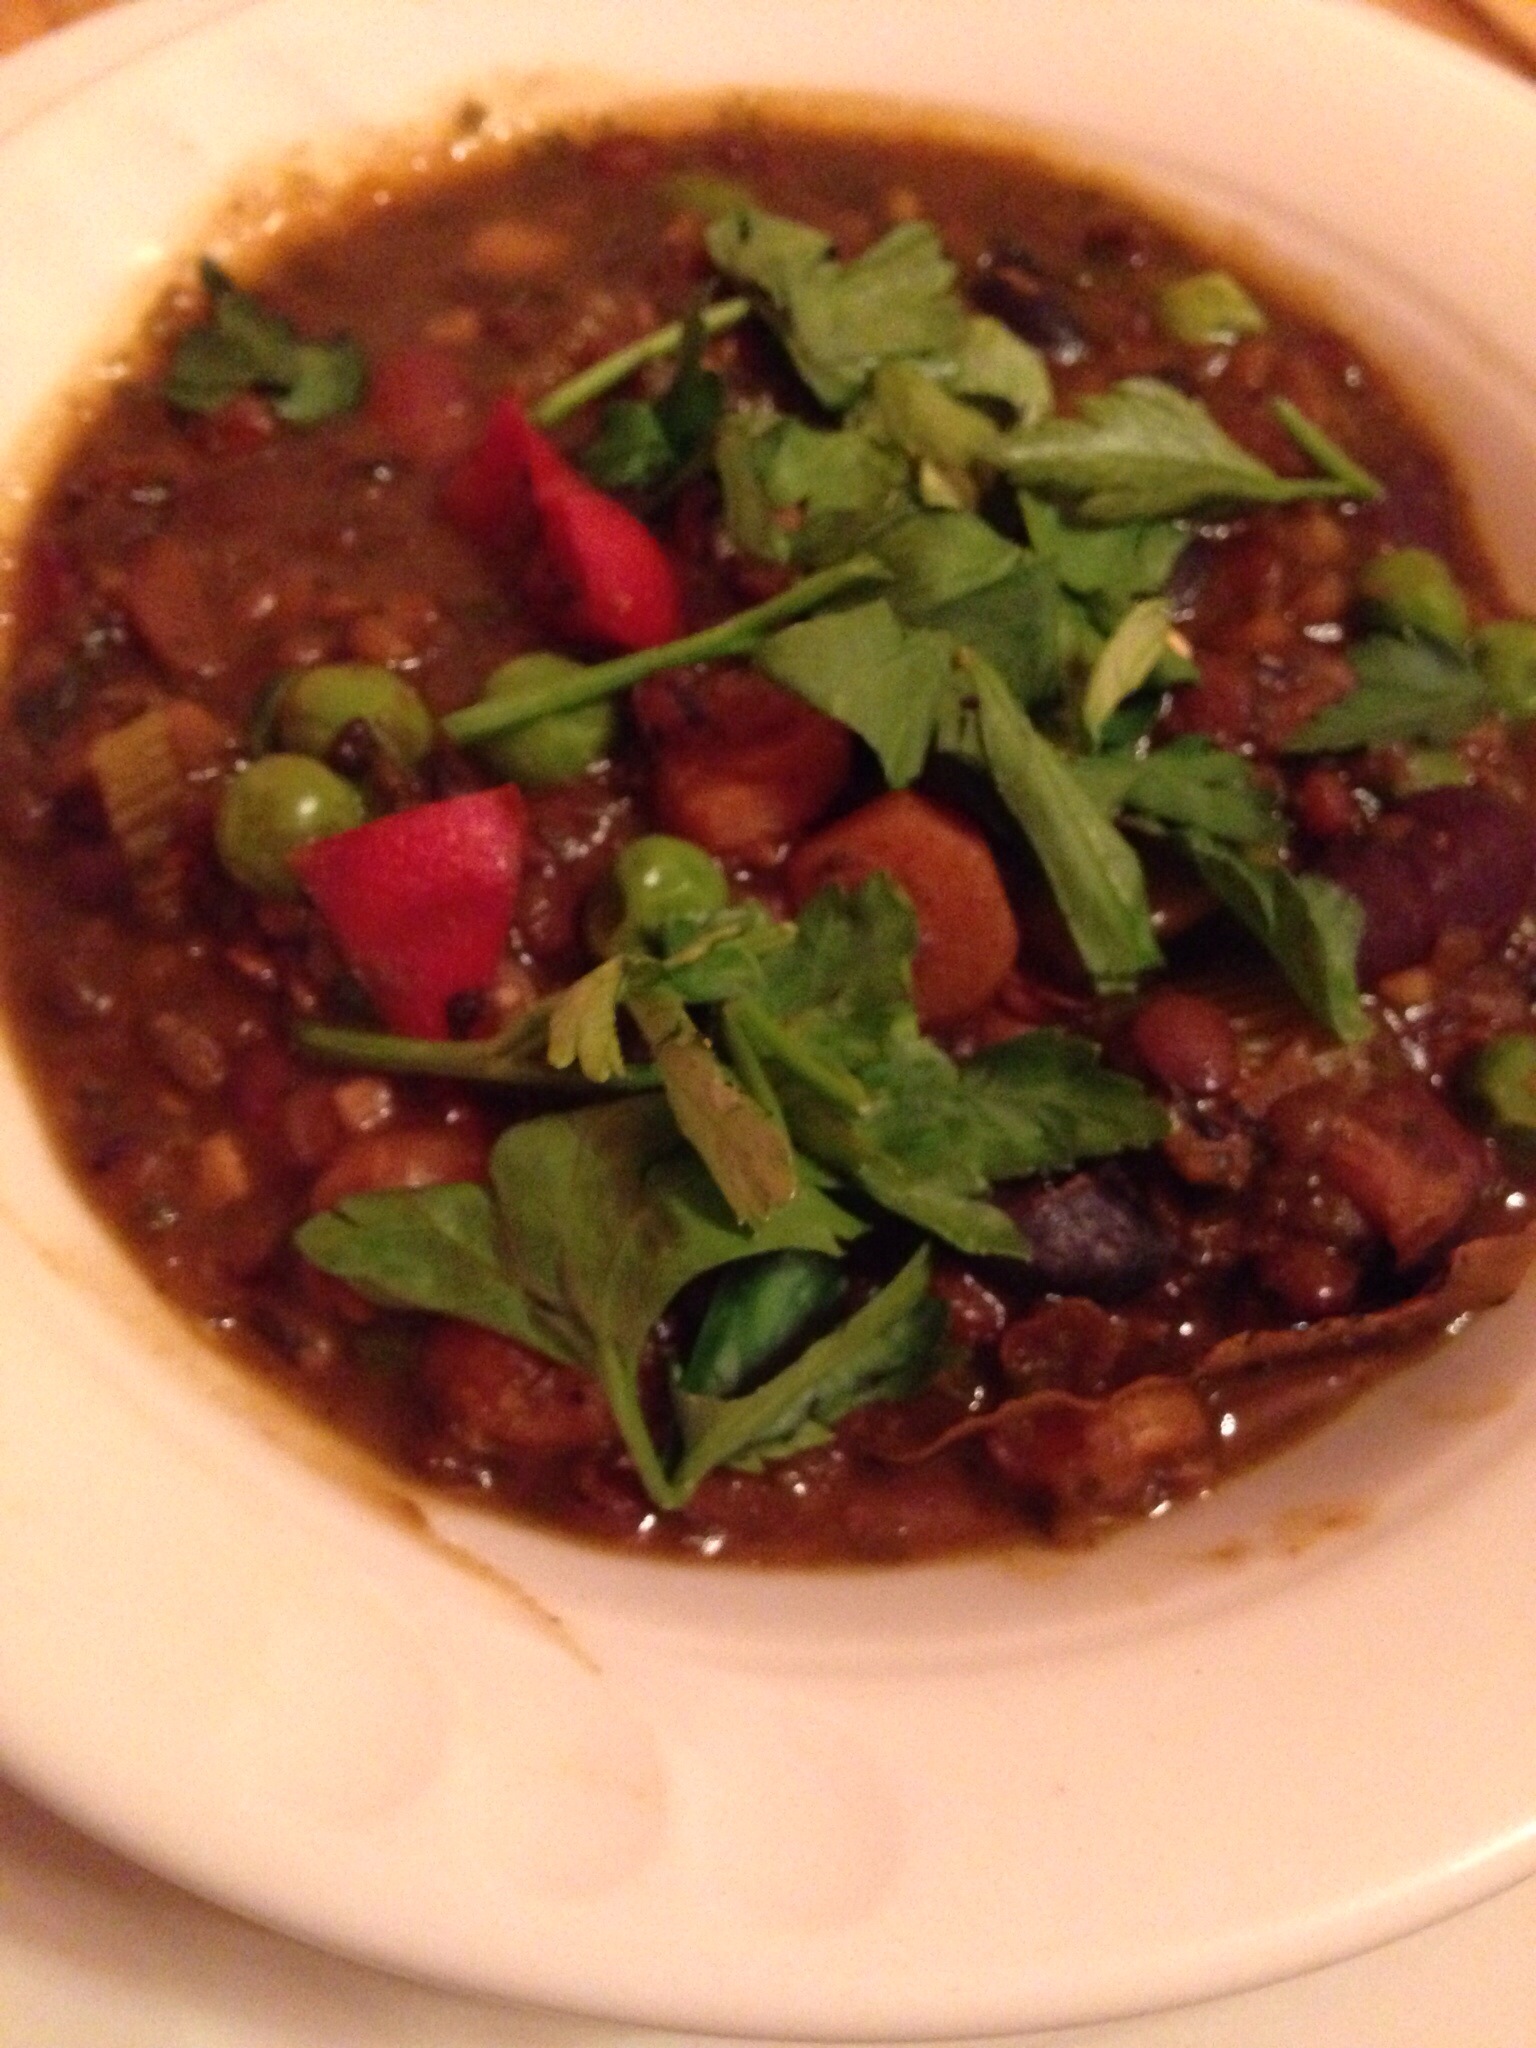
The apartment is in complete disarray.  So cooking is not easy, to say the least.  But the Lab must continue to experiment and make new food.  The latest is a mixed bean, lentil and bacon soup that could sit for hours as we continued to work on the shelving.  It’s a basic soup but with a few extras thrown in on purpose and also just for the fun of it.  We started with a bag of beans and lentils we found at our local Indian market.  You could easily replicate the of mix beans and lentils if you don’t have access to store like this.  From there it was what broth to use?  We chose a combo of beef and vegetable.  One, because it’s what we had available and two because given the chance I will always use broth over water.  For reasons that are obvious.  We also had an herb bag for soup that we found during our excavation of the pantry.  Also from the Indian store.  From there we added onion, bacon, celery, carrot and a red bell pepper. As the soup cooked and as I tasted it, it also changed. From seasoning, to consistency, to the acidity. I added half the juice and pulp of a lime.  I always have citrus around as it’s always good for such occasions.  It took the bite out the soup that I couldn’t help but wonder how it got there.  I thank my friend Regina for this trick.  She is a brilliant cook.

Four hours and a few layers of polyurethane later we were ready to eat.  The soup was amazing and though we aren’t nearly finished with the kitchen and the shelving, at least we finished another food journey that will be part of our cannon for years to come.  Now if we could just get the rest of the kitchen off the living room floor!

Fishes

fisheatingfish


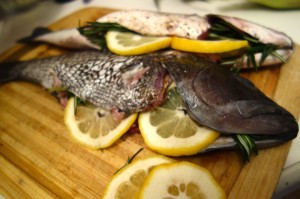
Jason had a friend over for bbq the other night and we had a small sea food fest.  We started out with mussels.  I steamed them with a semi sweet dark beer we crafted, order added some pickled ginger, a few sweet pickled pearl onions that we canned a couple winters ago and a little pickle juice to cut the sweetness.  They were amazing!  But the real show stopper was the Branzino (striped bass) and Sea Bass that they bought.  Whole fish, gutted and deboned of course.  Well not totally deboned as that is very hard to do.  We salted and peppered the cavity then put whole sprigs of rosemary and lemon slices, wrapped them up in foil and grilled them for about 12 minutes on each side.   The result was a very aromatic, moist, flaky delicious fish.   The perfume of the rosemary was light, and the lemons kept the fish from drying out – and of course the citrus aspect.  Now most people wouldn’t use such an aromatic herb, and usually I wouldn’t either.   It was one of those happy accidents.  We were going to use thyme, but we accidentally bought the wrong herb.  Oops!  We were all glad we did since there was barely any fish left over for lunch the next day.  Of course now I am craving fish with thyme and lemon.  Guess that means another bbq!!

« Older posts Newer posts »

© 2025 House of Zeta

Theme by Anders NorenUp ↑