Amtrak baggage claim ticket

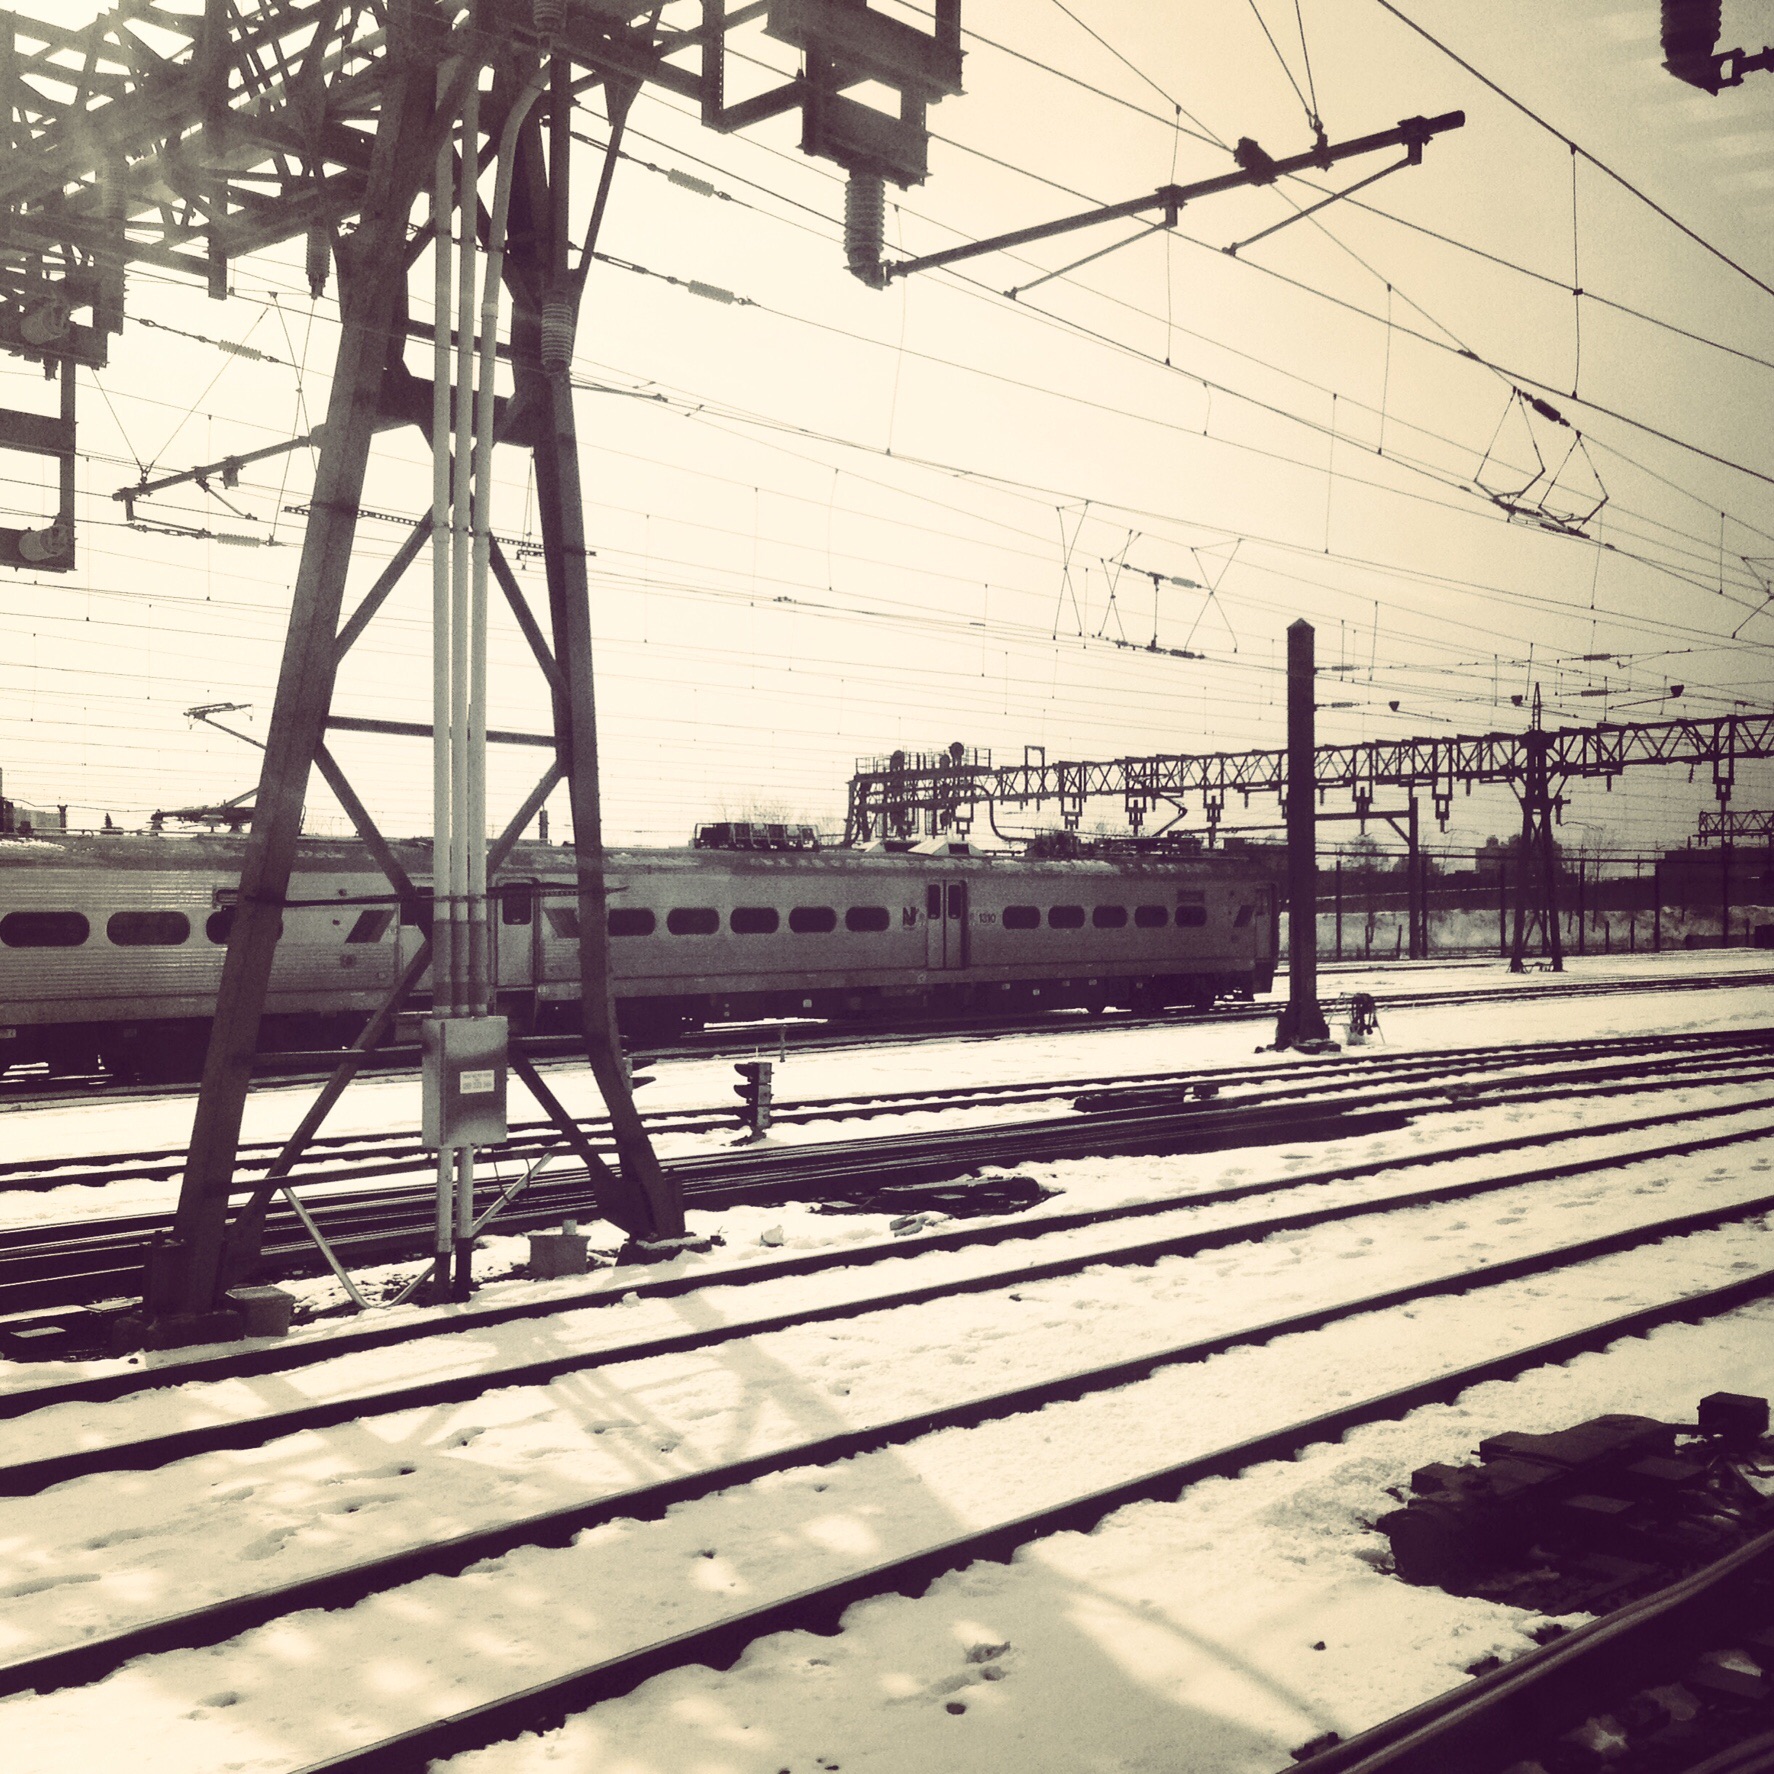
Jason documenting our train ride

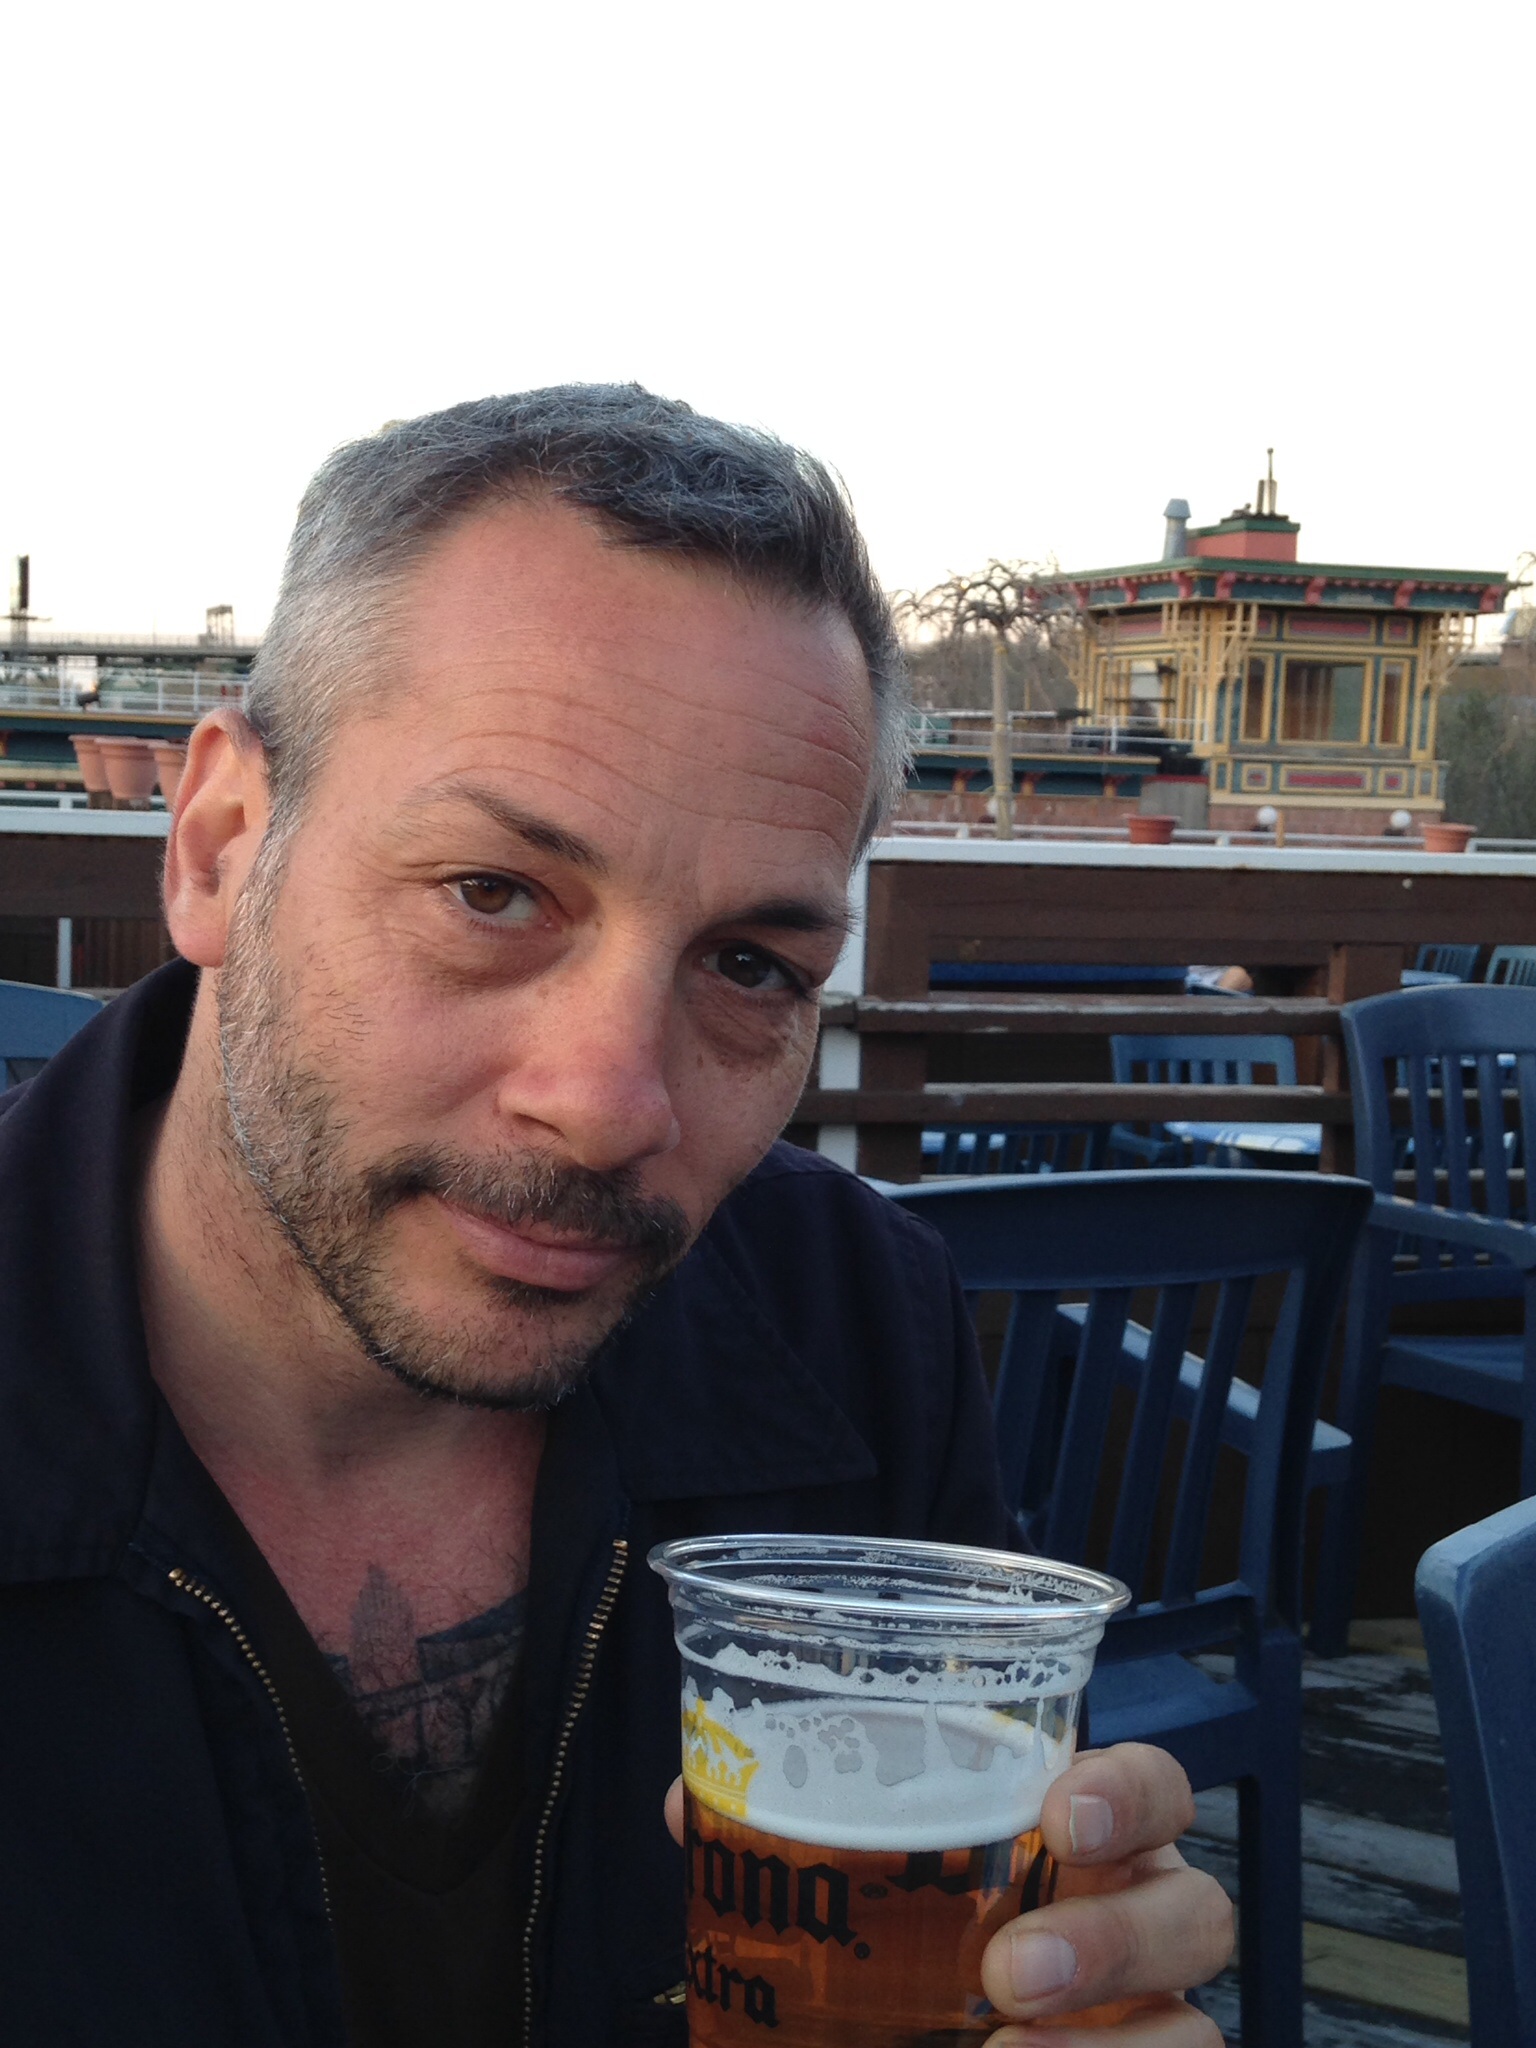
Sunset beer at Complexe Sky bar
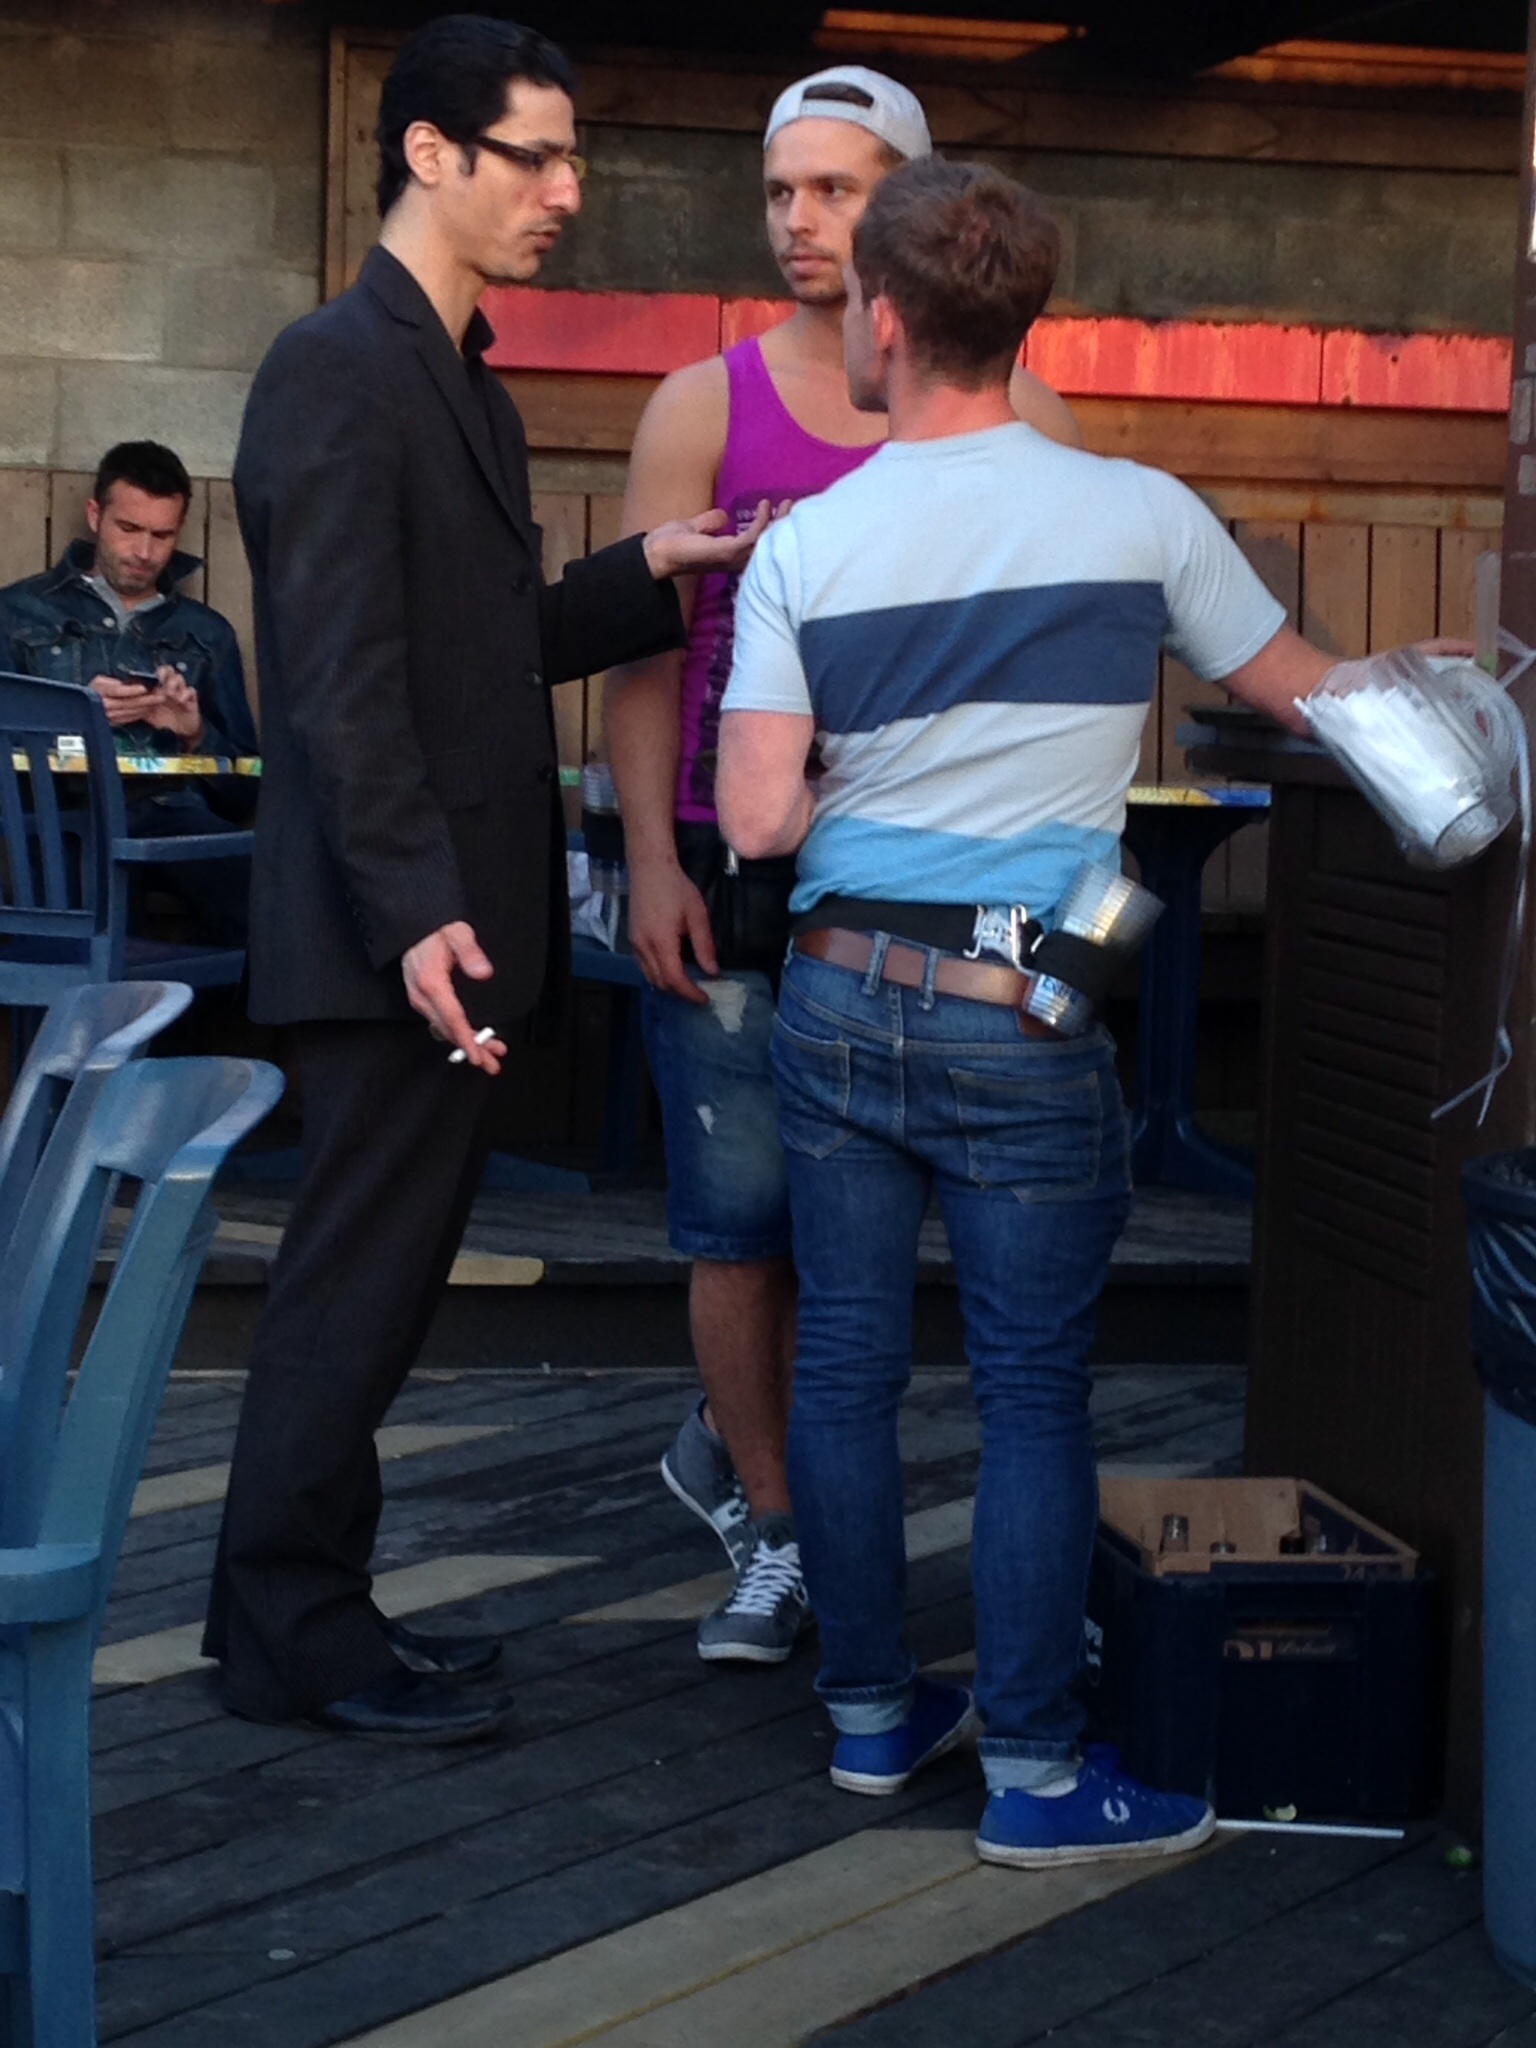
Our handsome bar staff at Complexe Sky
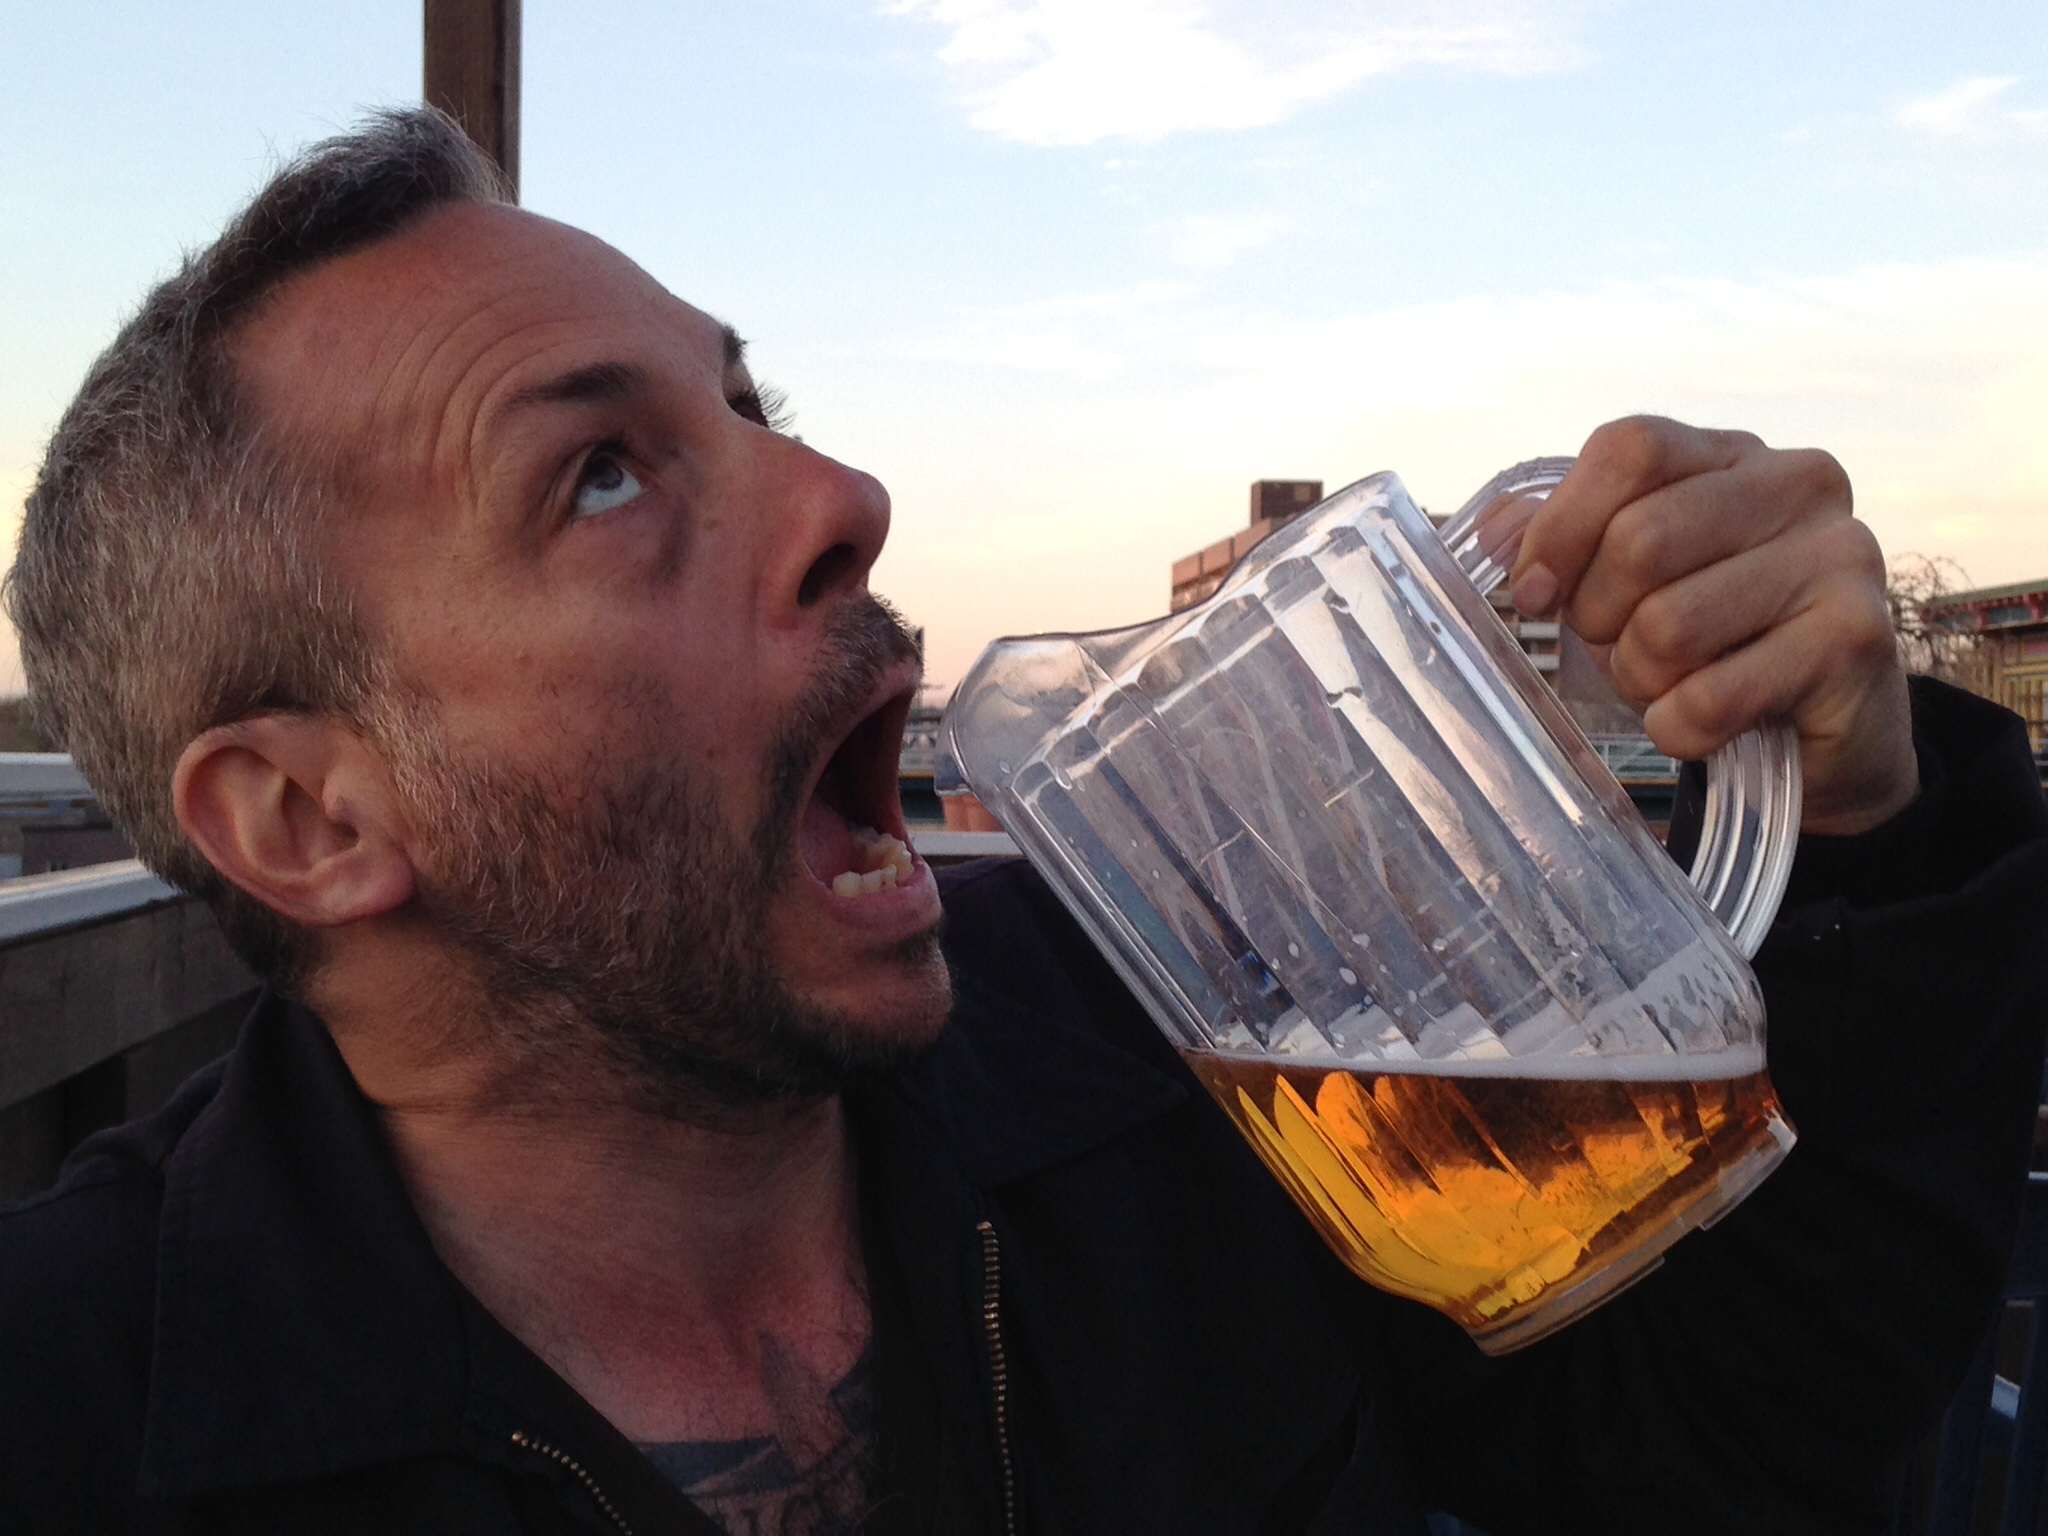
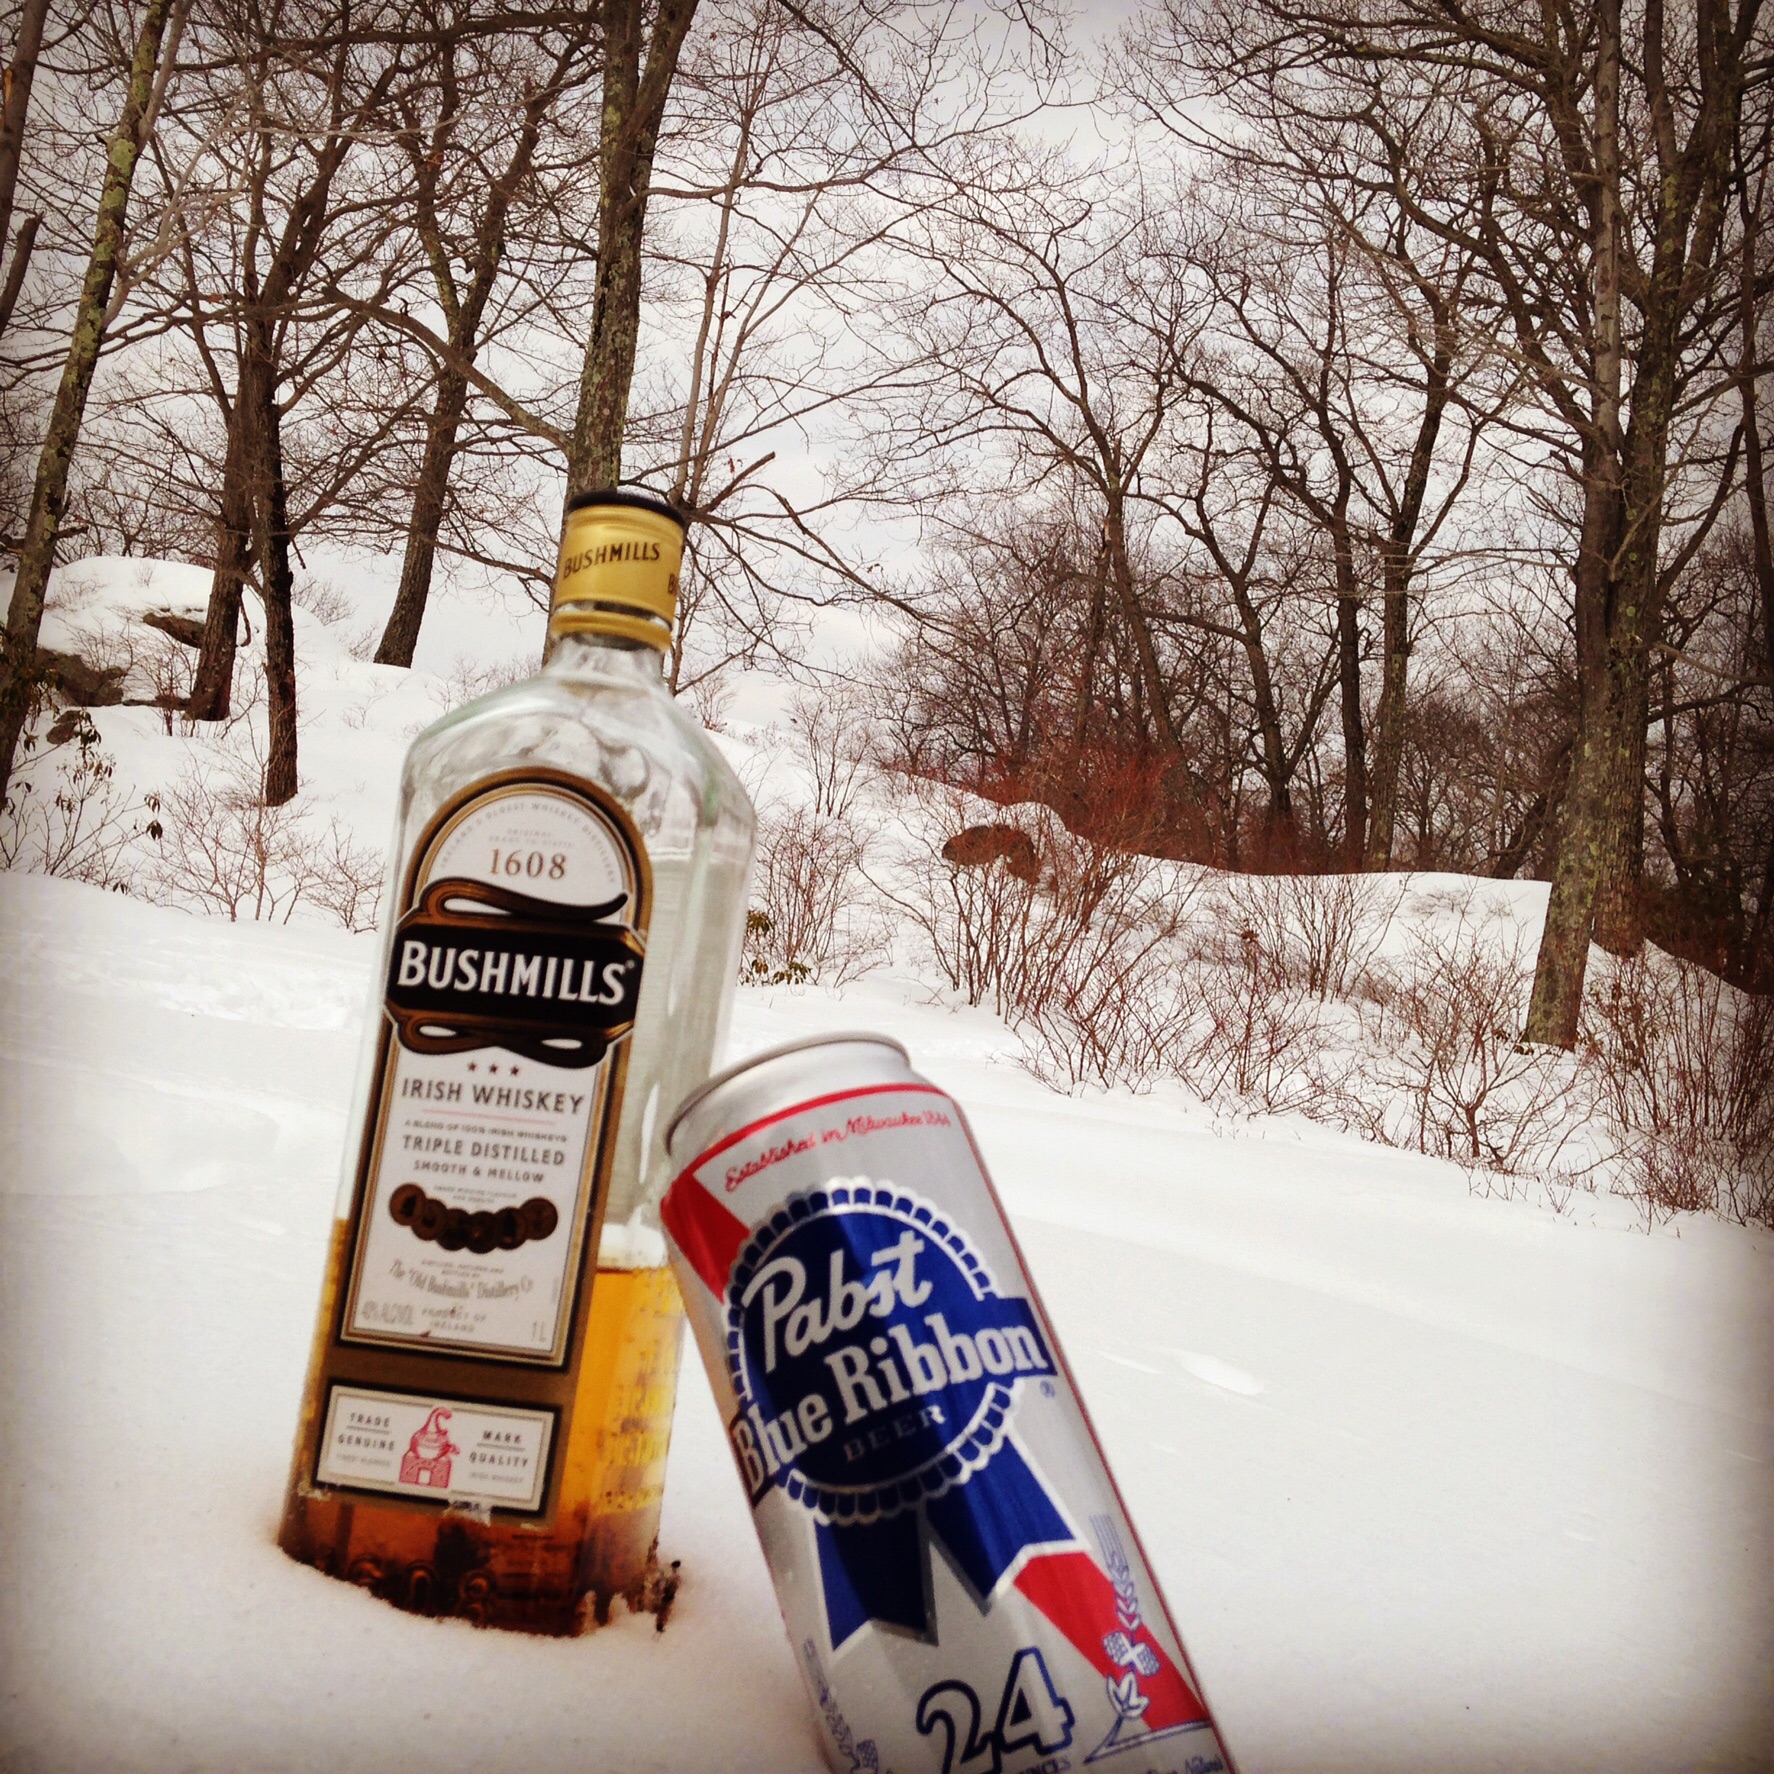
I'm thirsty get your own!

Mother's Day menu at Le Pegase

Tataki de carnard, enoki marine, oeuf de Caille , aoli d'ail noir

Gravlax de salmon, Chutney a la mangue, granite concombre

Profiteroles de chèvre au meil, joue de veau braisee, mousse de betterave
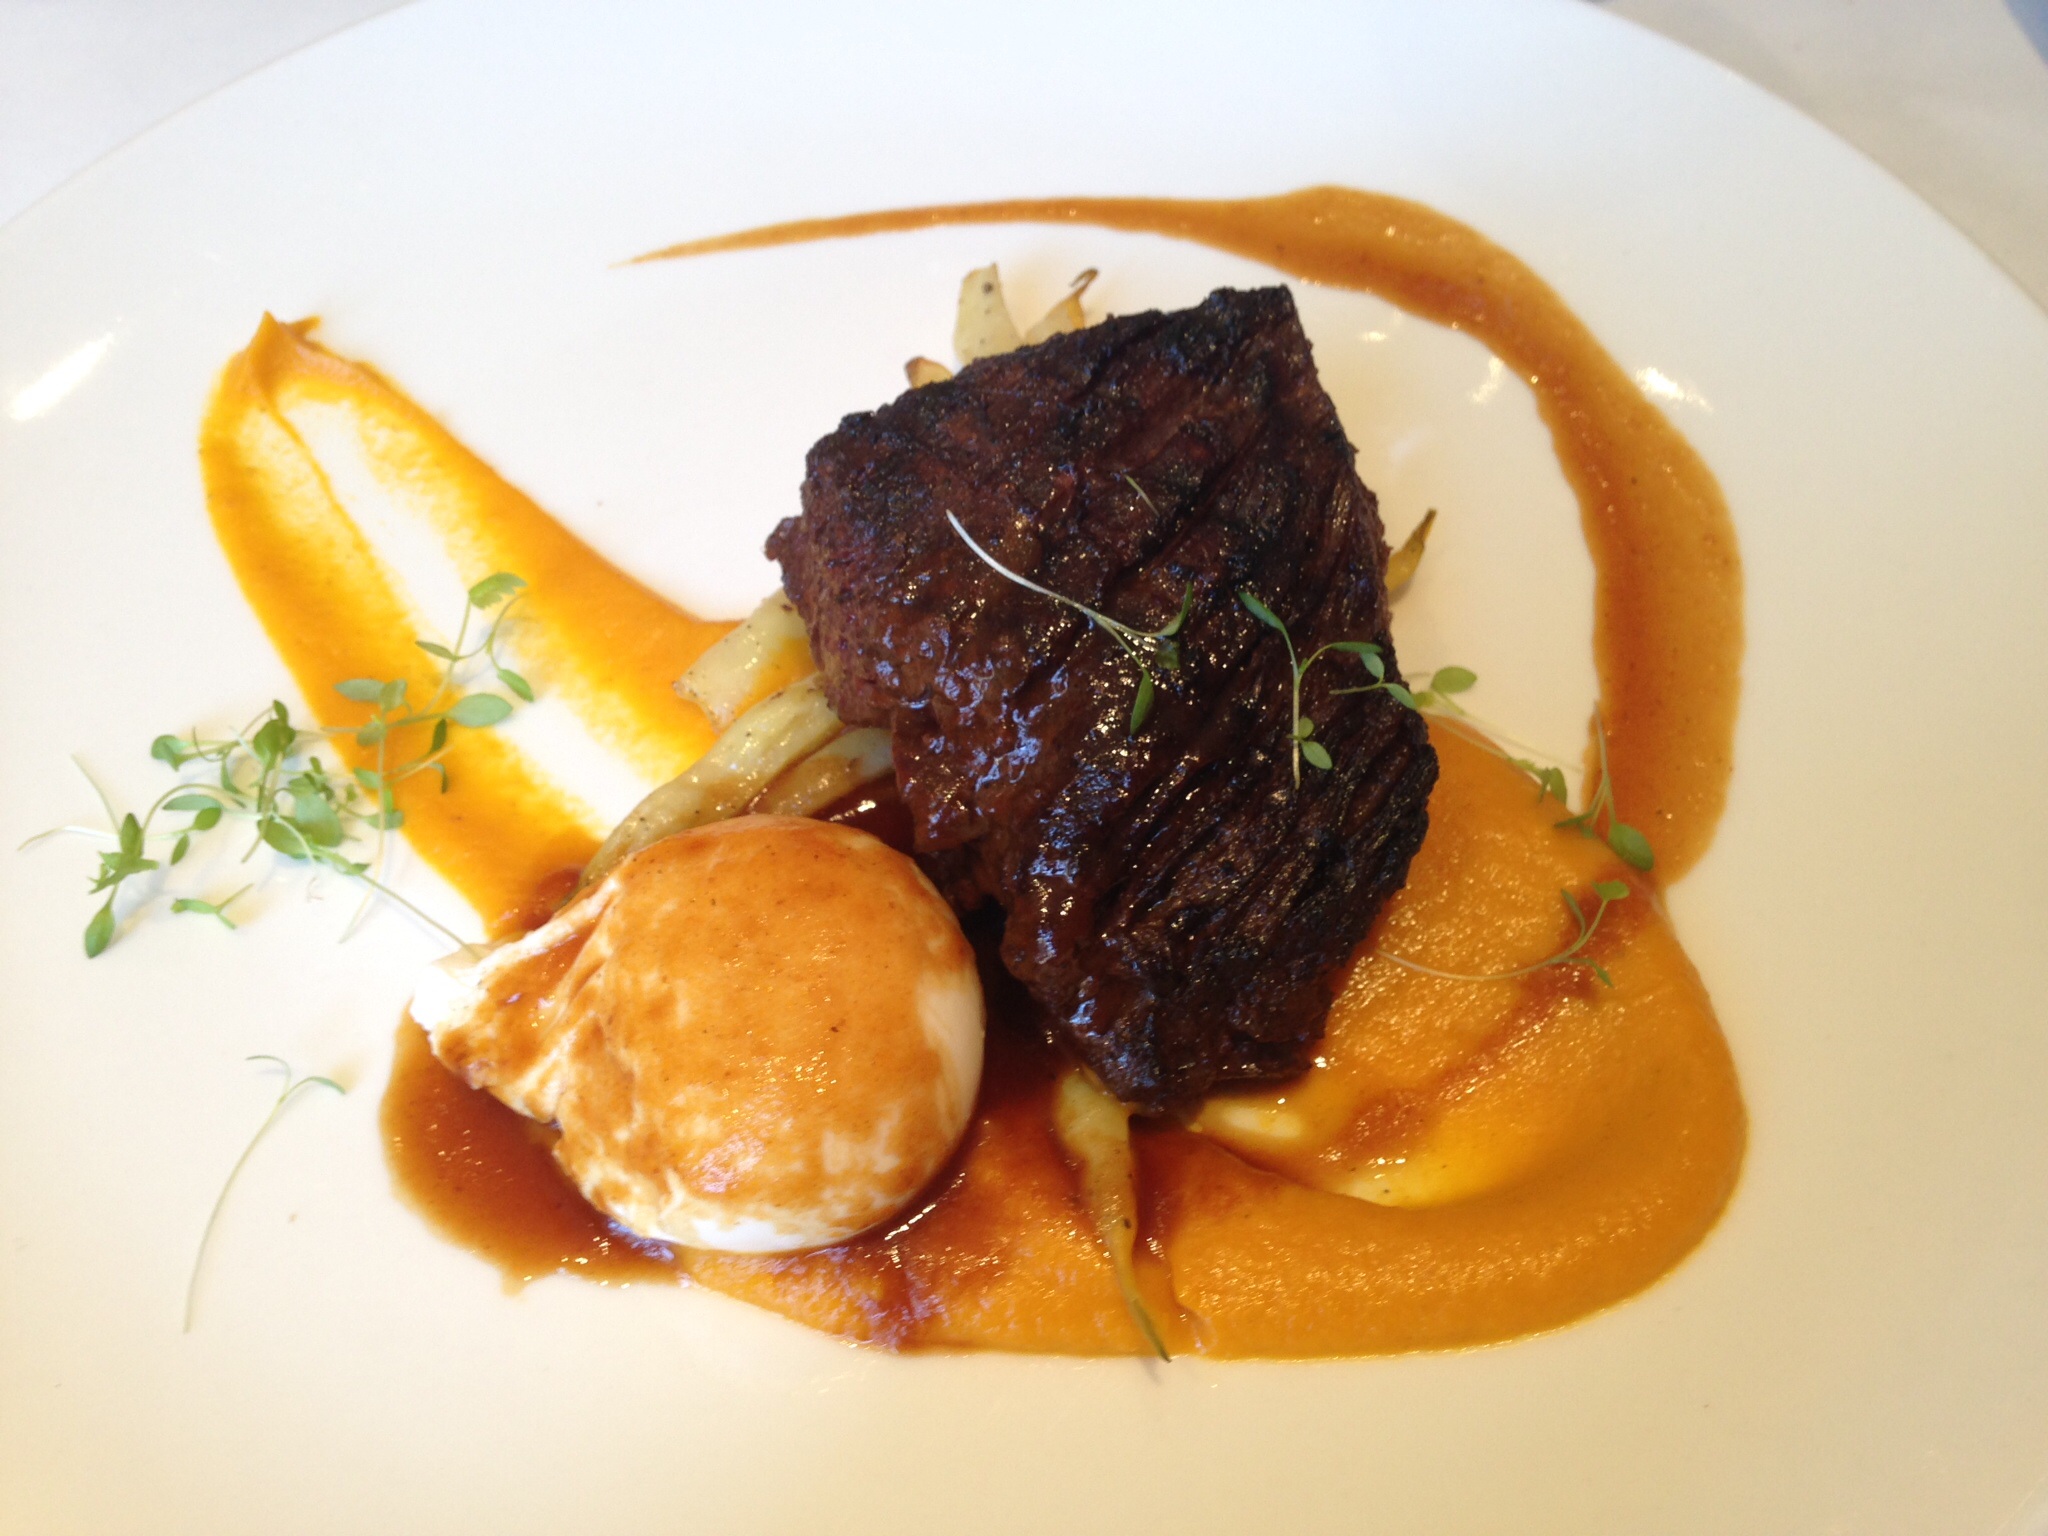
Onglet de boeuf marine, oeuf poche sauce au vin rouge
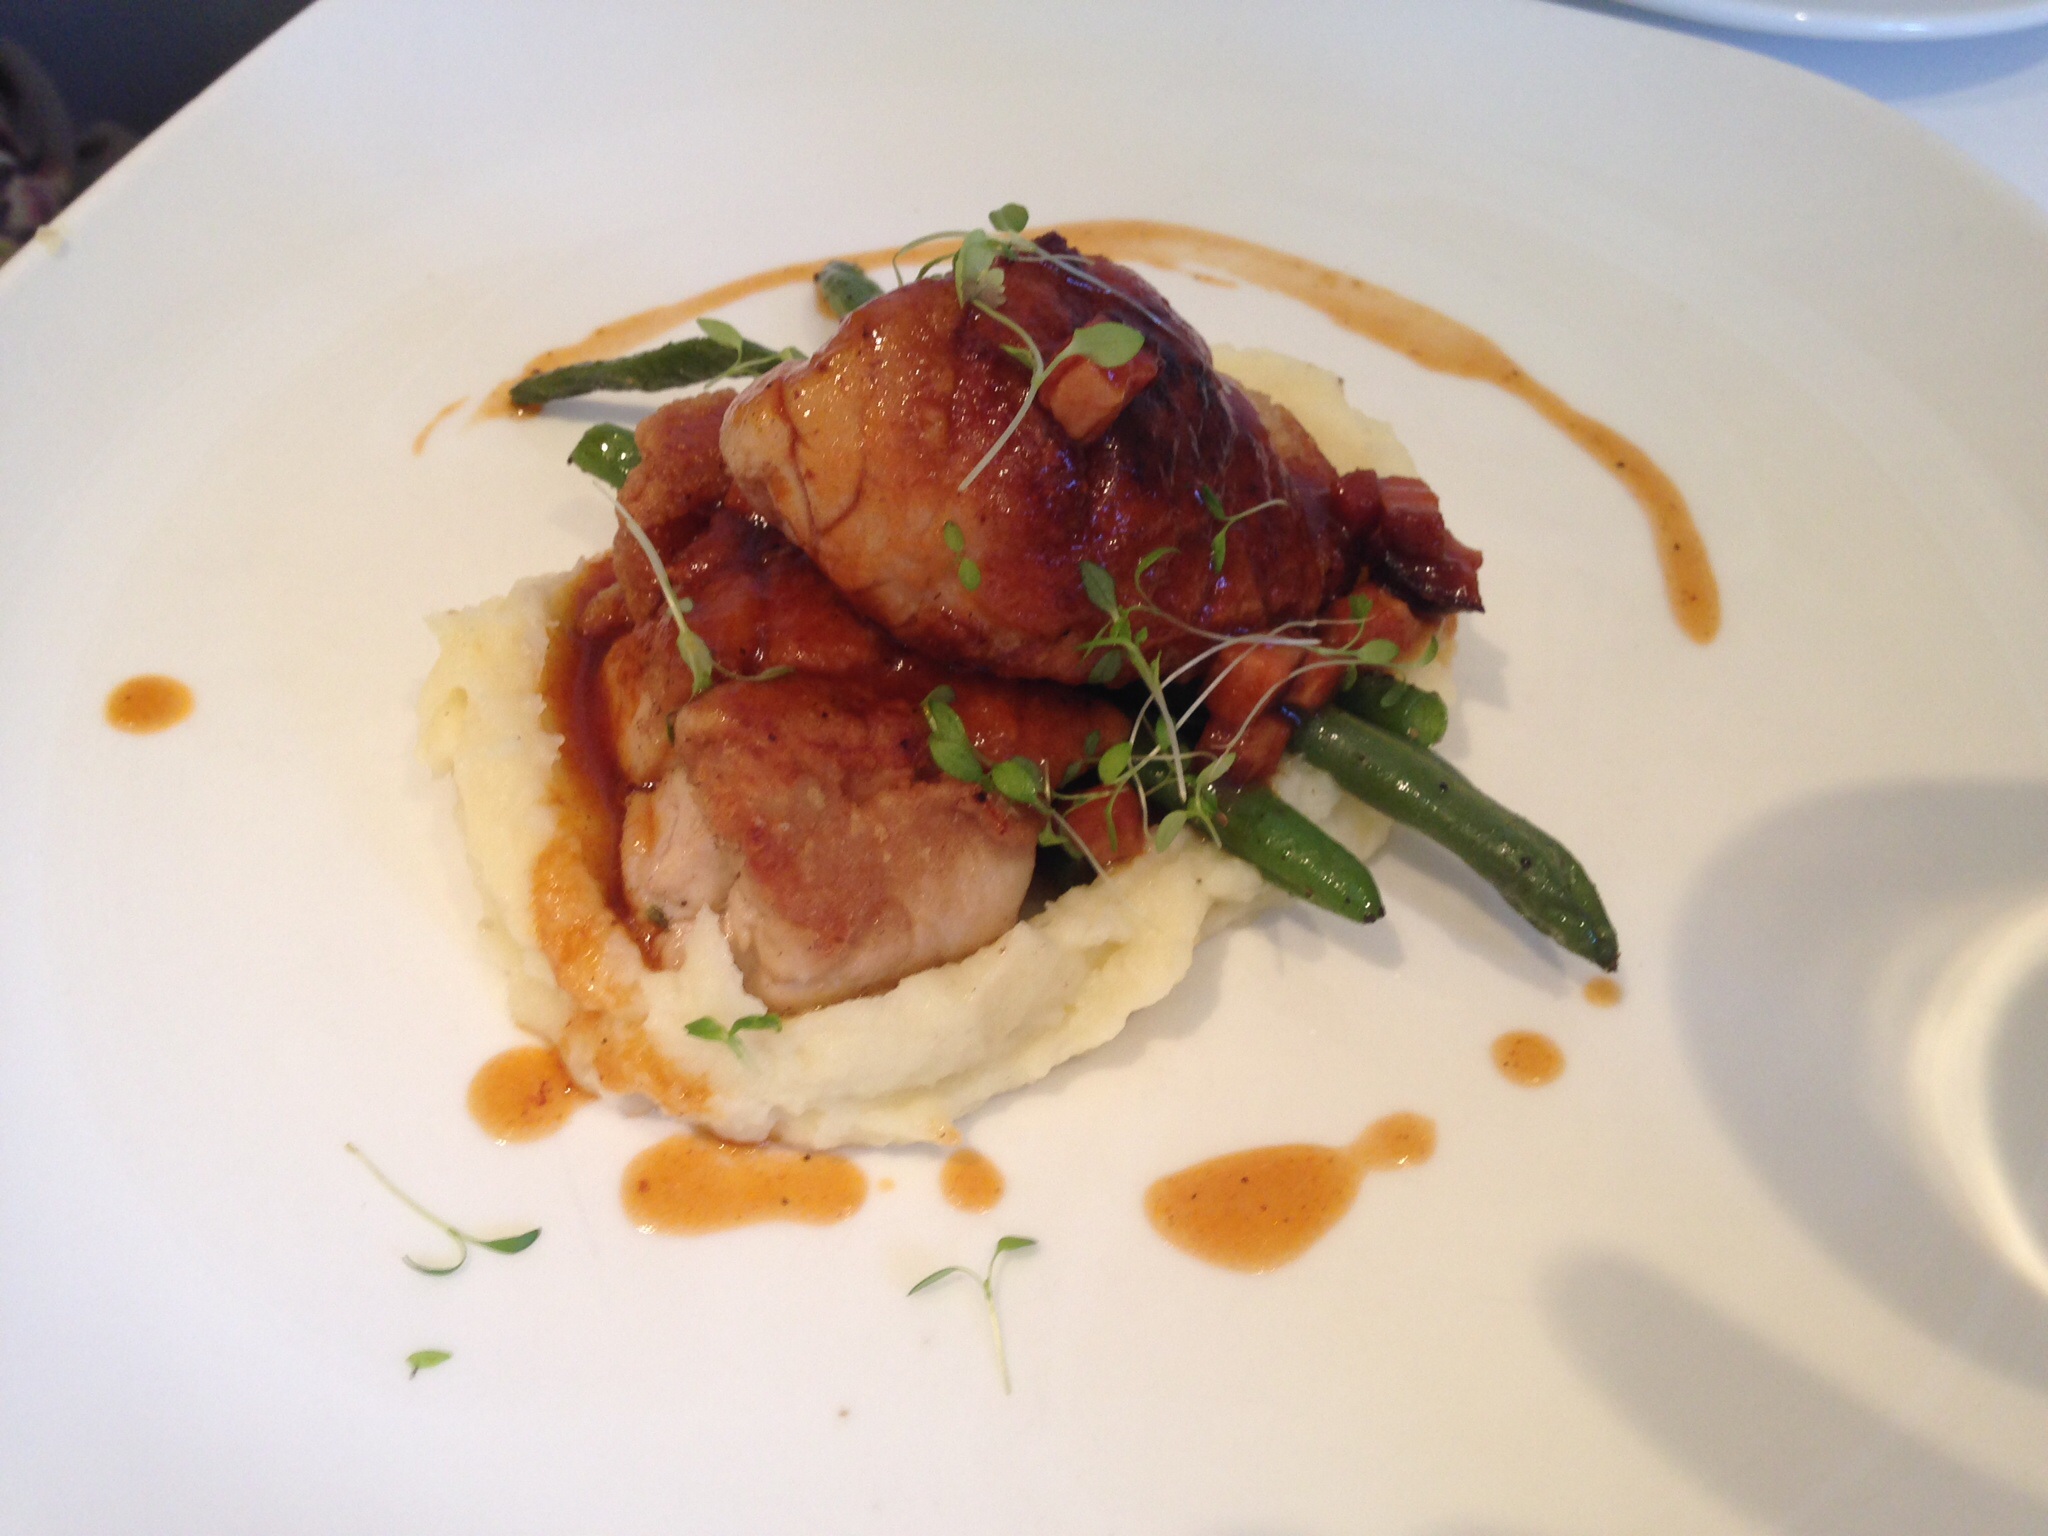
Ris de veau, purée de pommes de terre sauce a l'erable et bacon

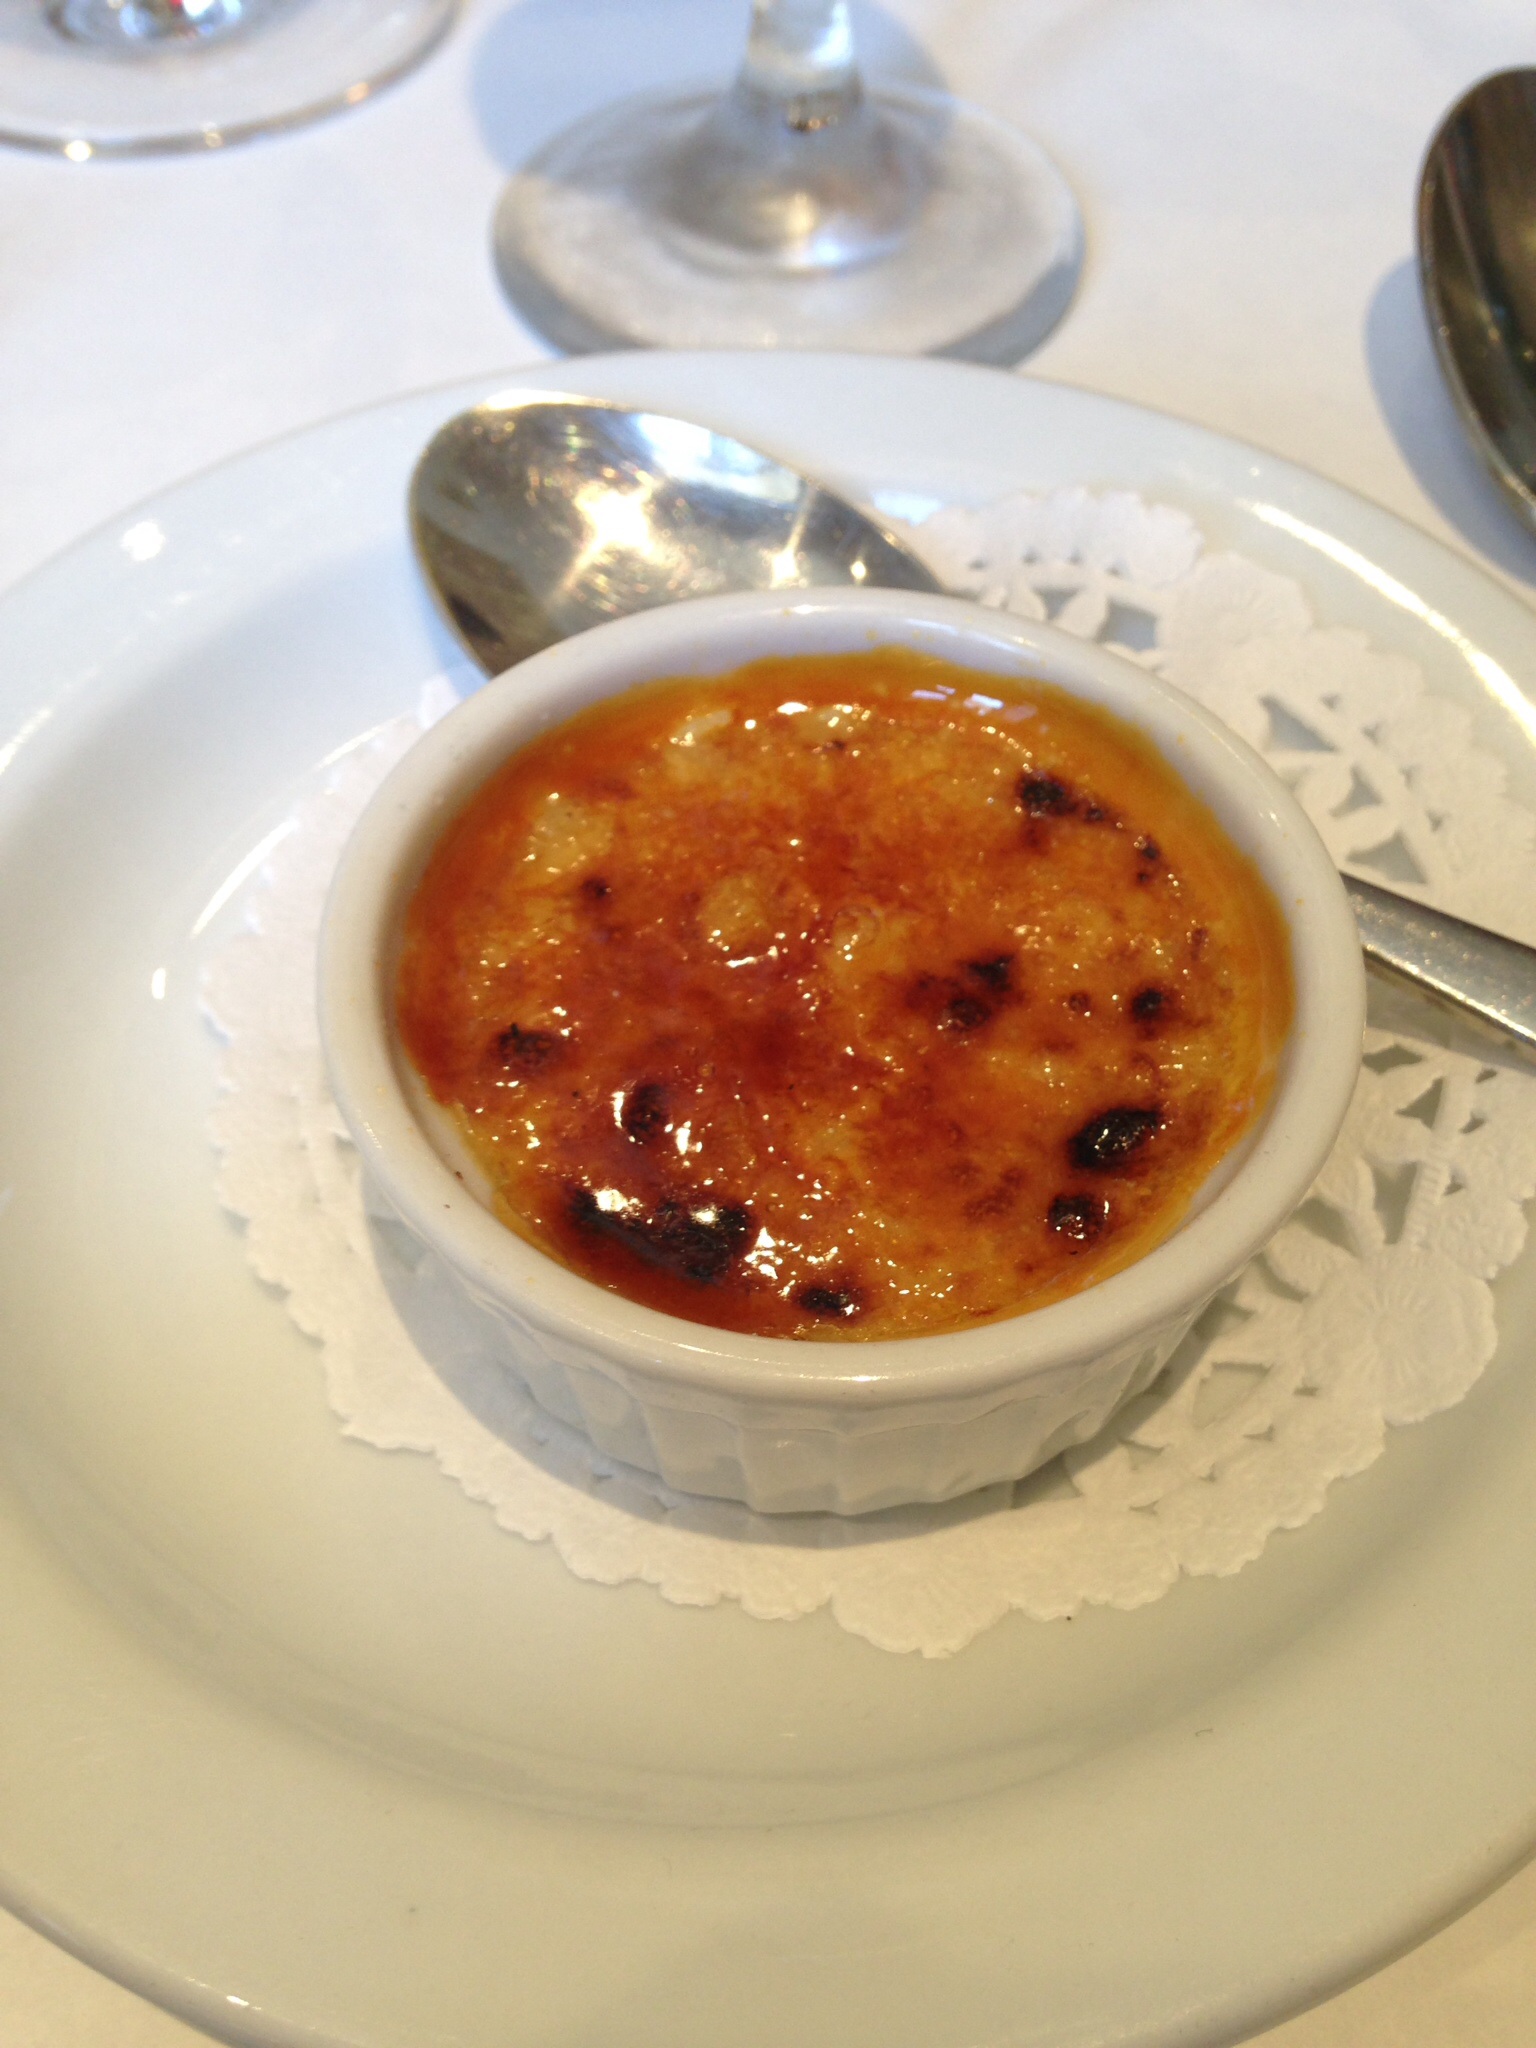
Croustillant au chocolat noir et glance a la lime

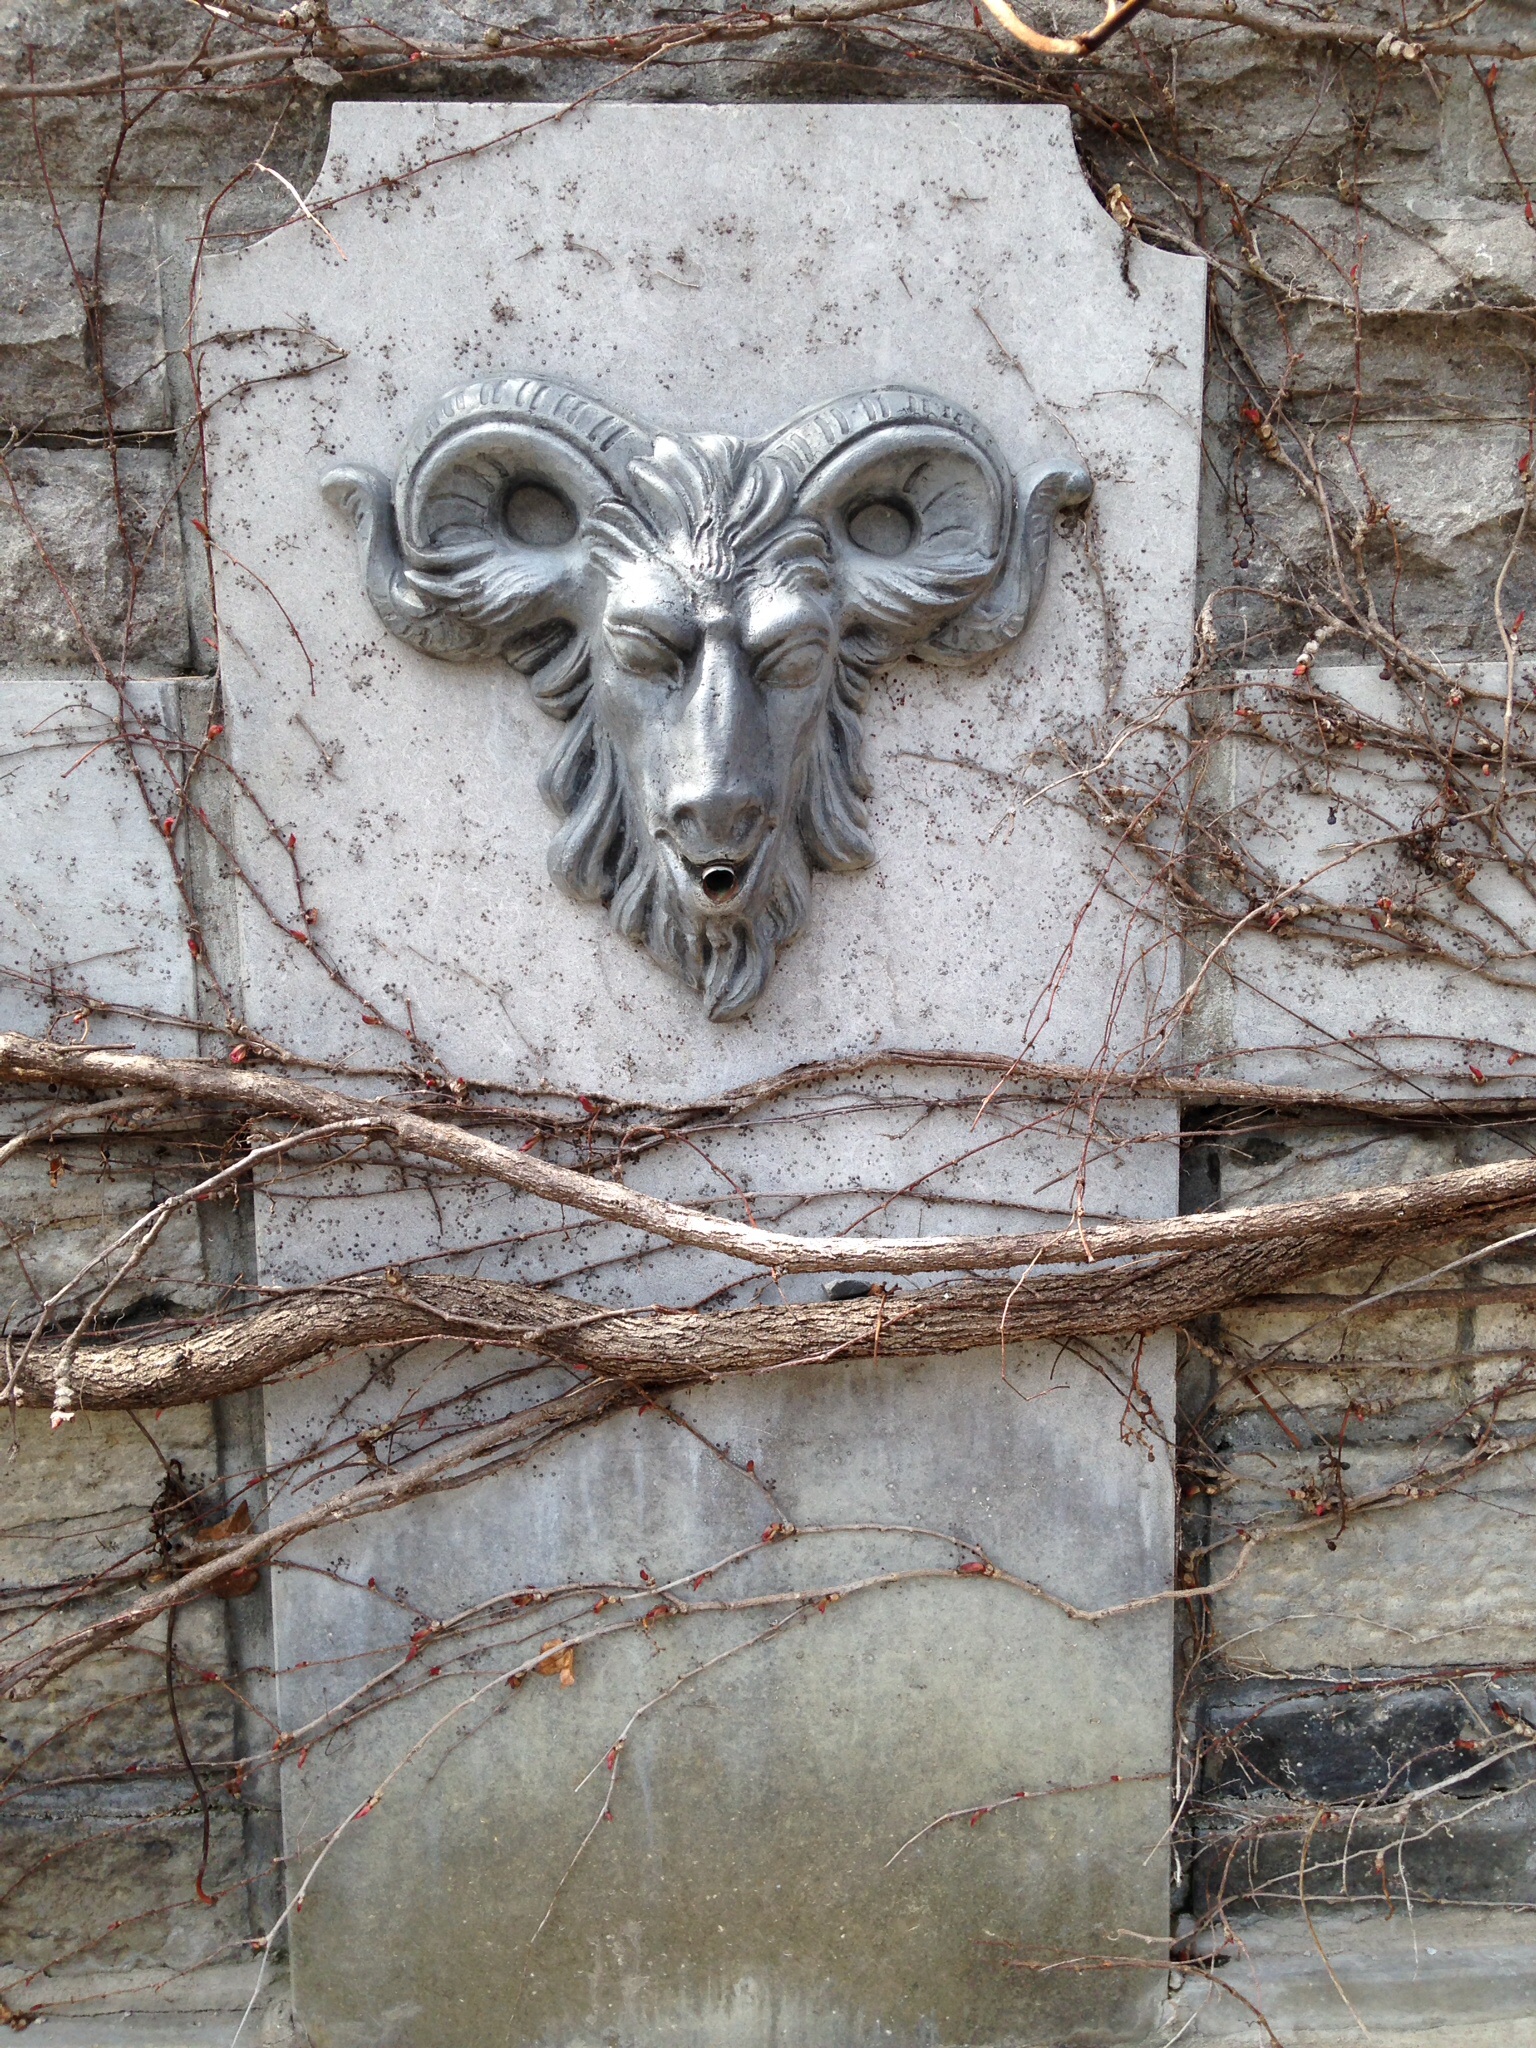
Back of the George-Étienne Cartier statue
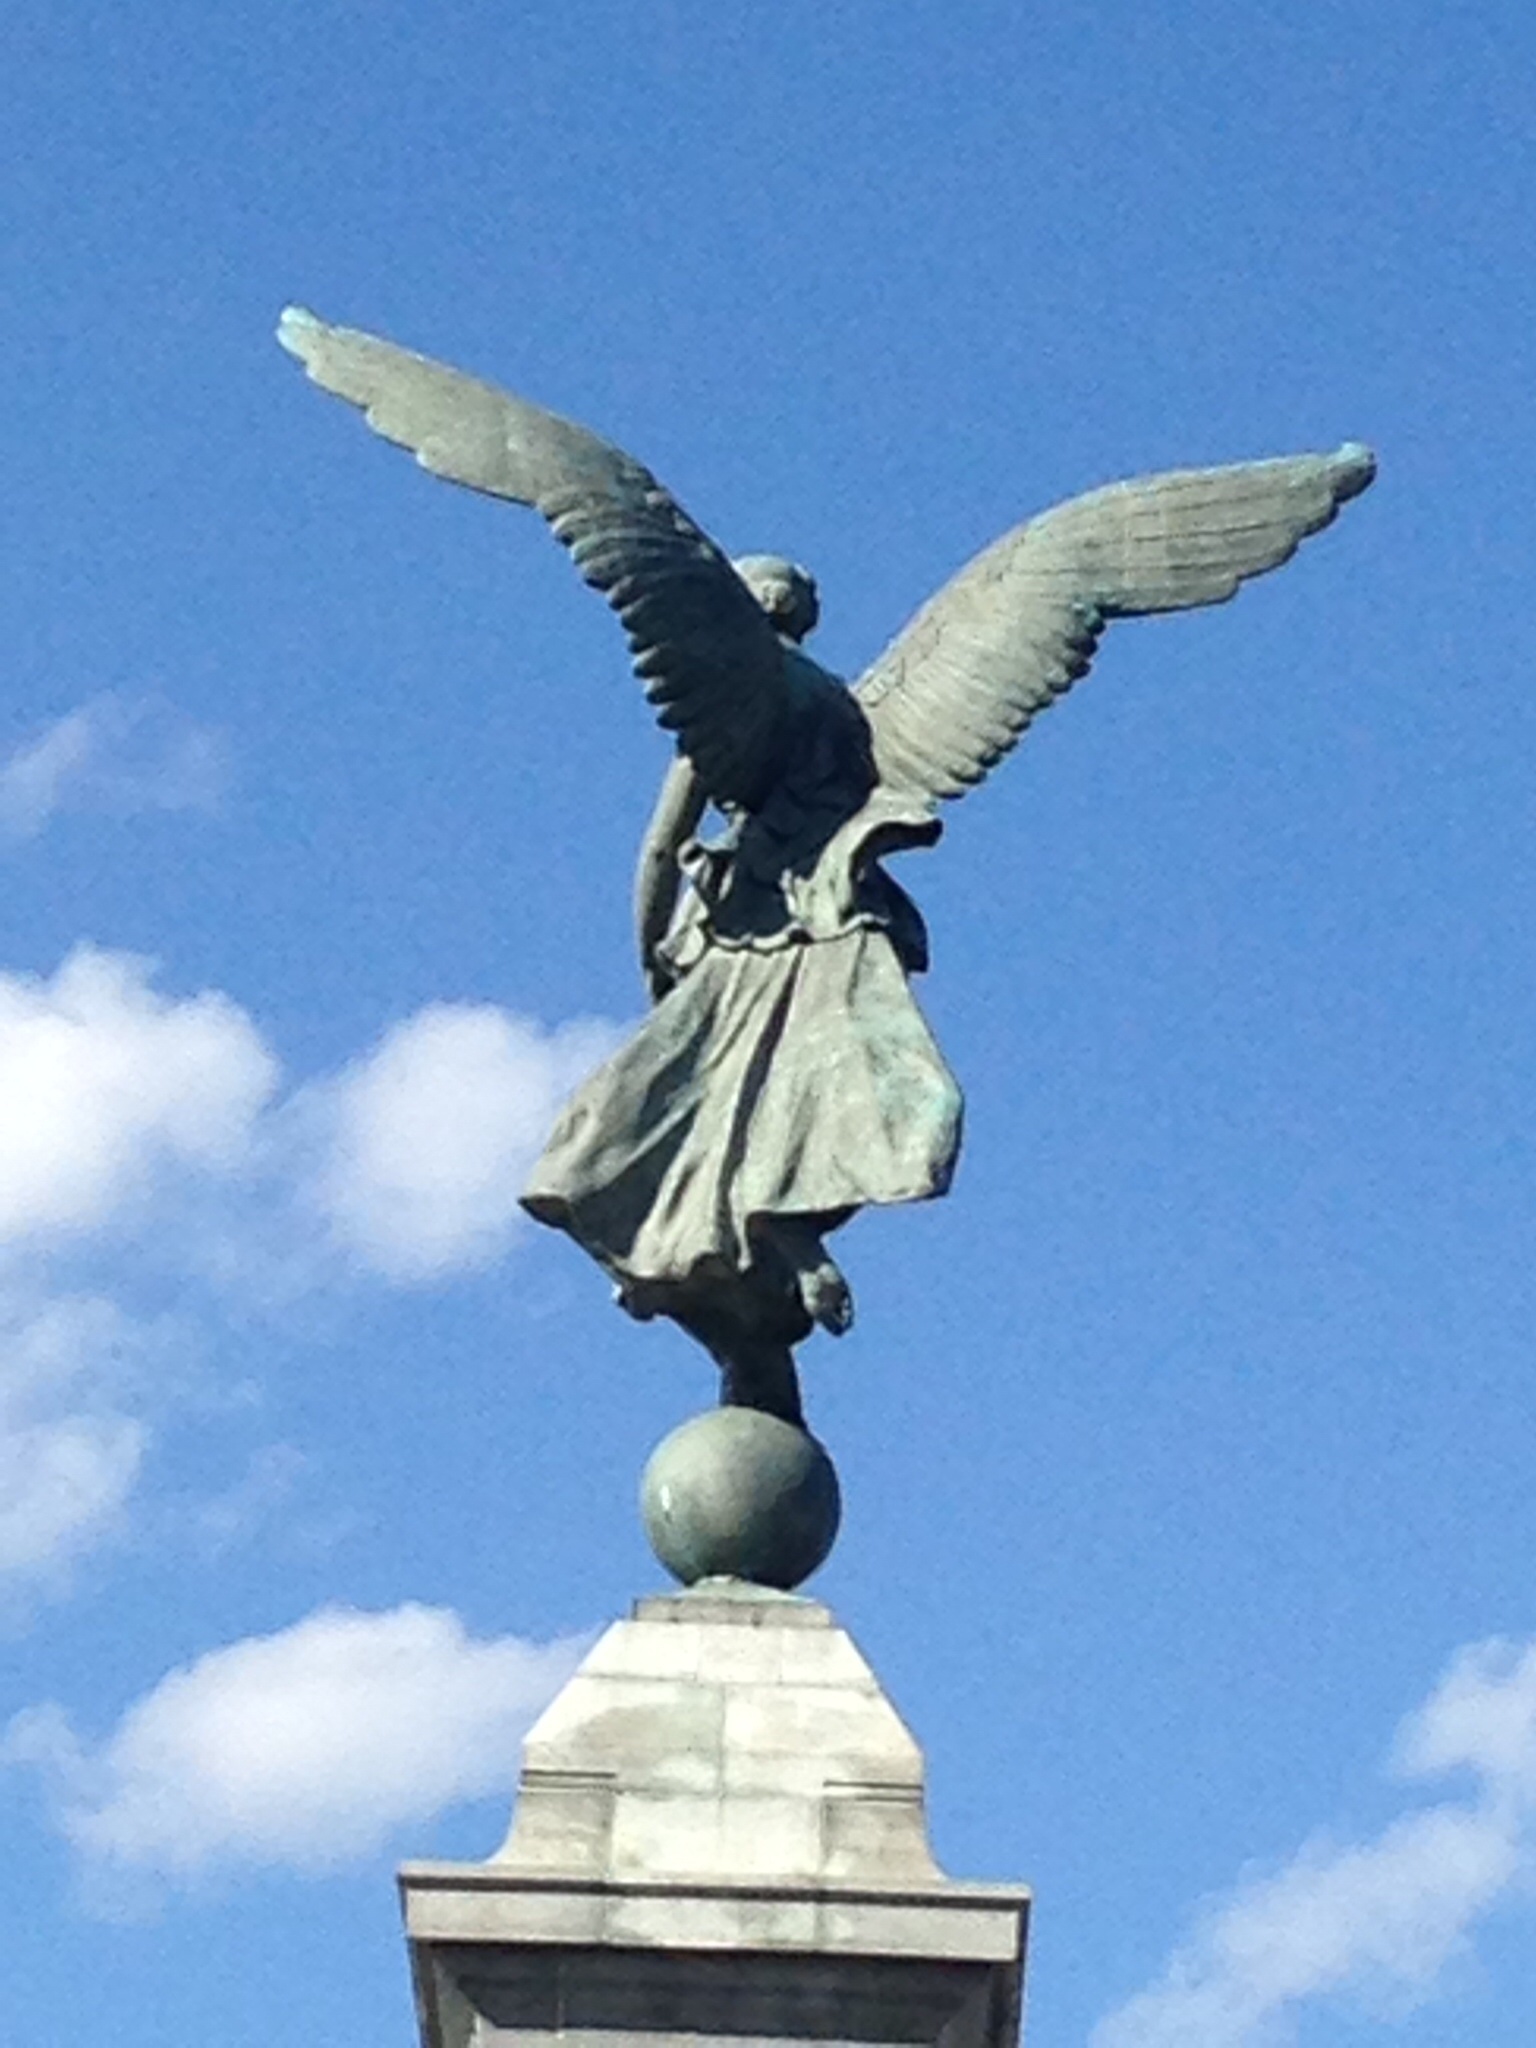
Back of the angel on the George-Étienne Cartier statue
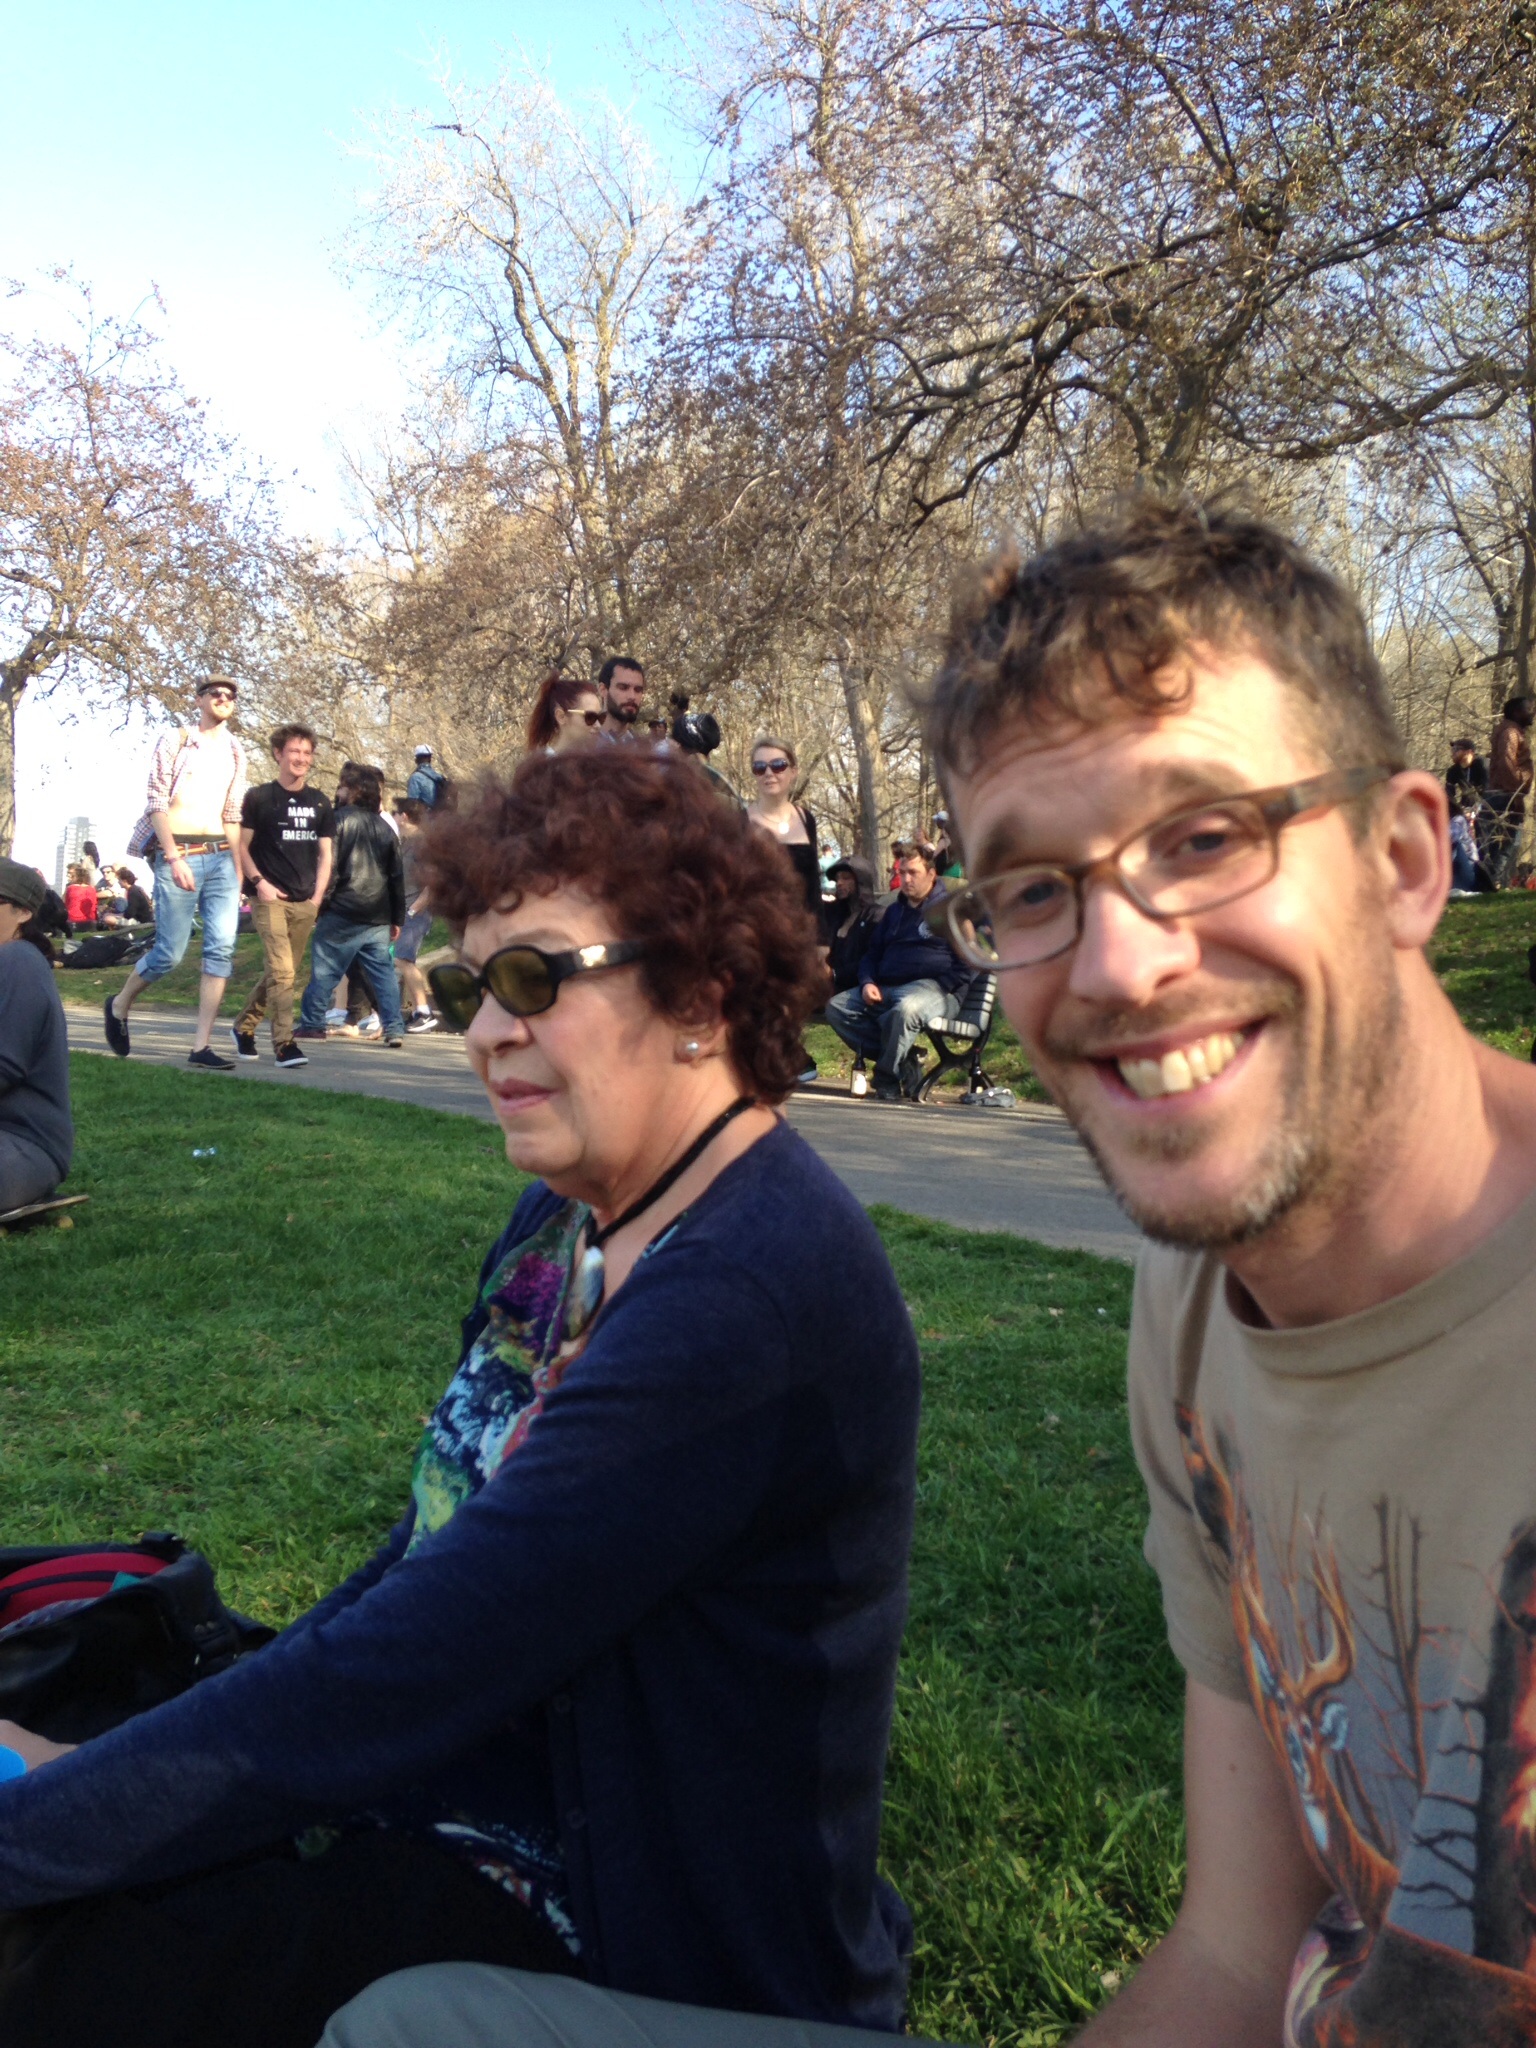
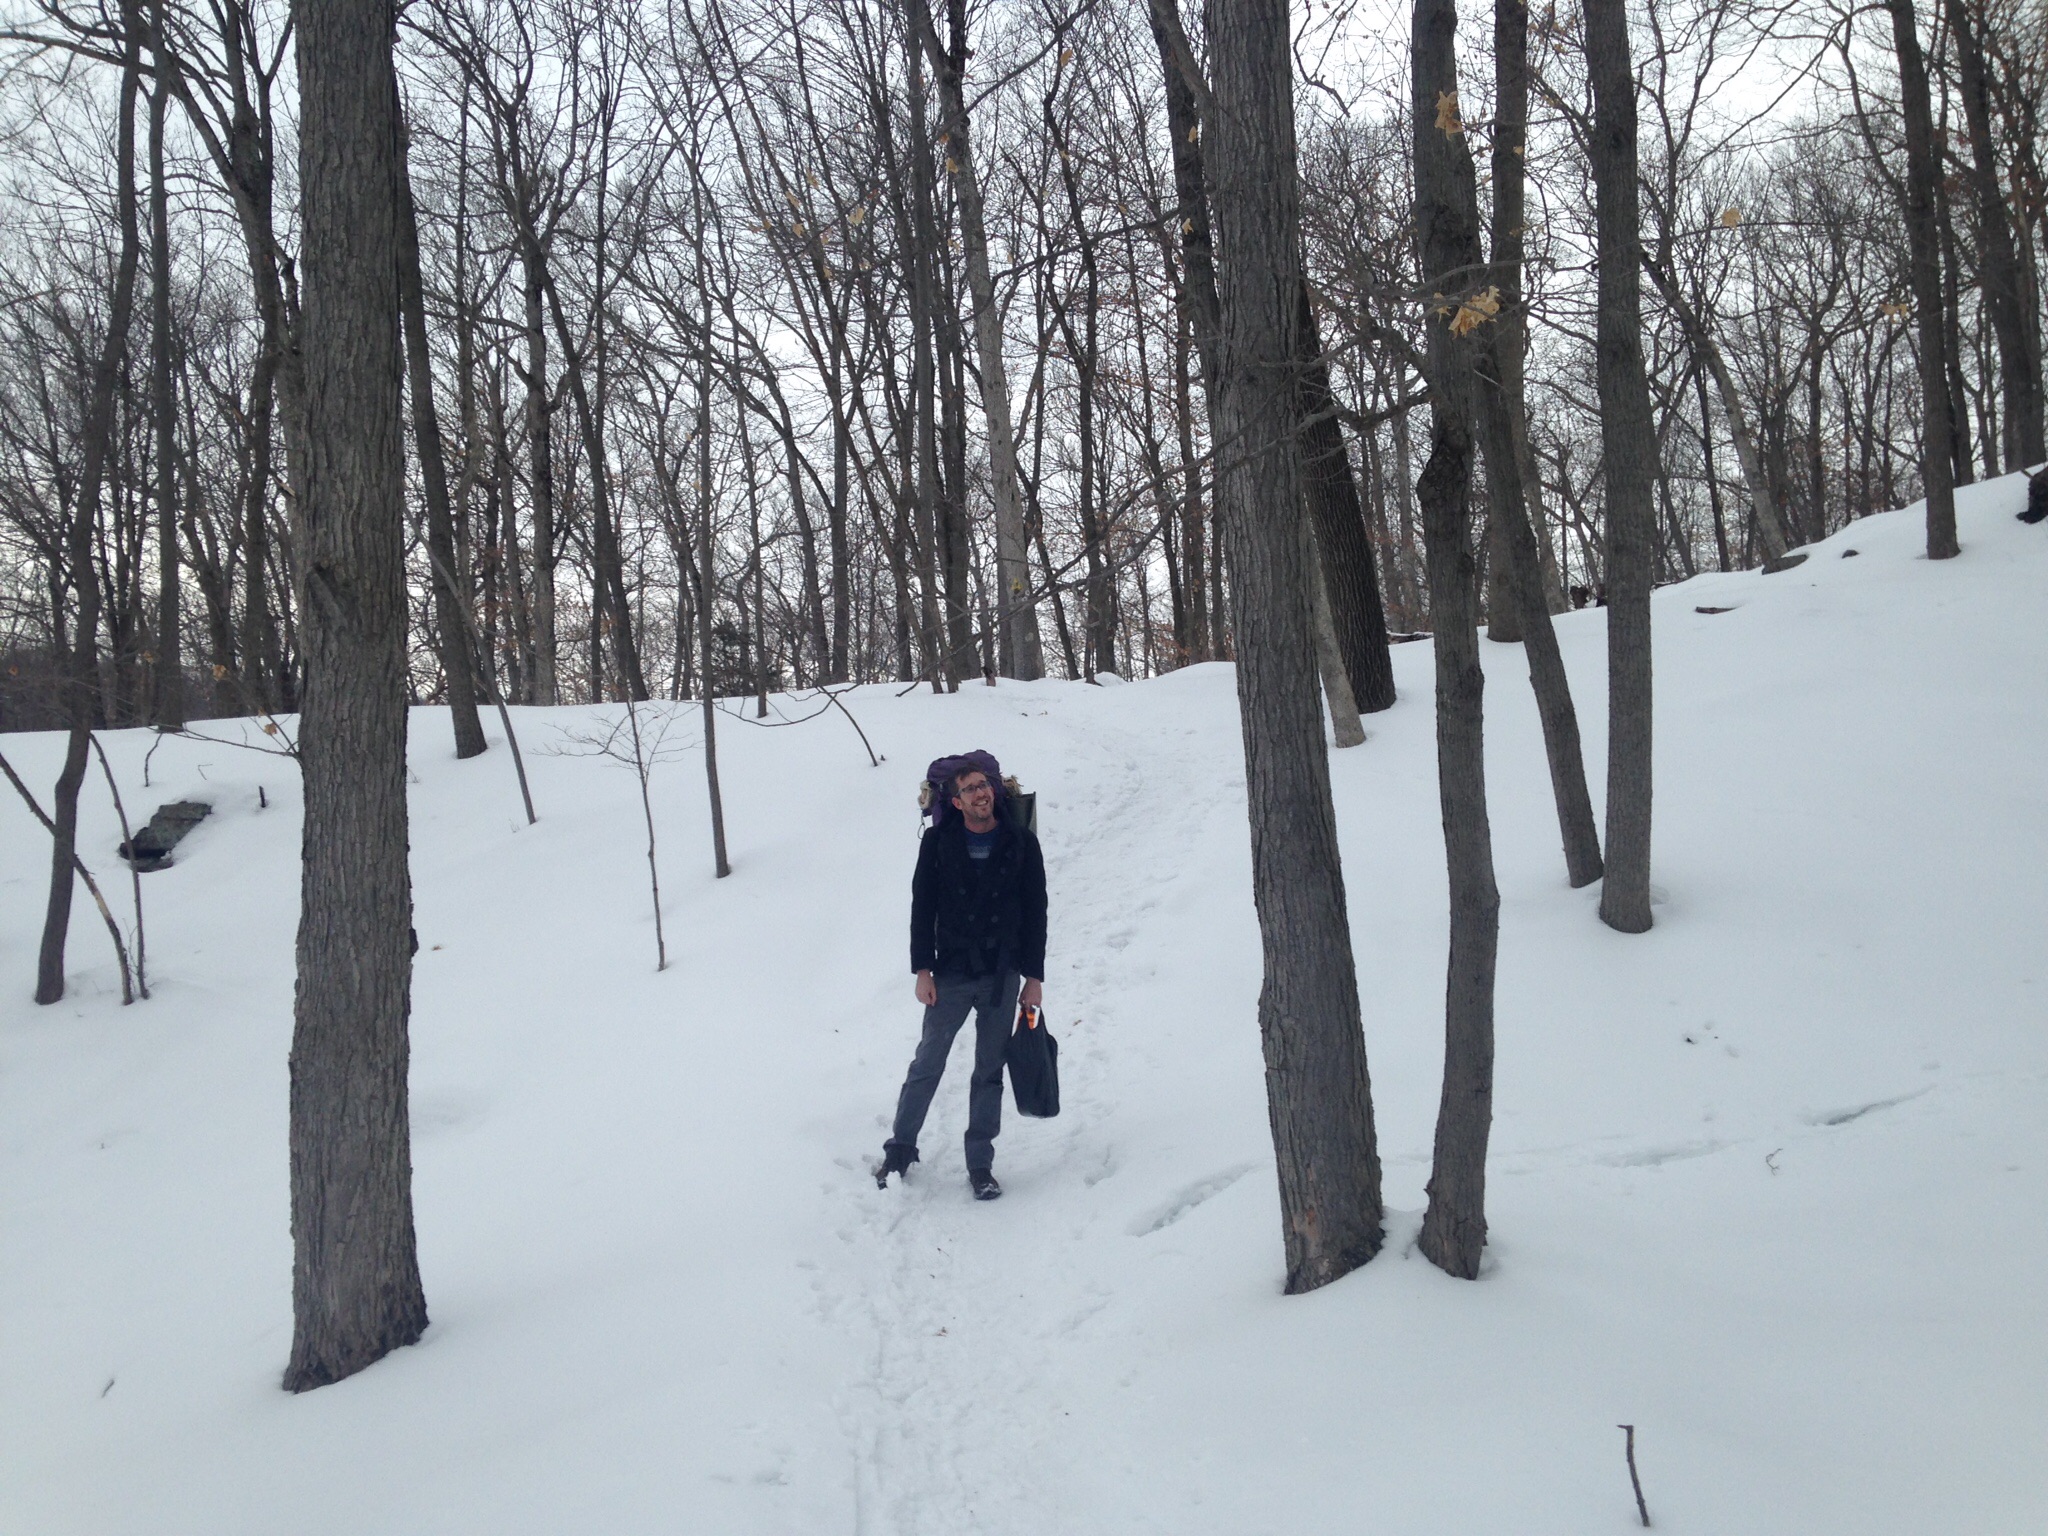
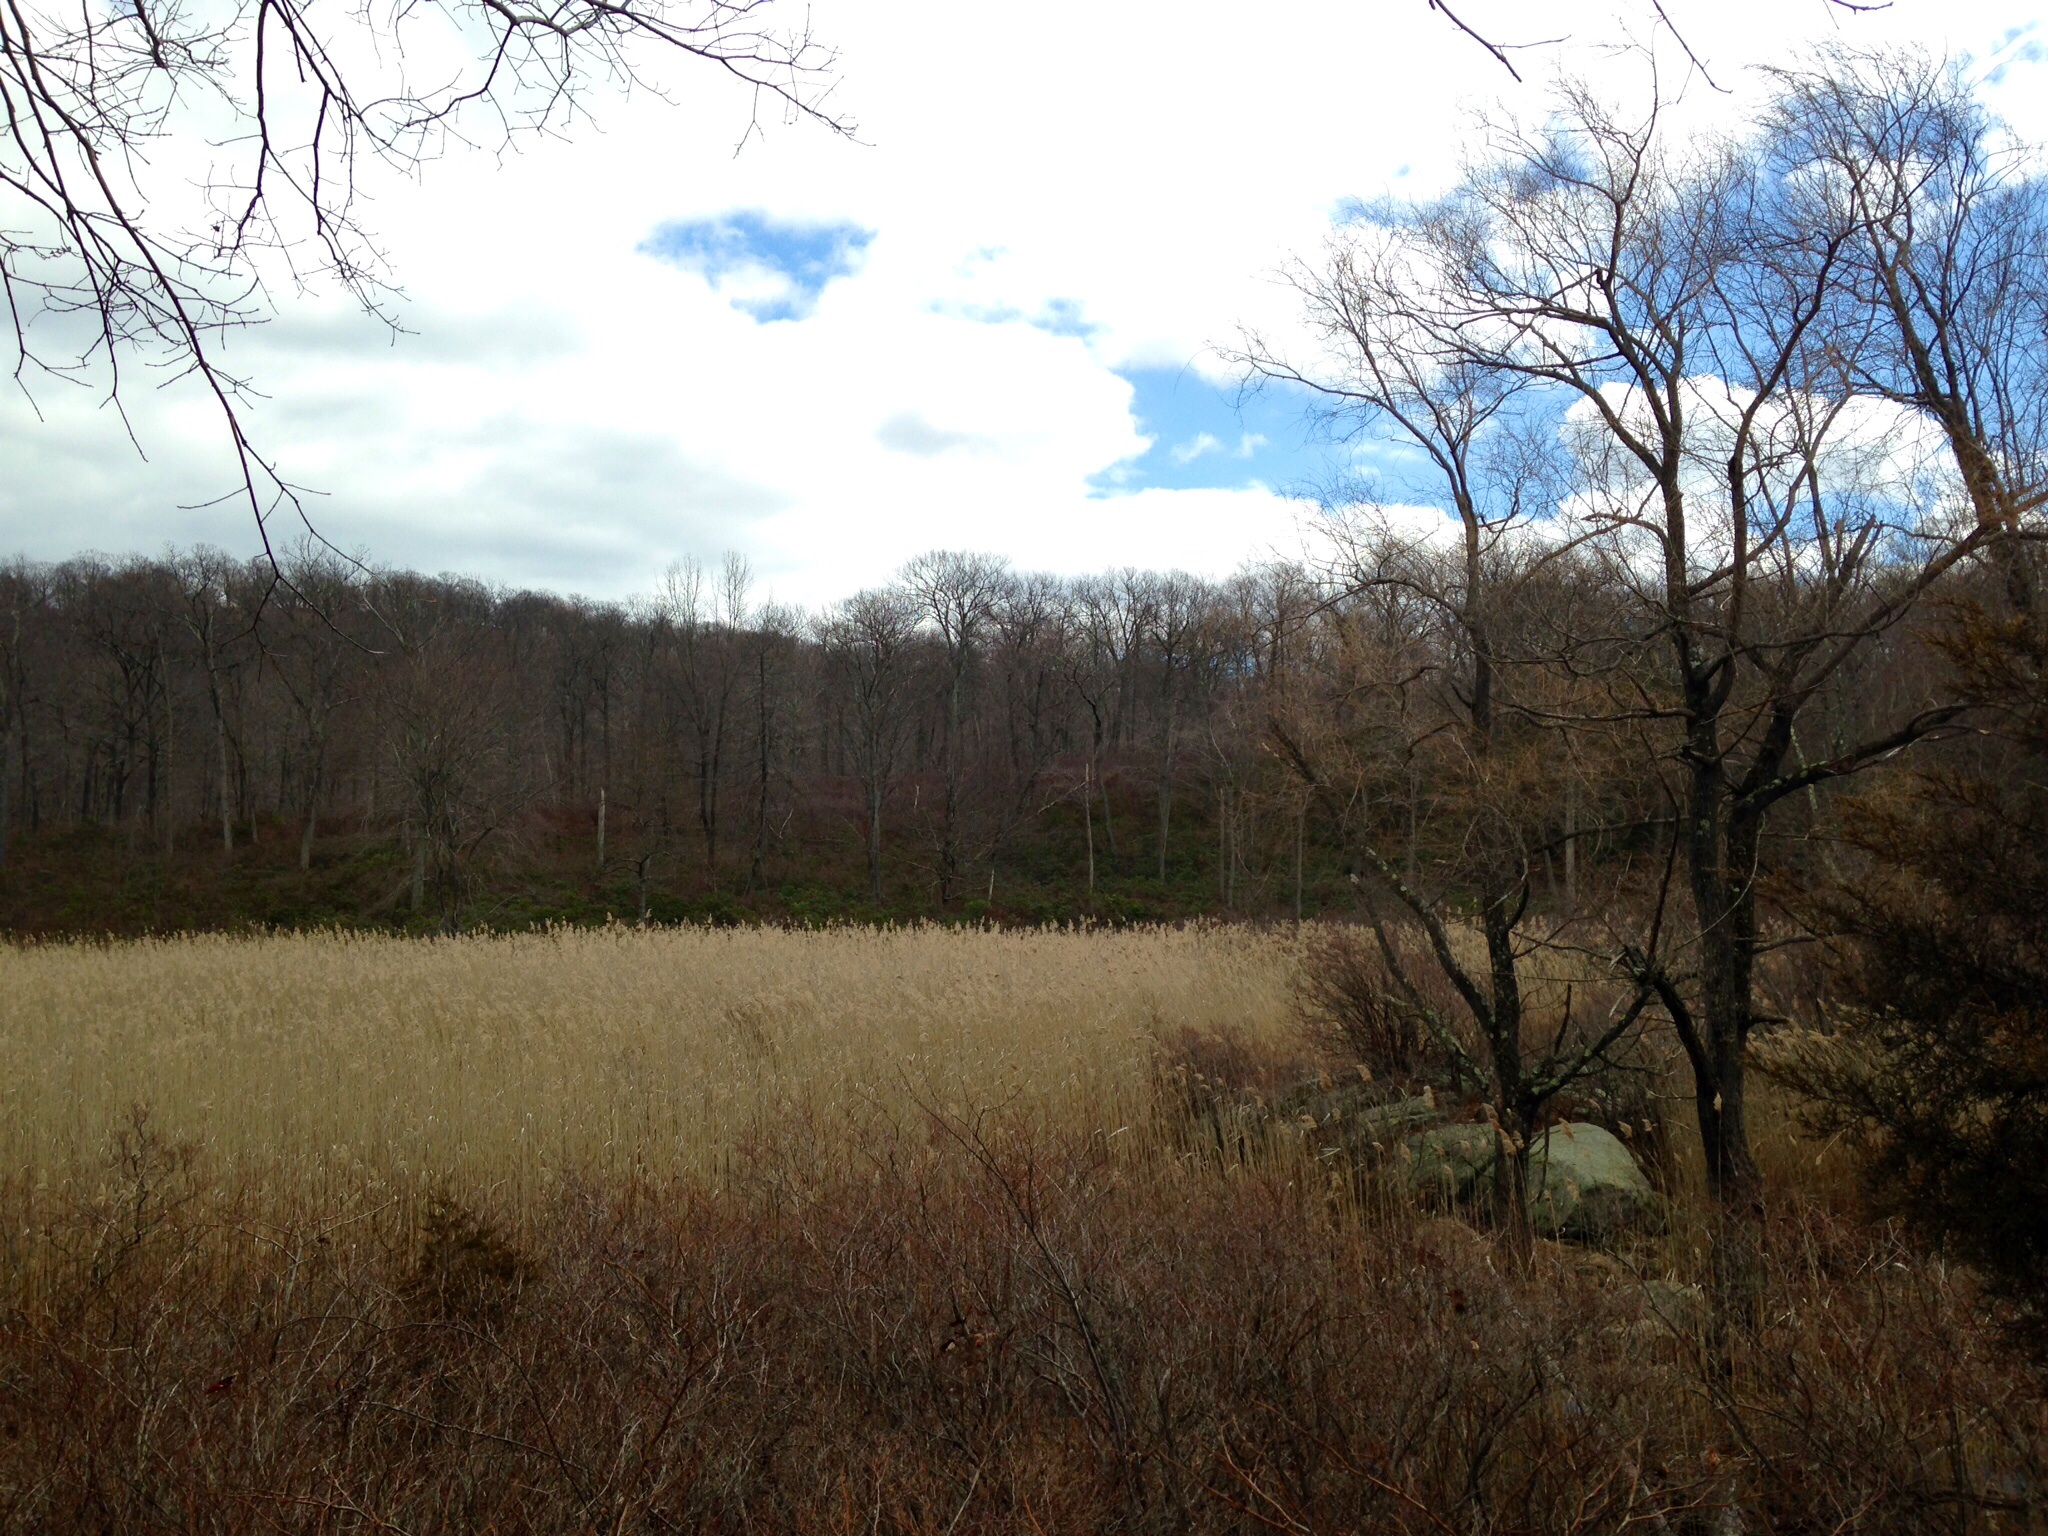
Relaxing at Mount Royal park

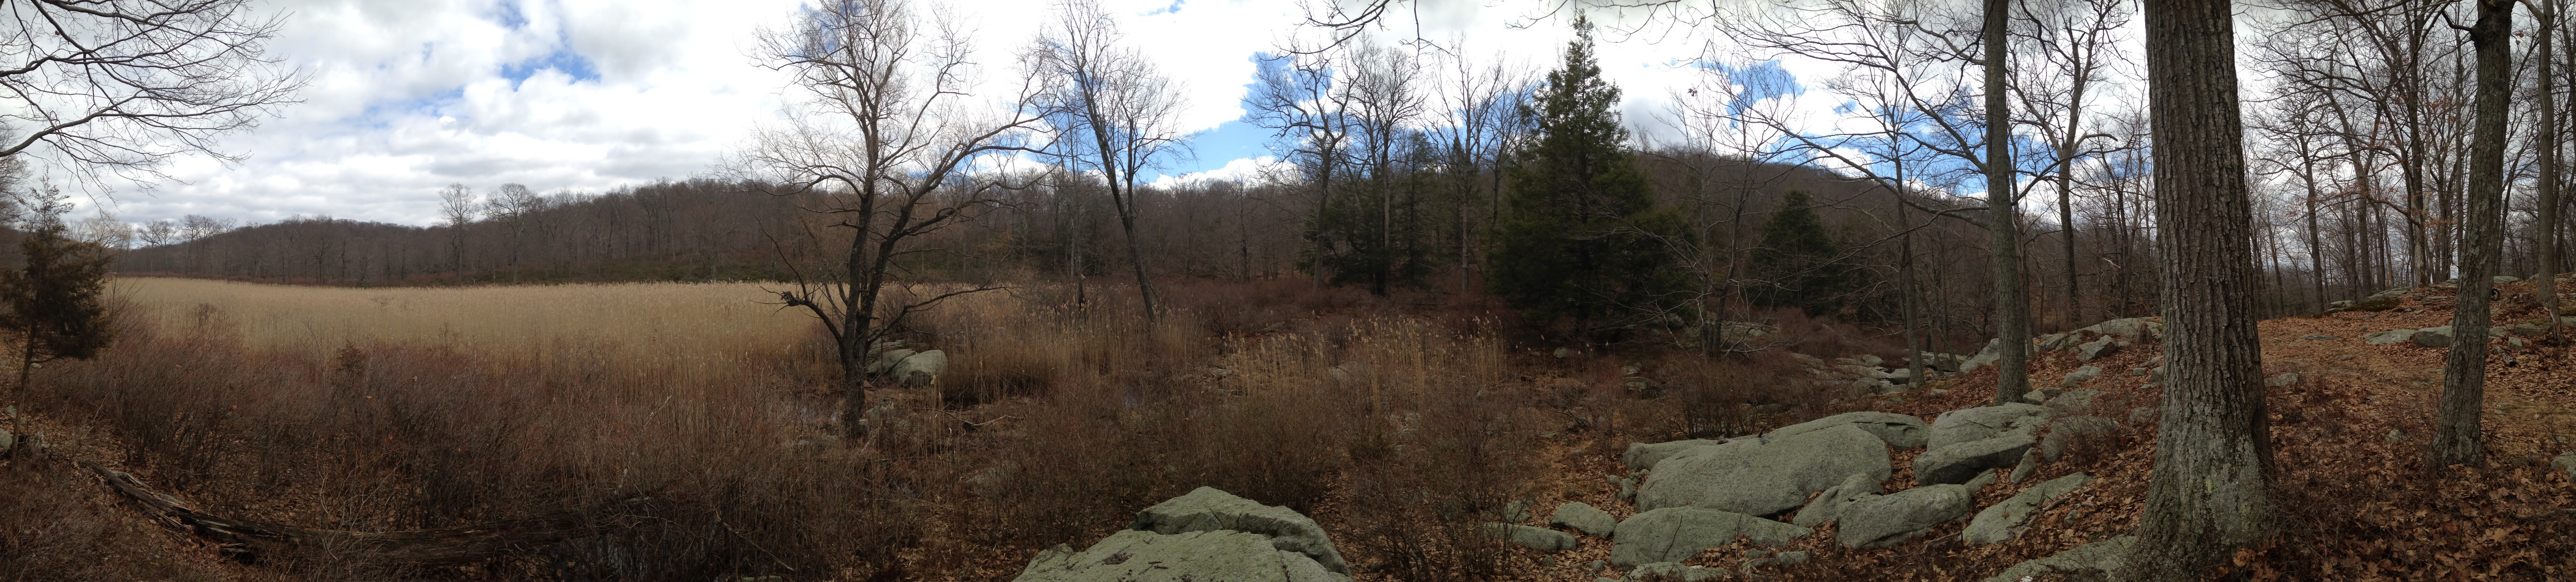
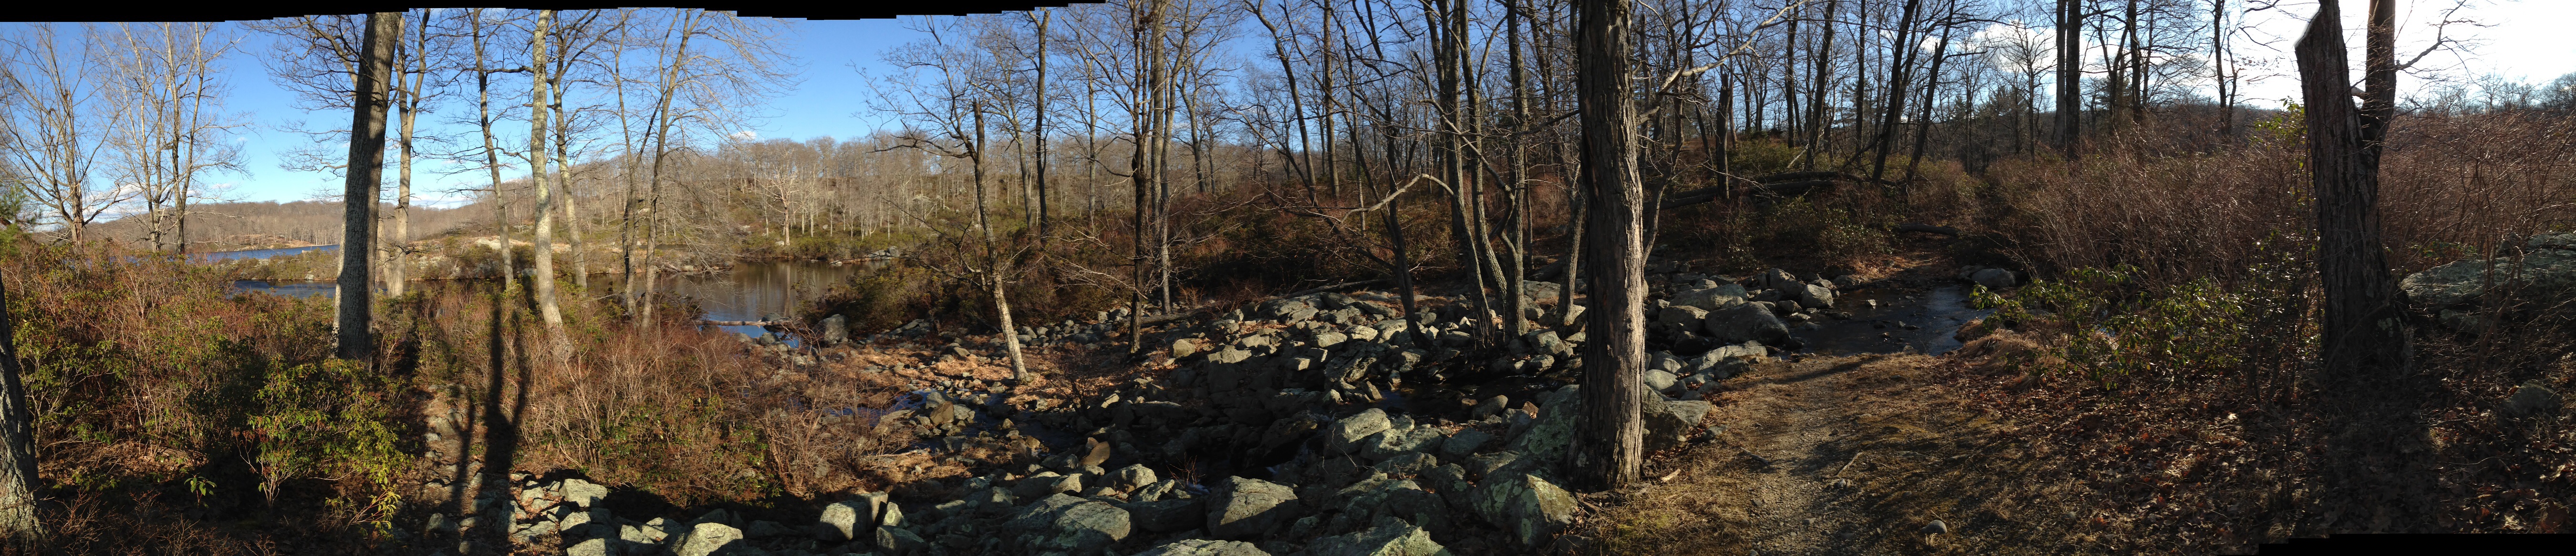
Panarama of park and tam tam area

Downtown Montreal from top of Mount Royal
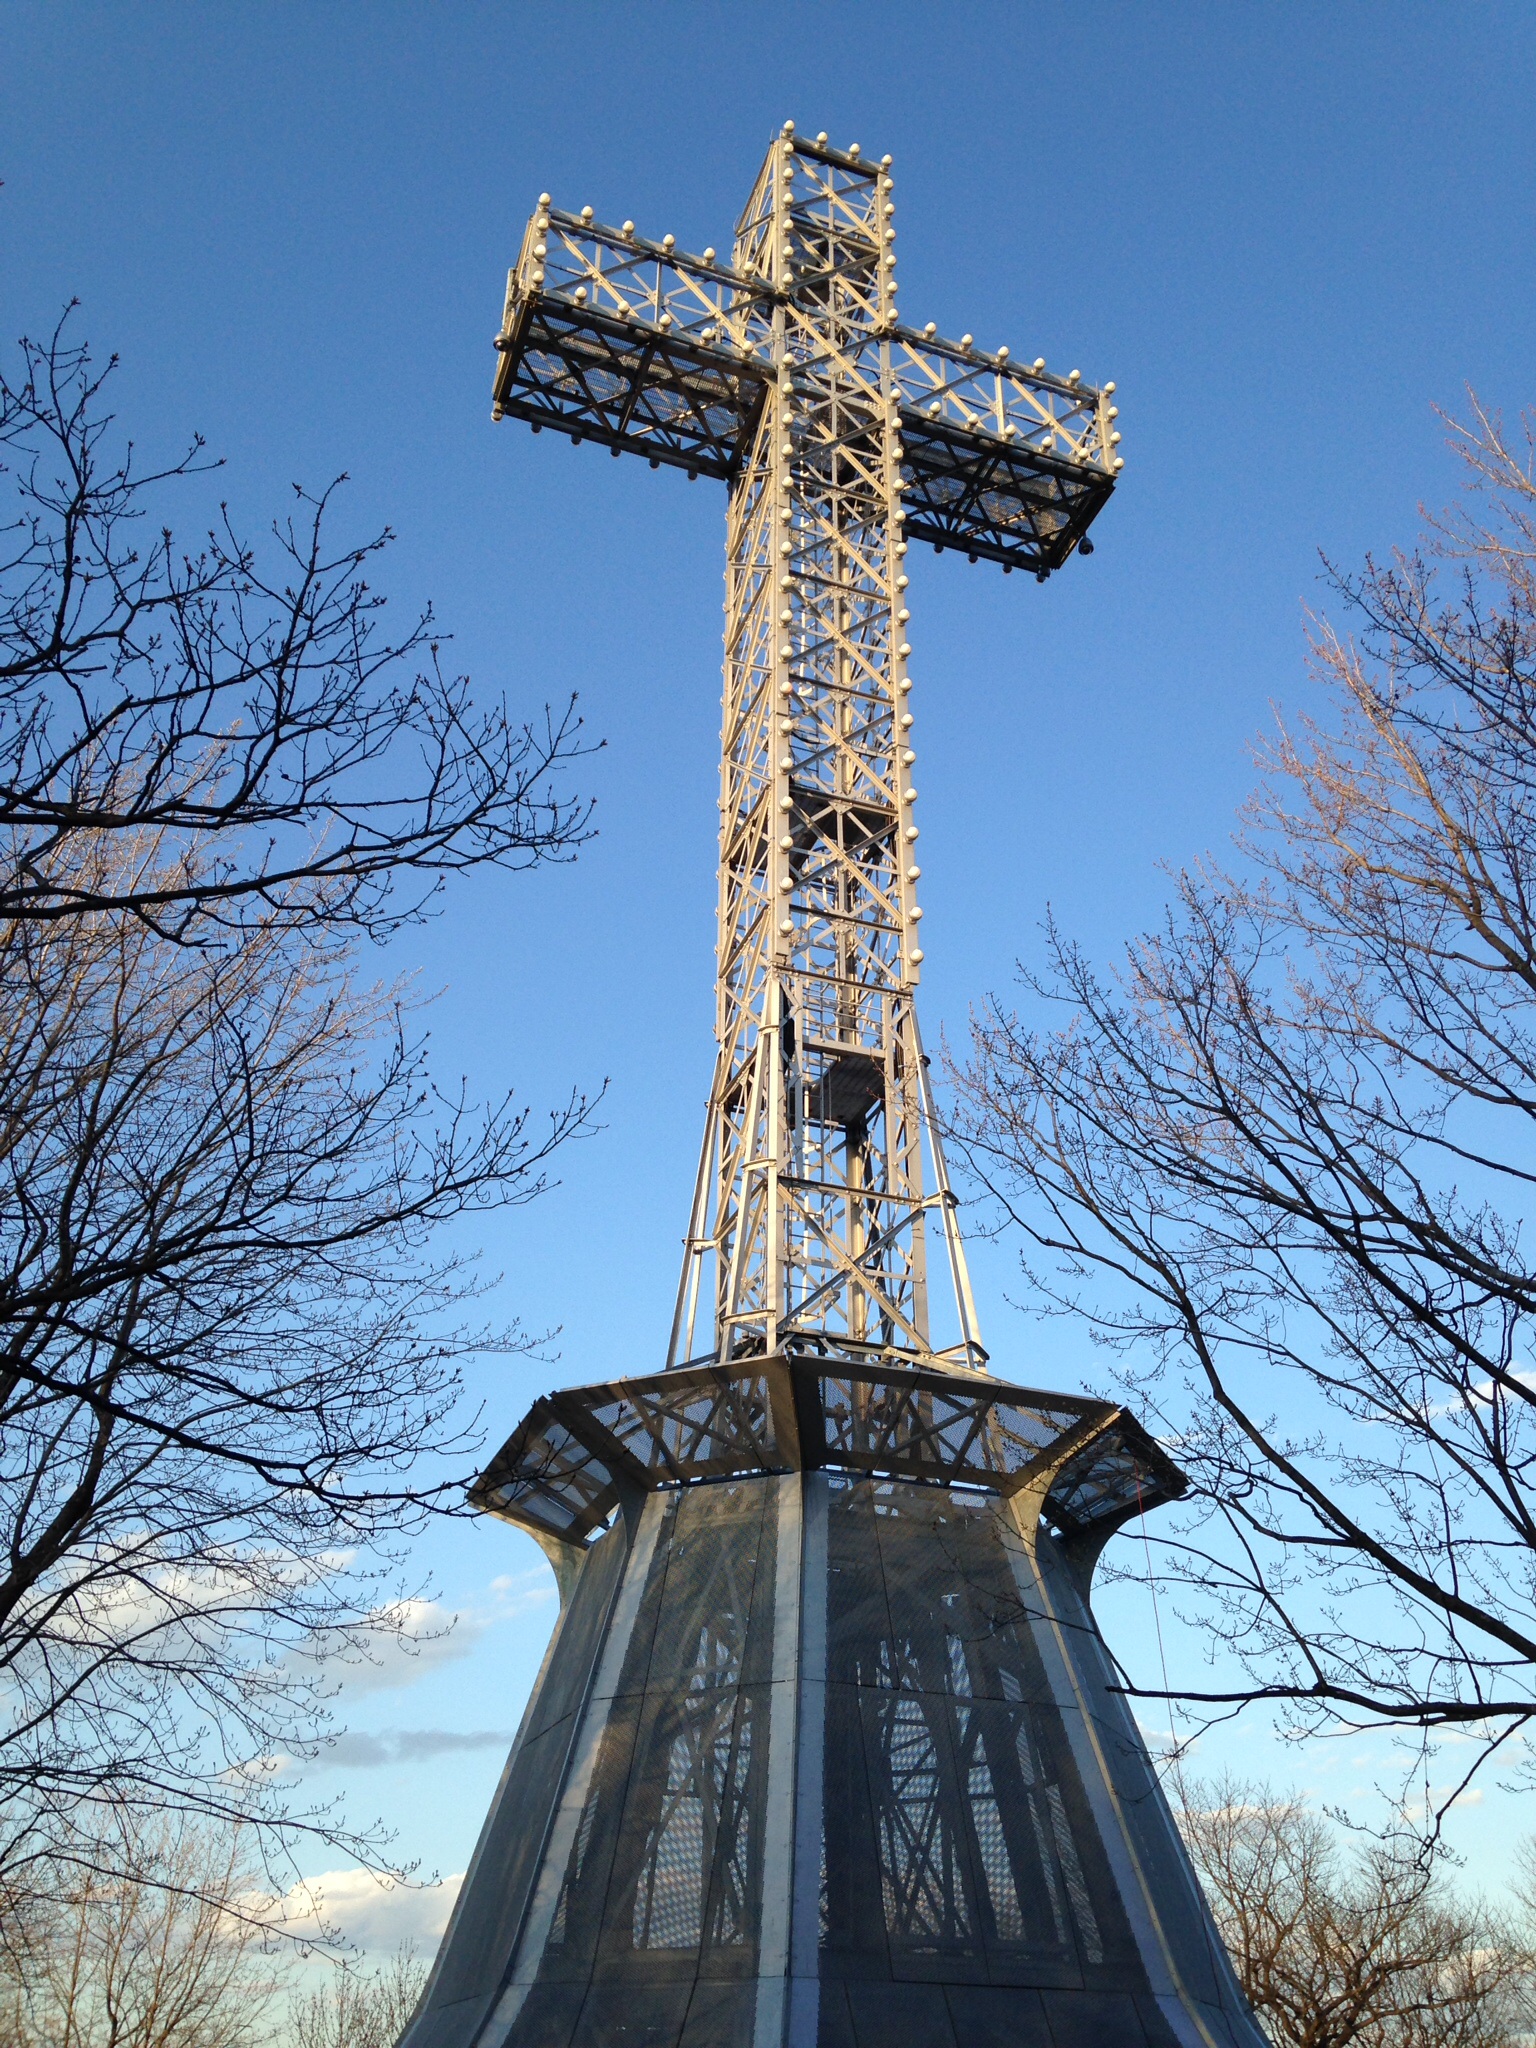
Cross on top of Mount Royal
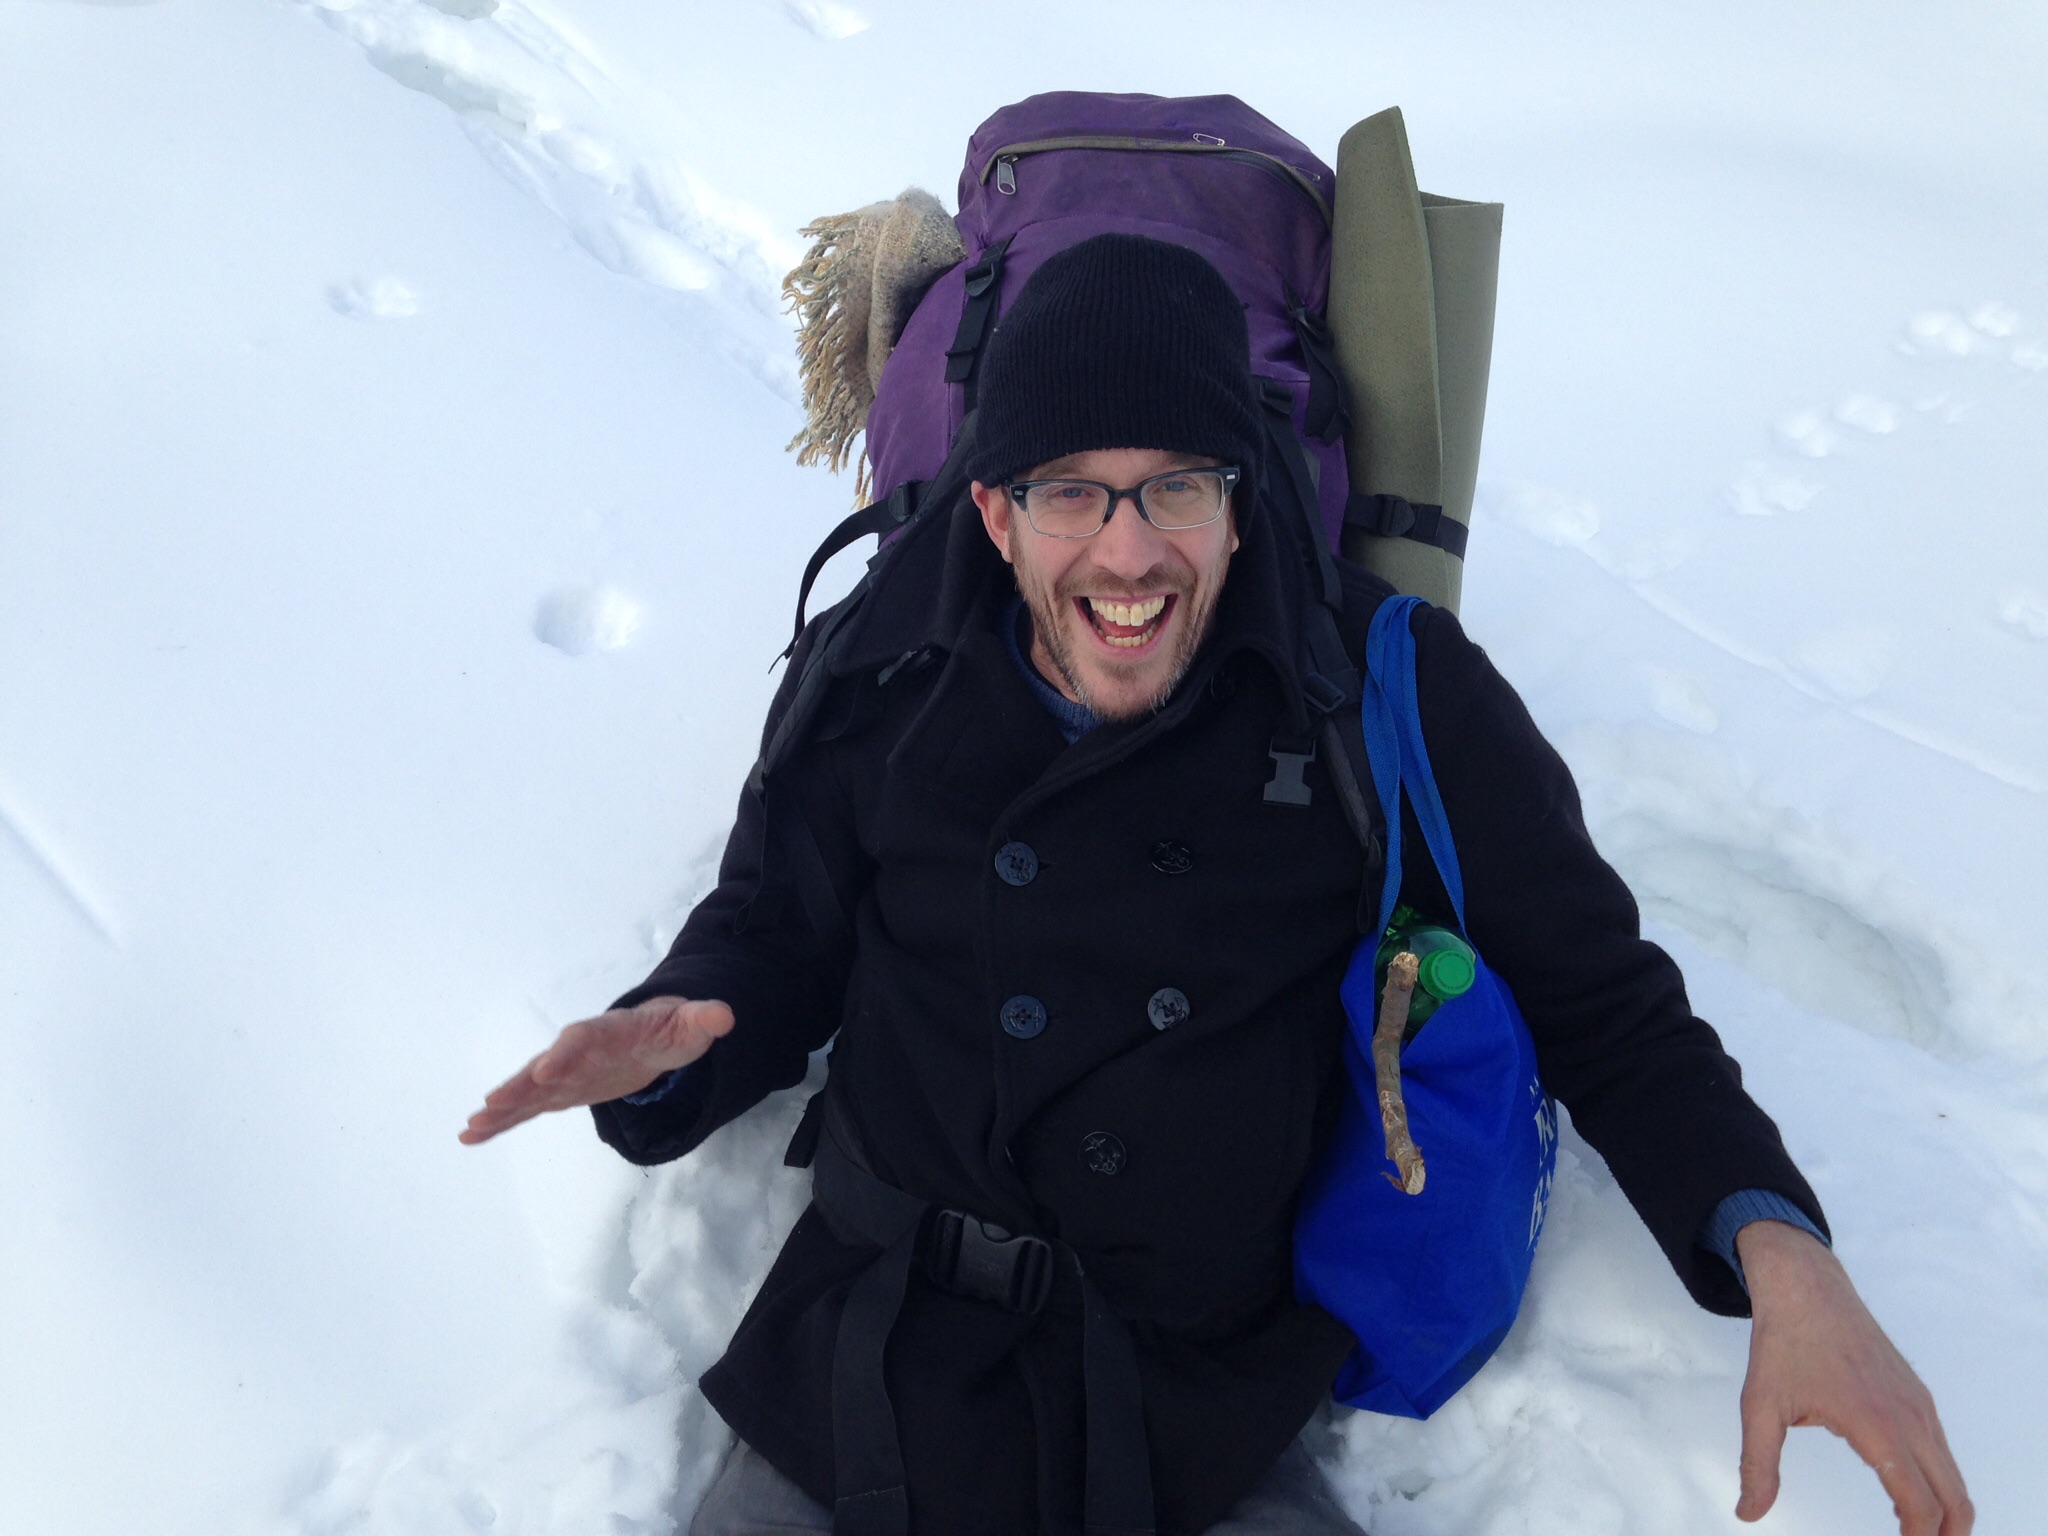
When Jason’s Mum came to NYC for a visit we wanted to take her some where different. She’s been to Washington, viagra D.C., and Provincetown, so we had to think of somewhere new. Jason came up with Montreal. It’s just far enough for a quick weekend getaway. To maximize our time together and in Montreal we took the train up and flew back.
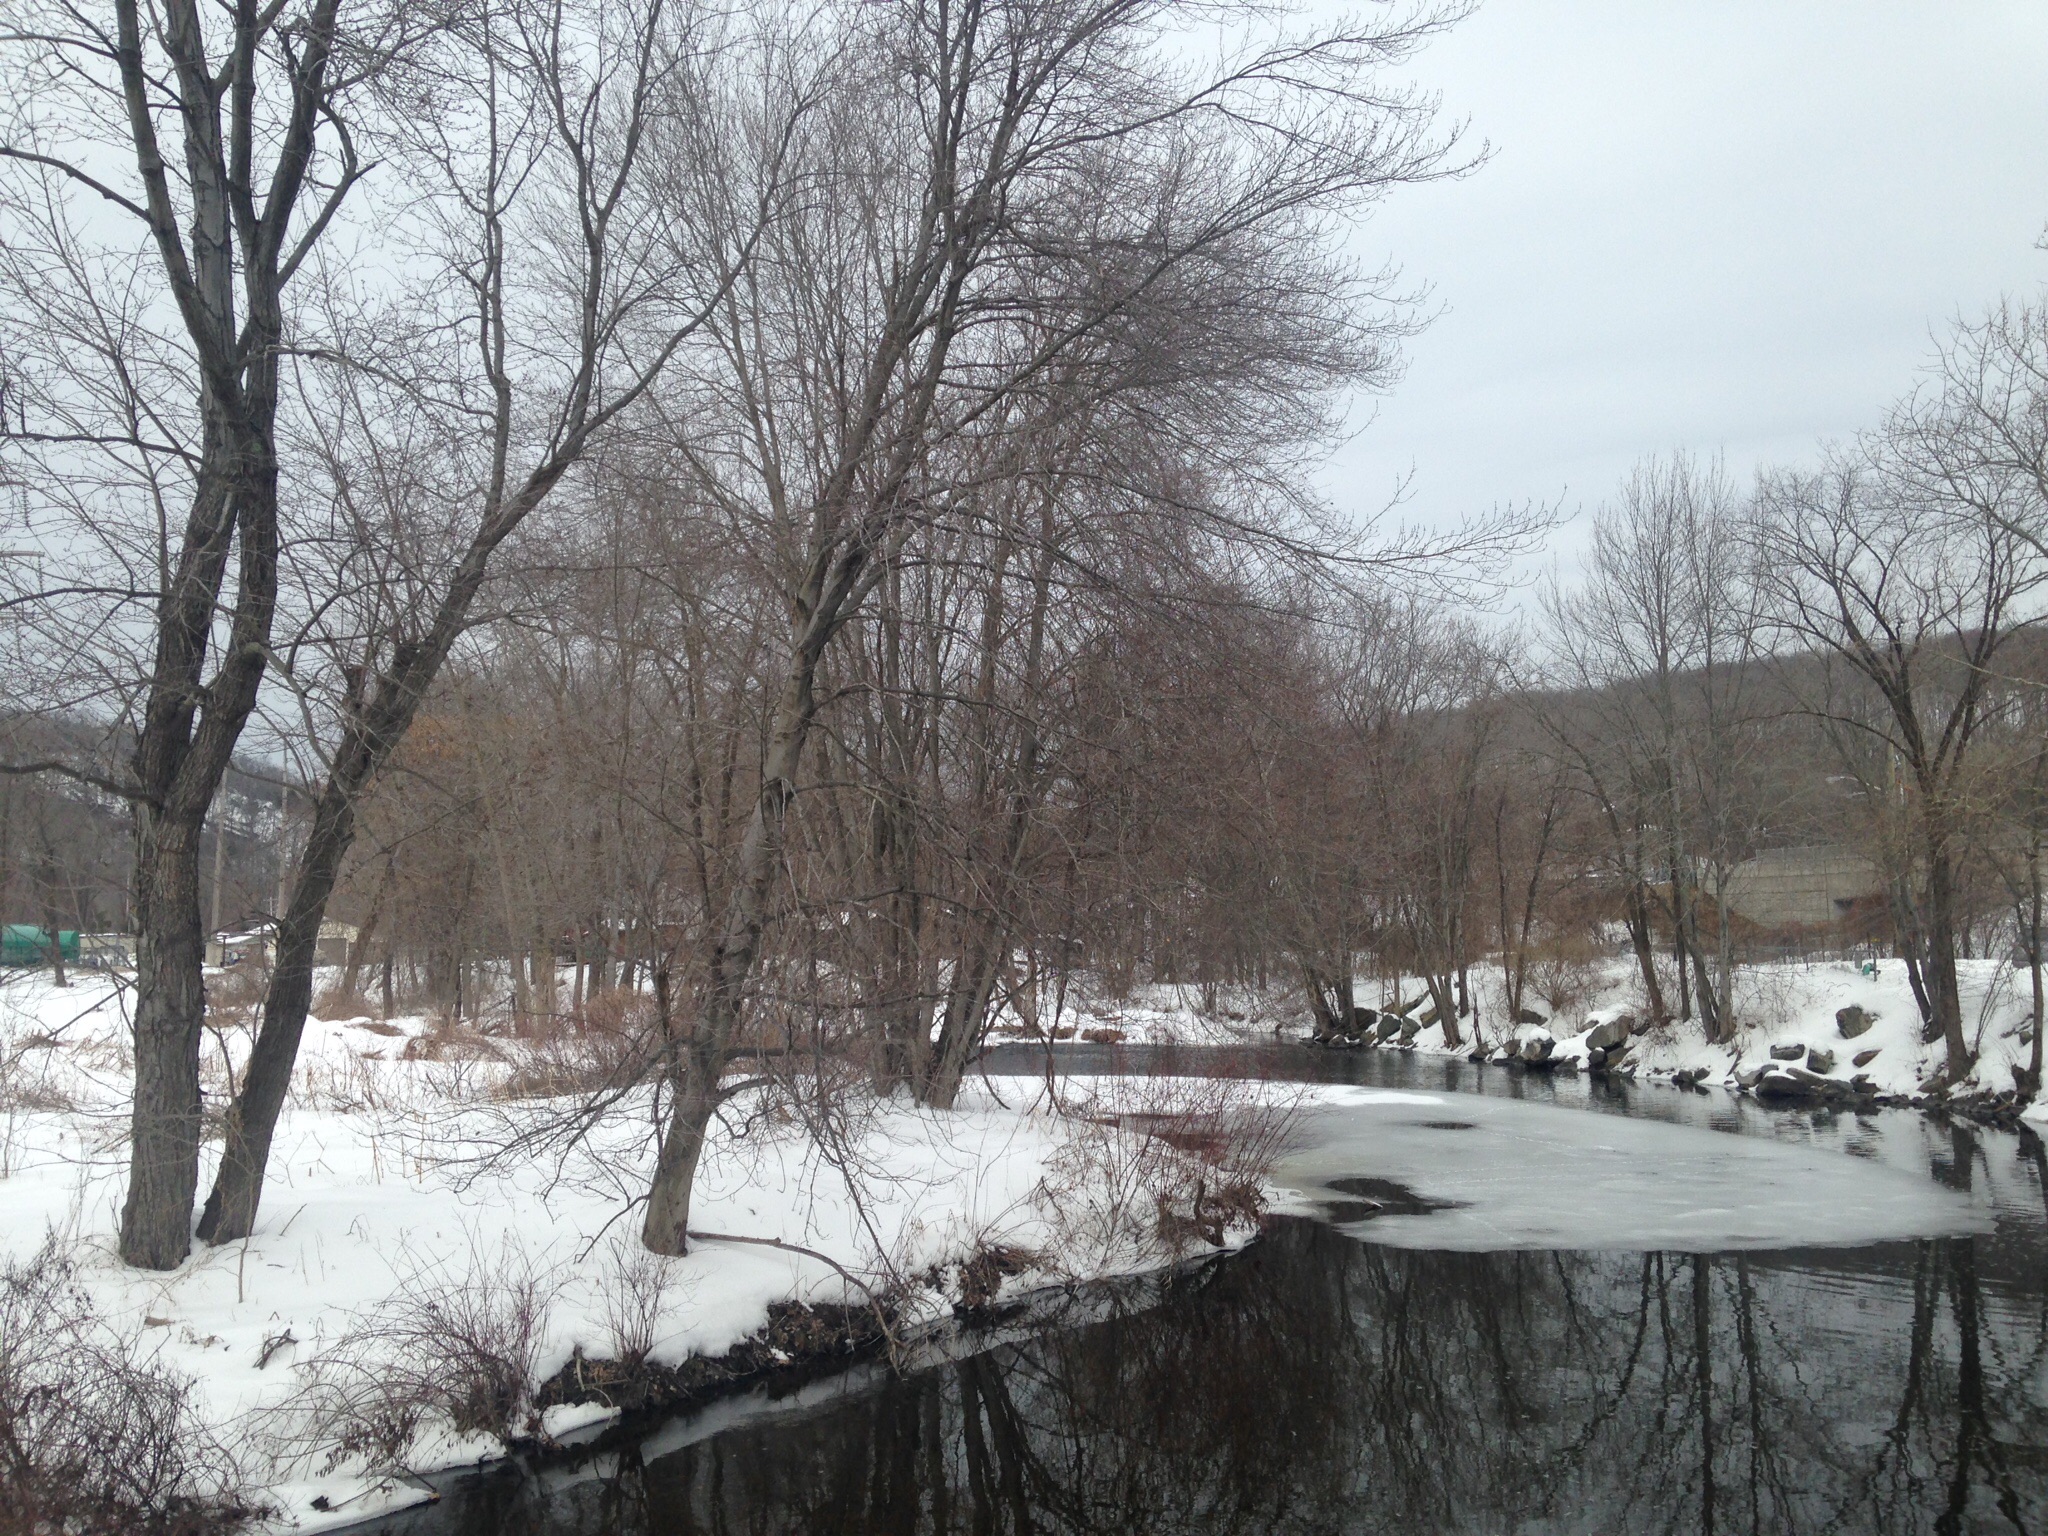
The train was a wonderful way to spend the day together. We probably packed way too much food(oops!), but the scenery was just breath taking and we relaxed our way into our weekend. With a recommendation from a friend we stayed at the Chateau De Argoat Hotel. It is perfectly situated near everything and a block and a half from the nearest subway and the bus depot that you can take to the airport.
Once we were all settled we headed out for dinner. You think with all the food we had on the train we wouldn’t be hungry. Wrong! We decided to keep it simple and went to a delicatessen called The Main and had smoked meat and poutine(fries with gravy and cheese curds). Perfect for weary travelers.
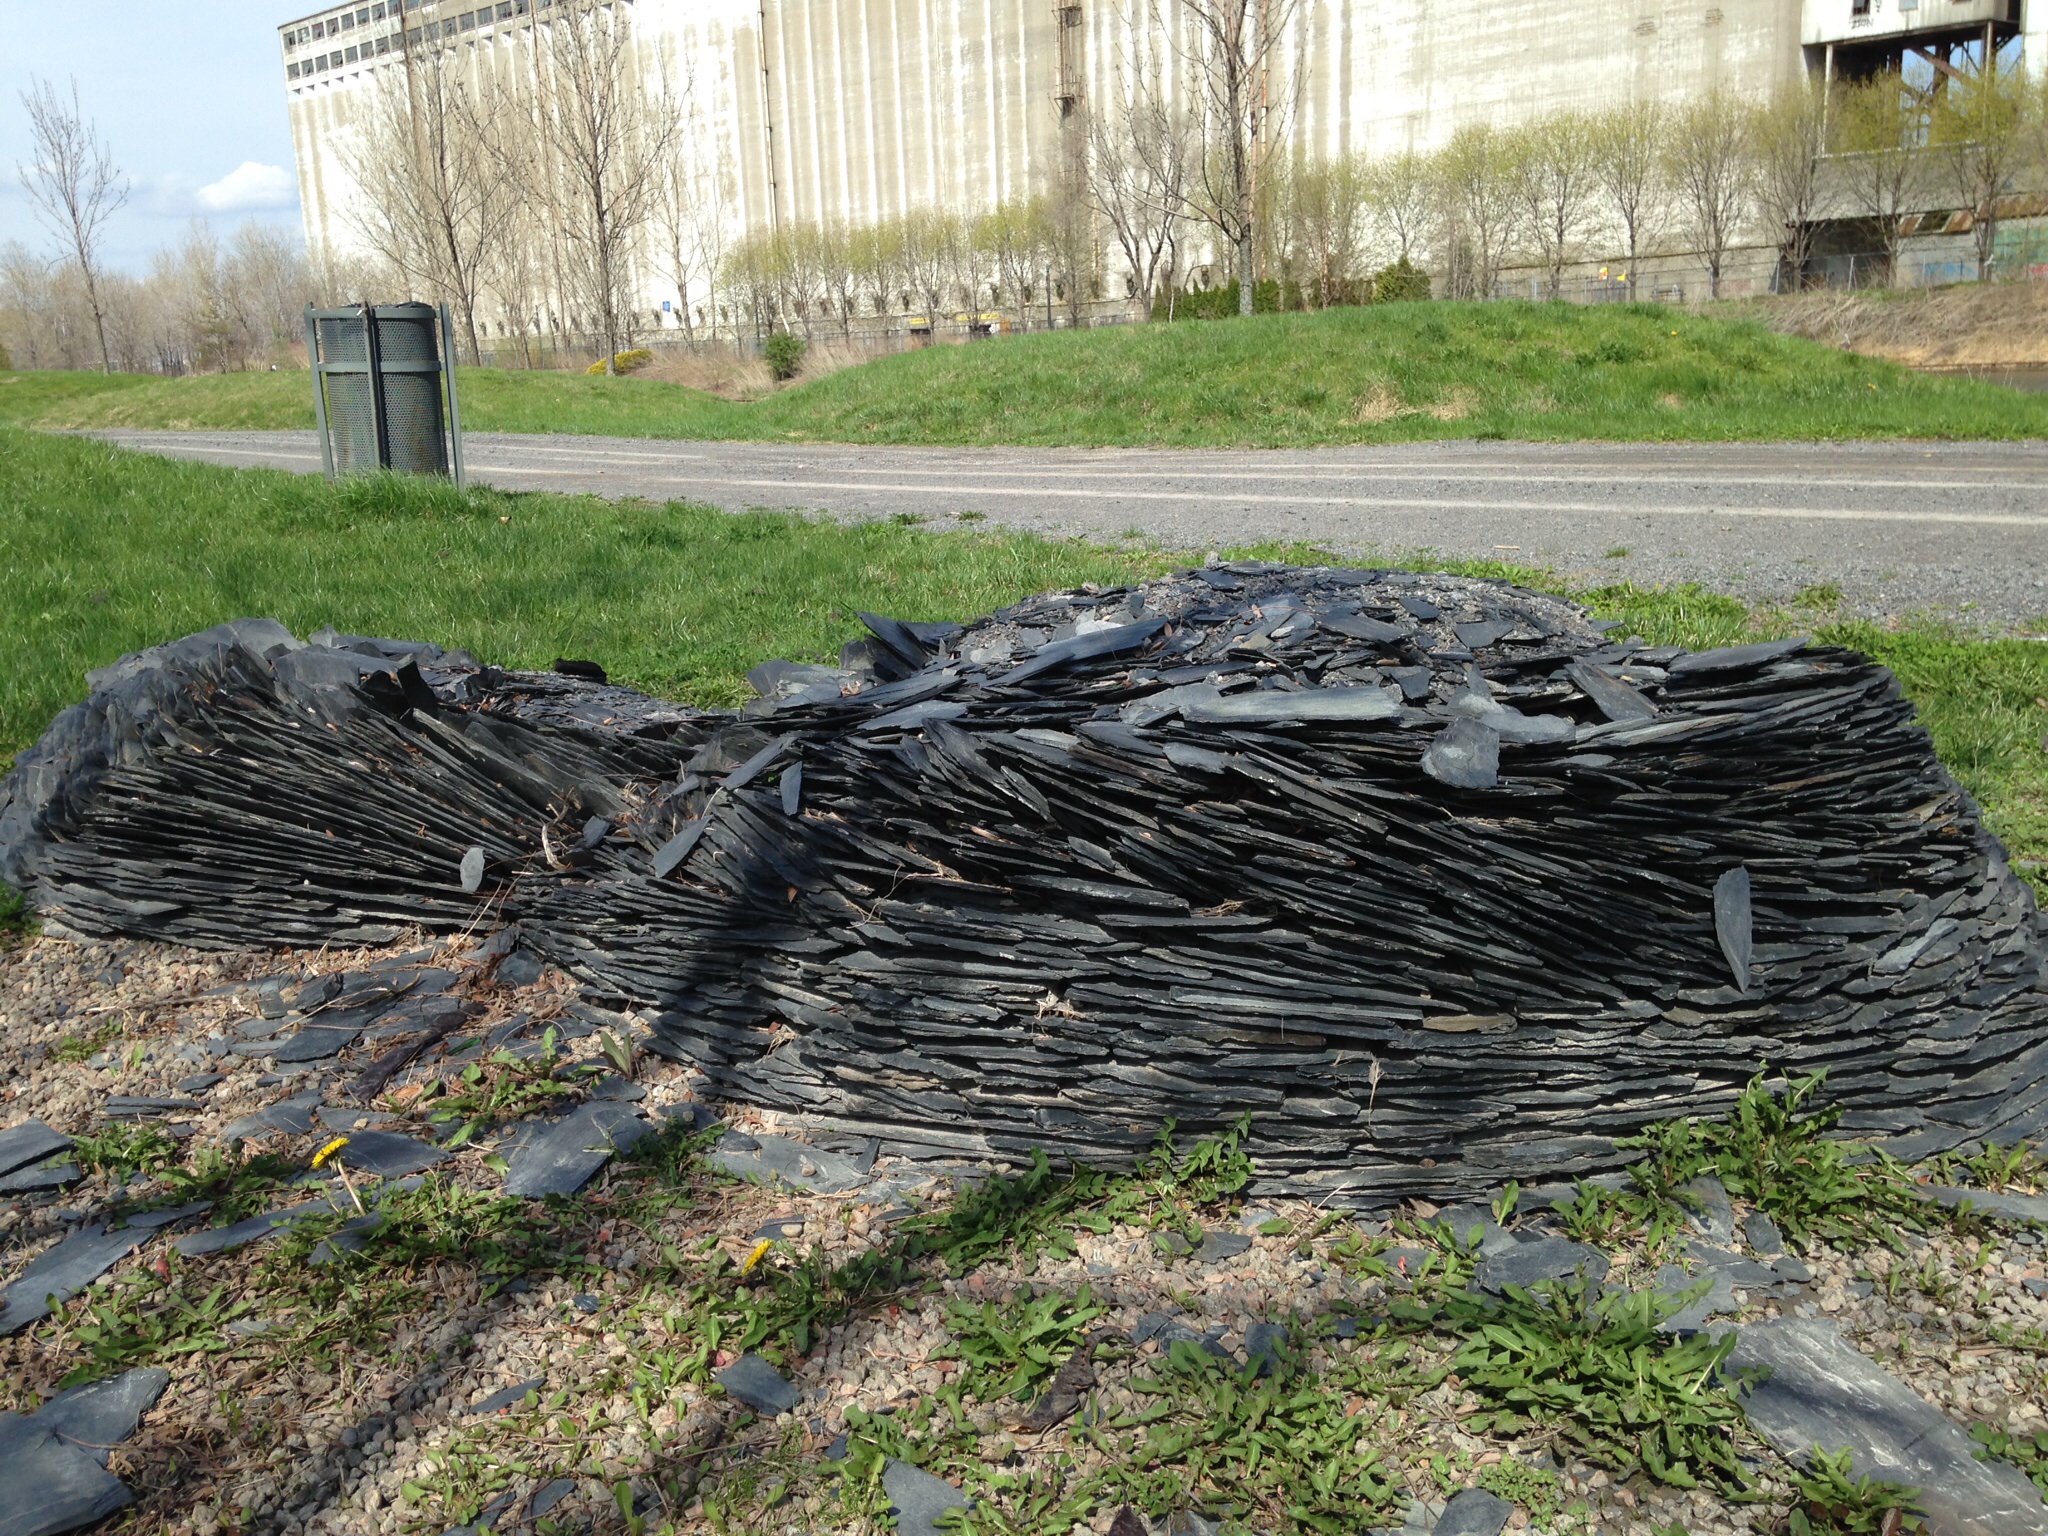
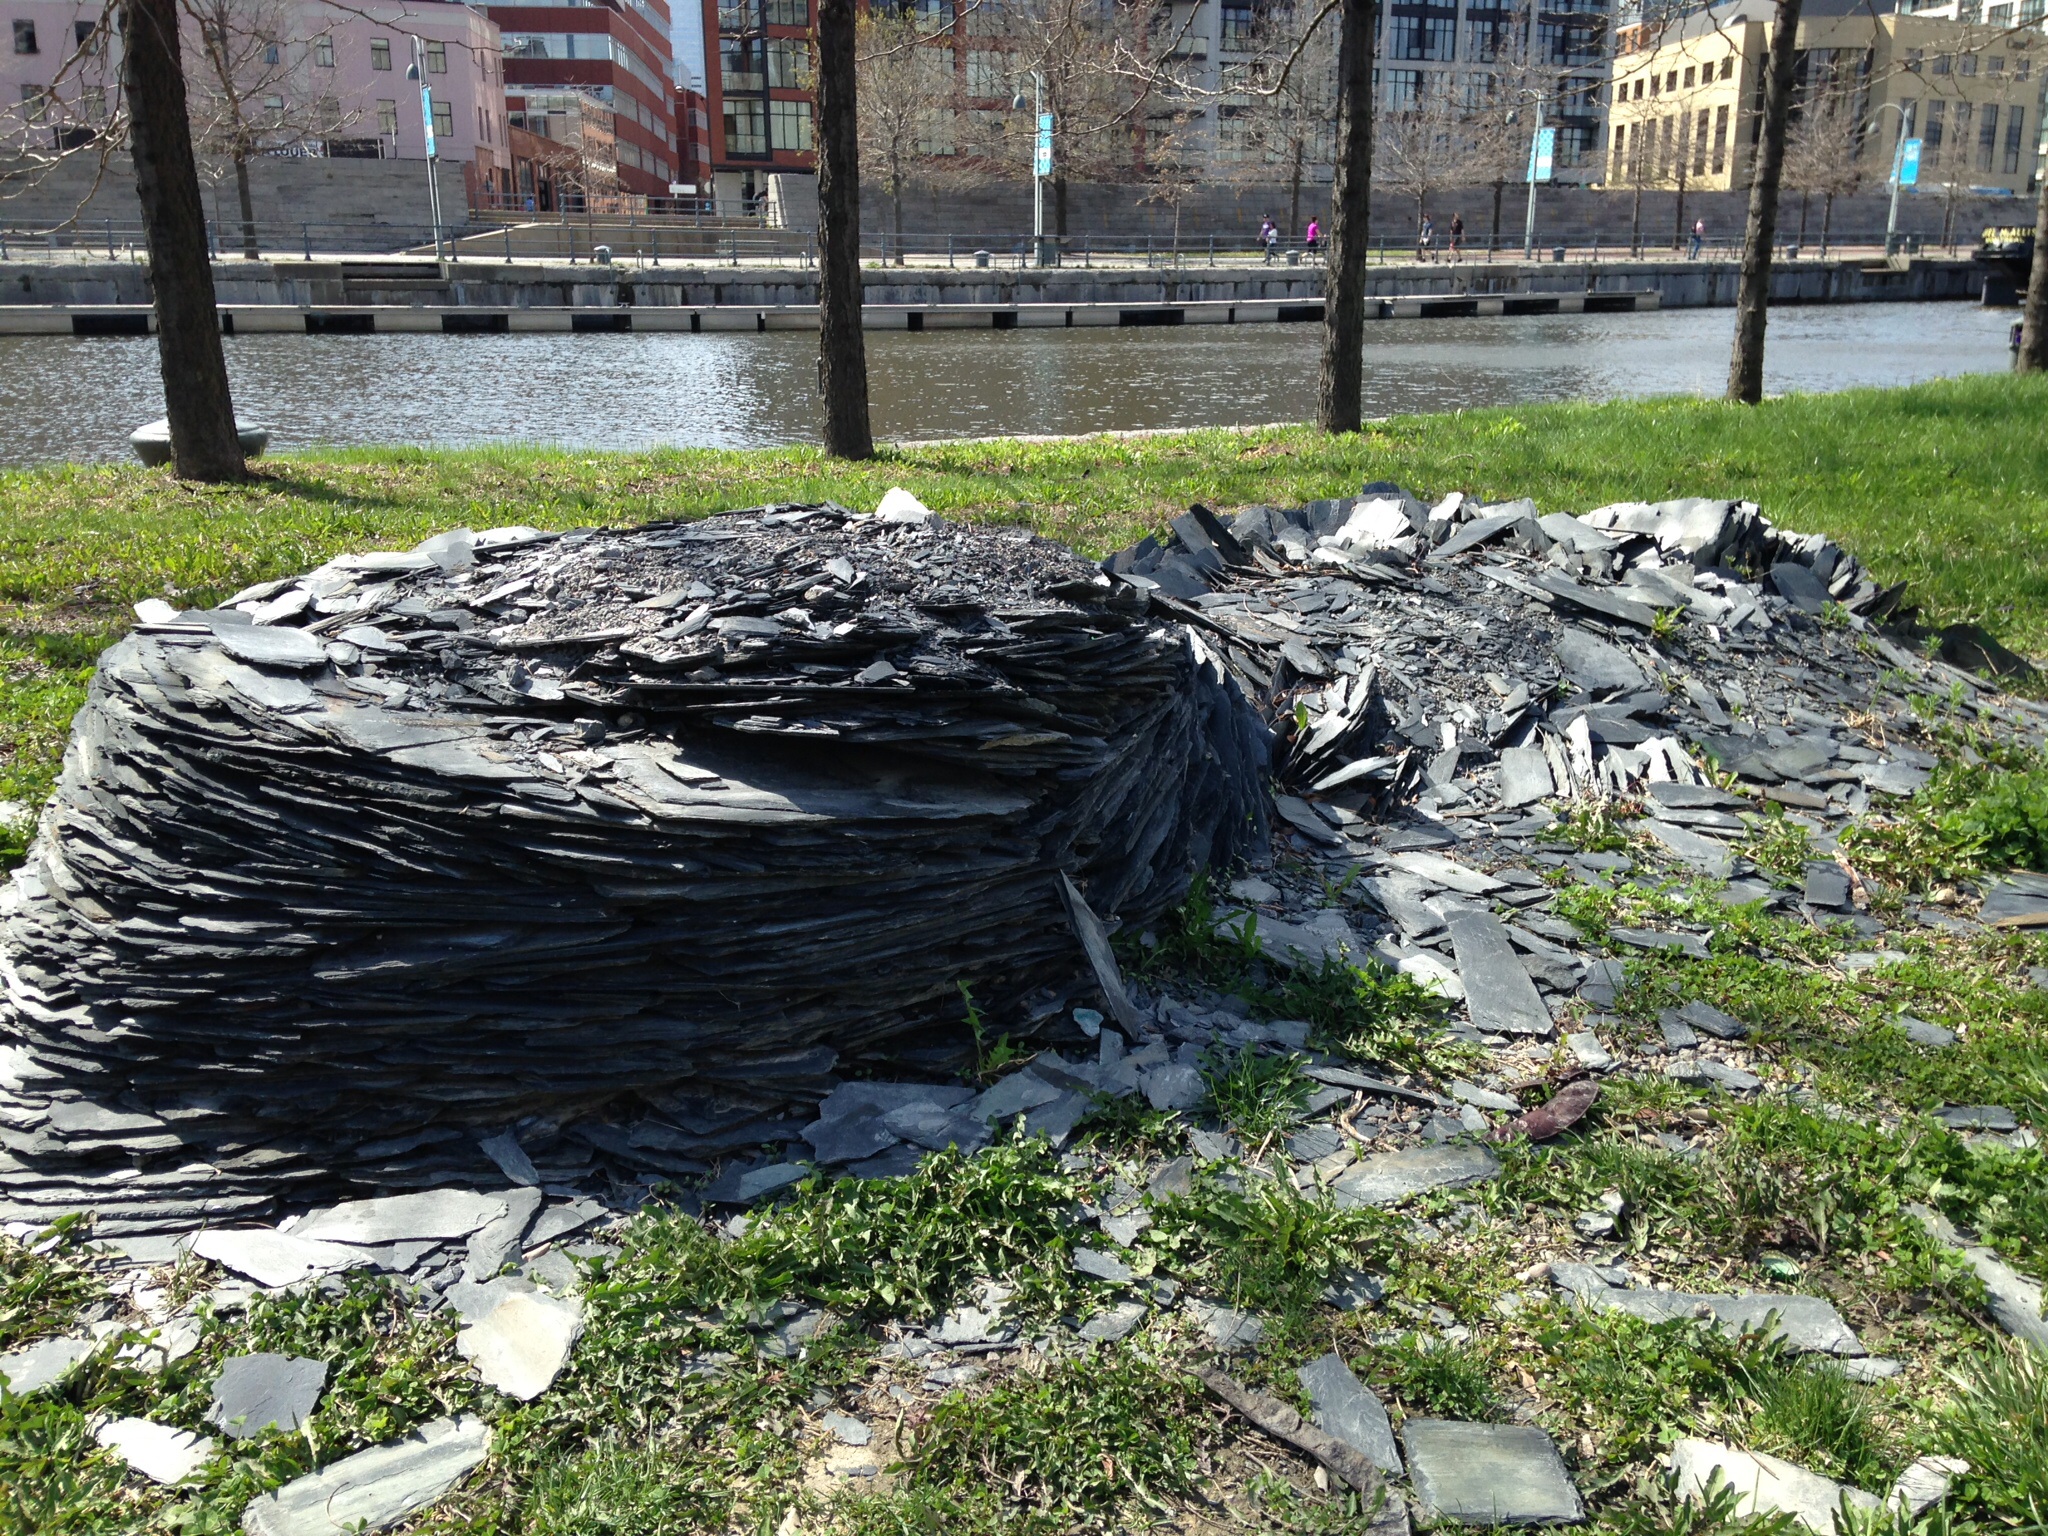
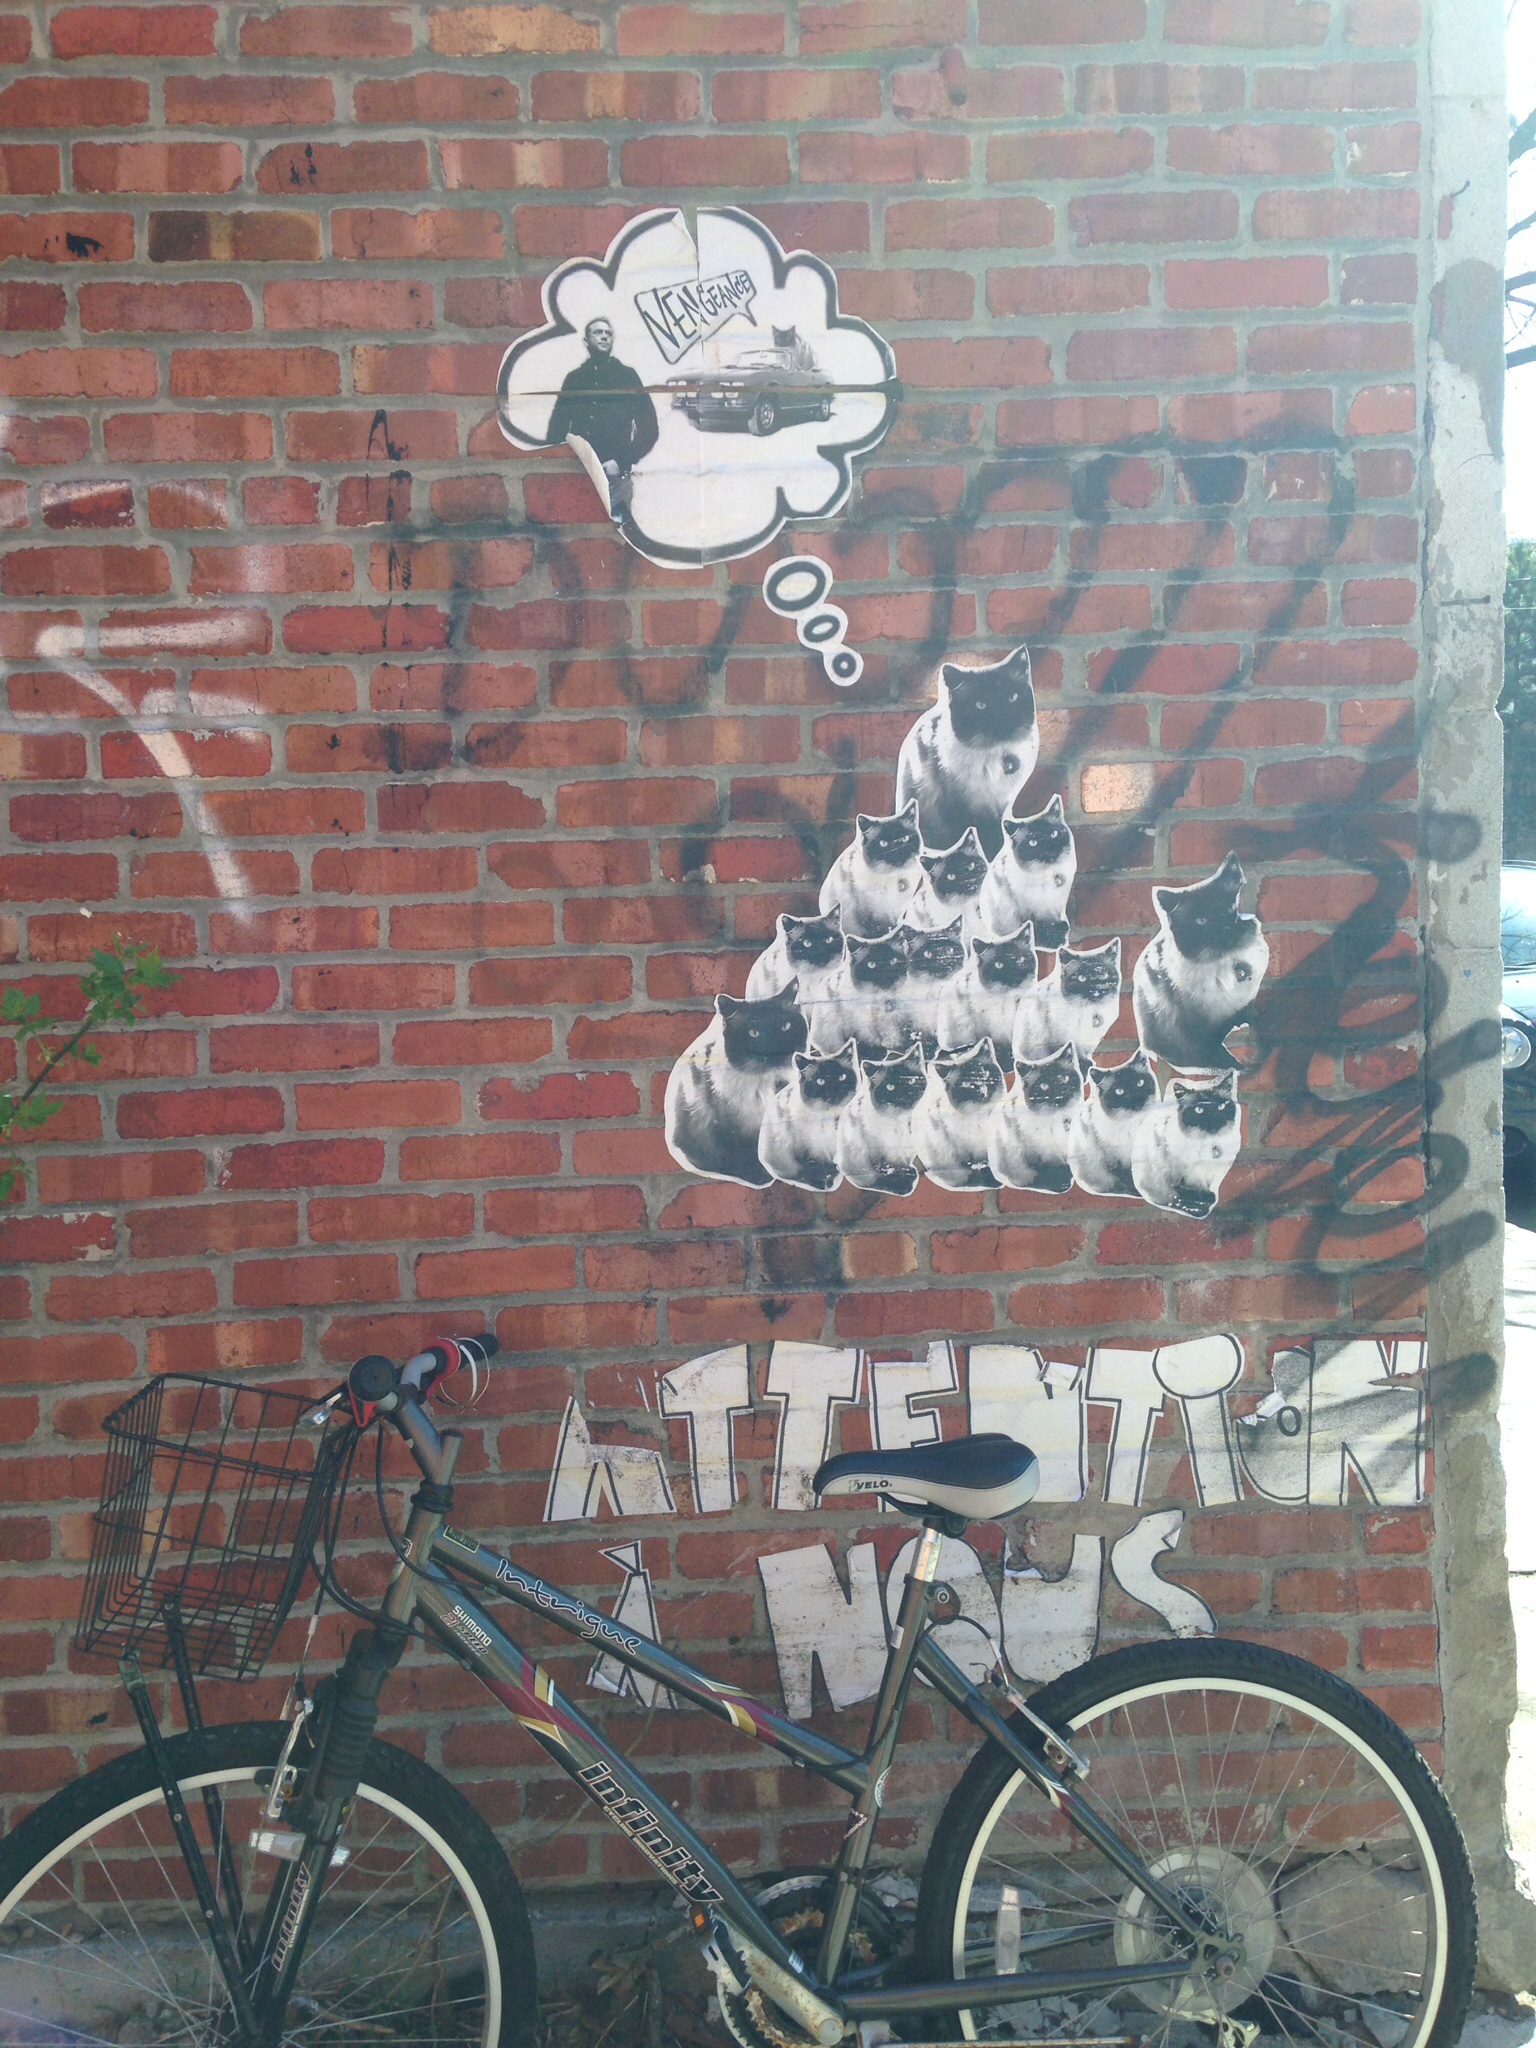
The next day we headed for old Montreal and soaked in the history. Walked along the canal where all kinds of new construction is happening . It reminded us of what is happening to Brooklyn back home. We even got Jason’s mum on a bike! After a very valiant effort, we let her off the hook and we walked for rest of our journey. Which included finding an oasis beer garden/indoor beach volleyball club. It was nice to sit relax some more and watch a little bit of sport. We finally made it to our destination the Atwater open market. Unfortunately we were a little late and only managed to procure some fromage, crackers and olives for our efforts. But all was not lost. That just made dinner all the better! We ended up at Cafe Cherrier, not your typical cafe. I had pistachio encrusted salmon, Jason had steak and his mum had veal ravioli. Amazing! So far Montreal is winning in all categories, architecture, historic sights, weather and food!
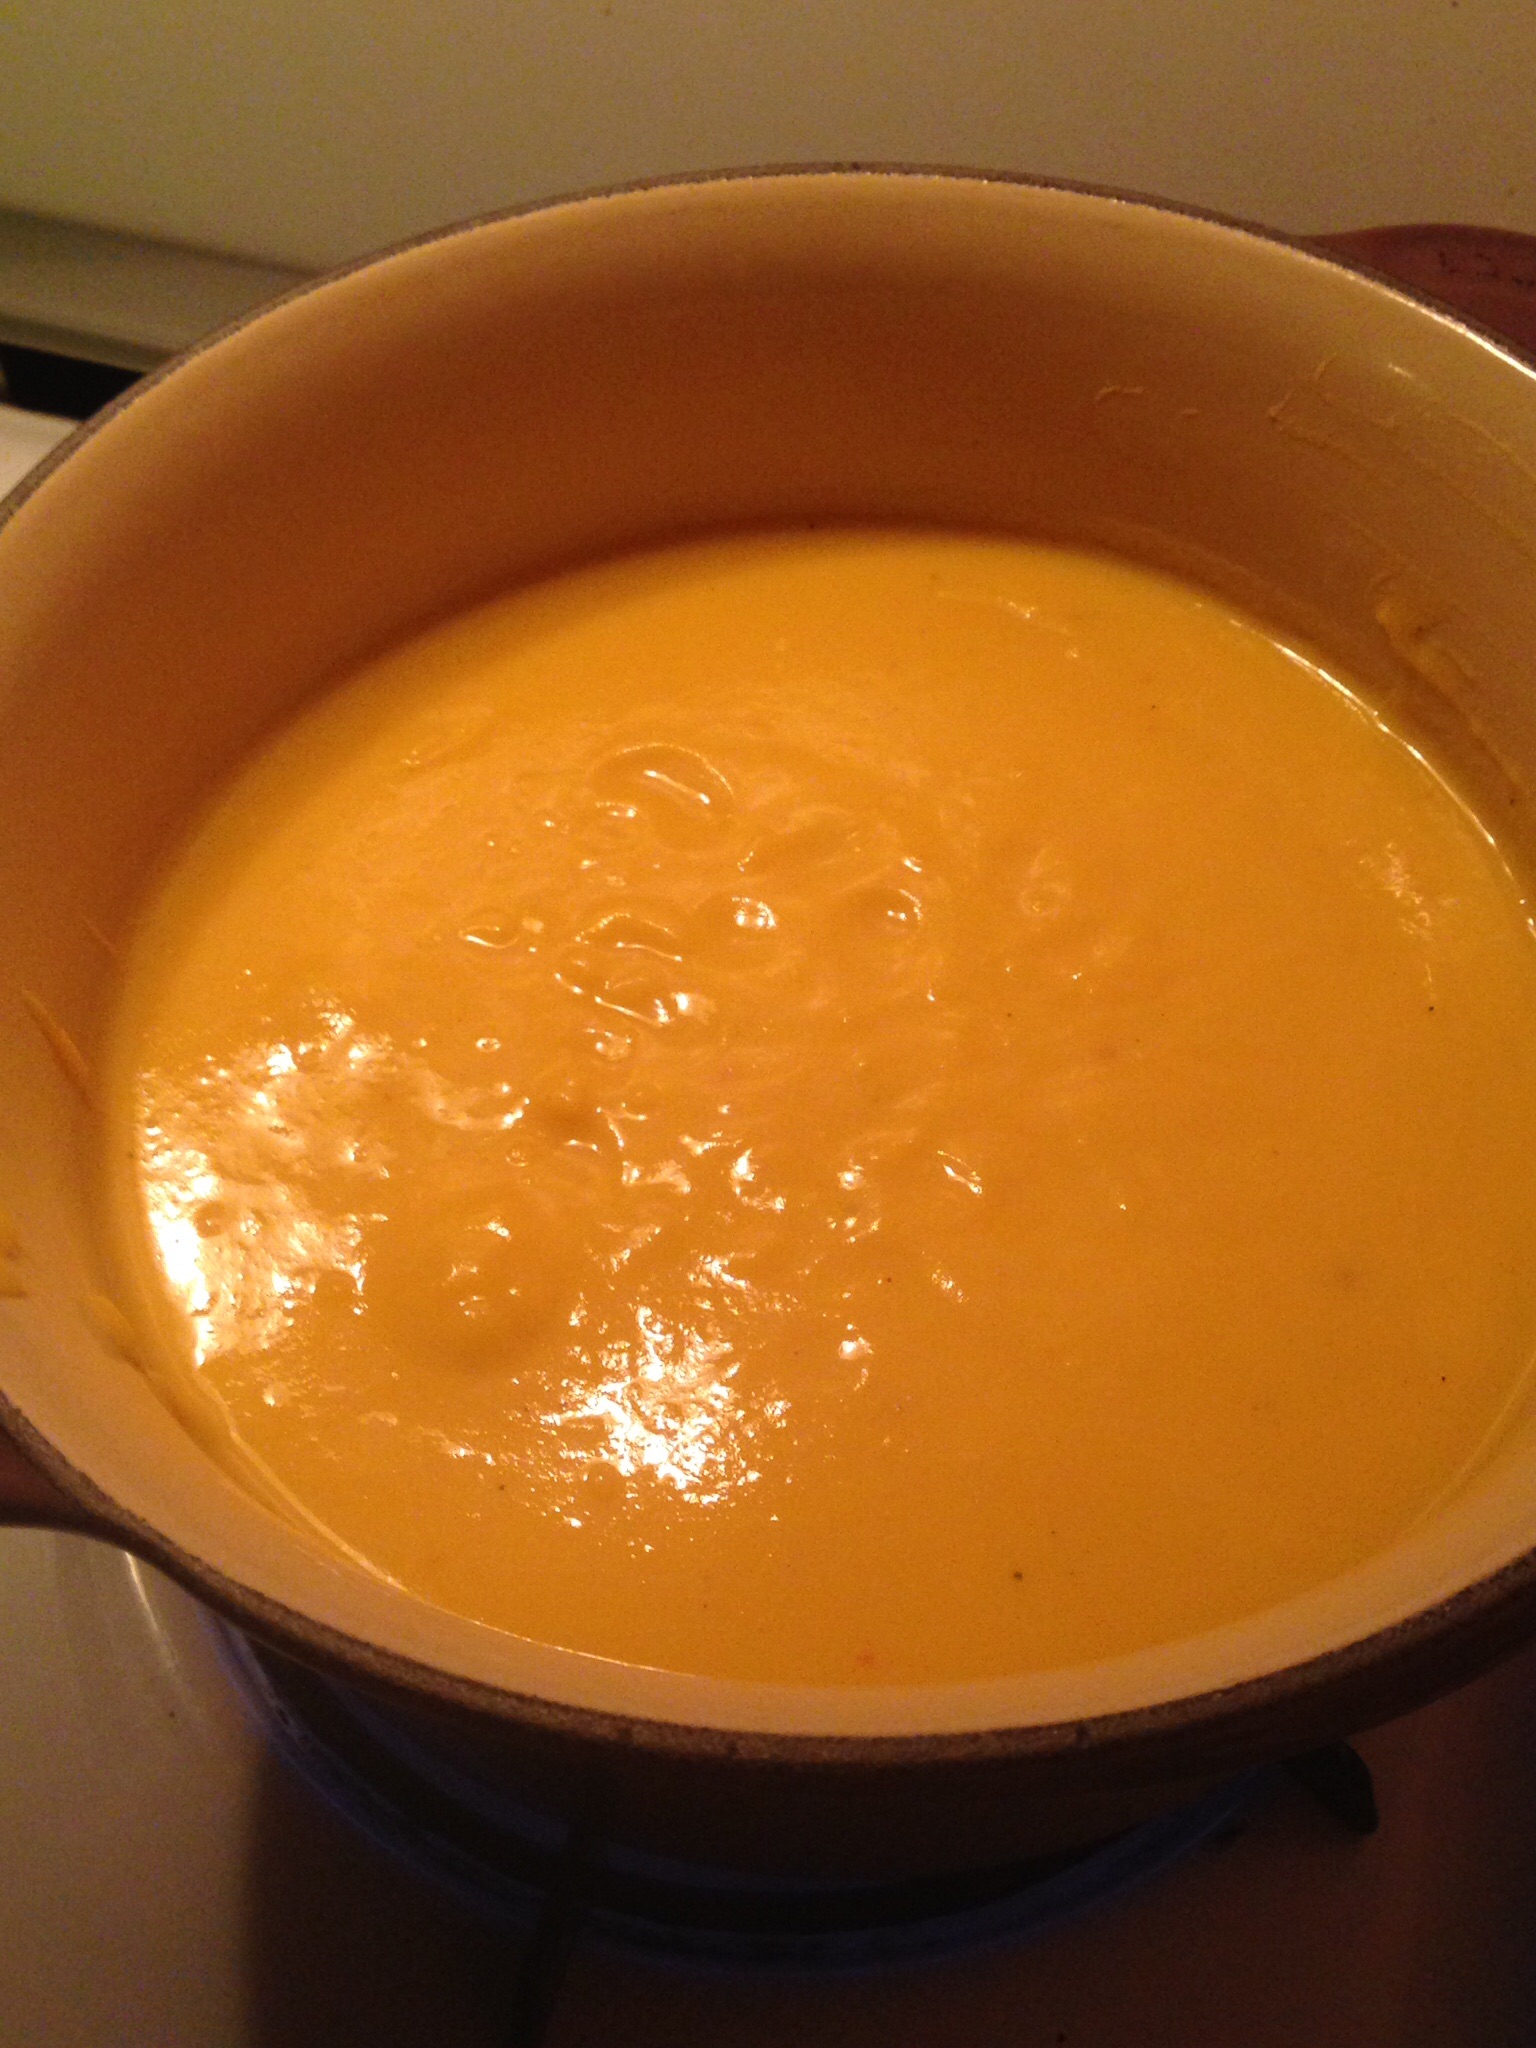
The next day was Mothers Day and Jason planned a nice dinner, but we changed our minds and made it a brunch date instead. We were so glad we did. Le Pegase did not disappoint. They had a special pre fix menu for Mother’s Day brunch and luckily for us we had three choices for the appetizers and main course. So we all got to try a little of everyone’s meal. To say it was amazing is an understatement. We left floating on air with very satisfied full bellies.
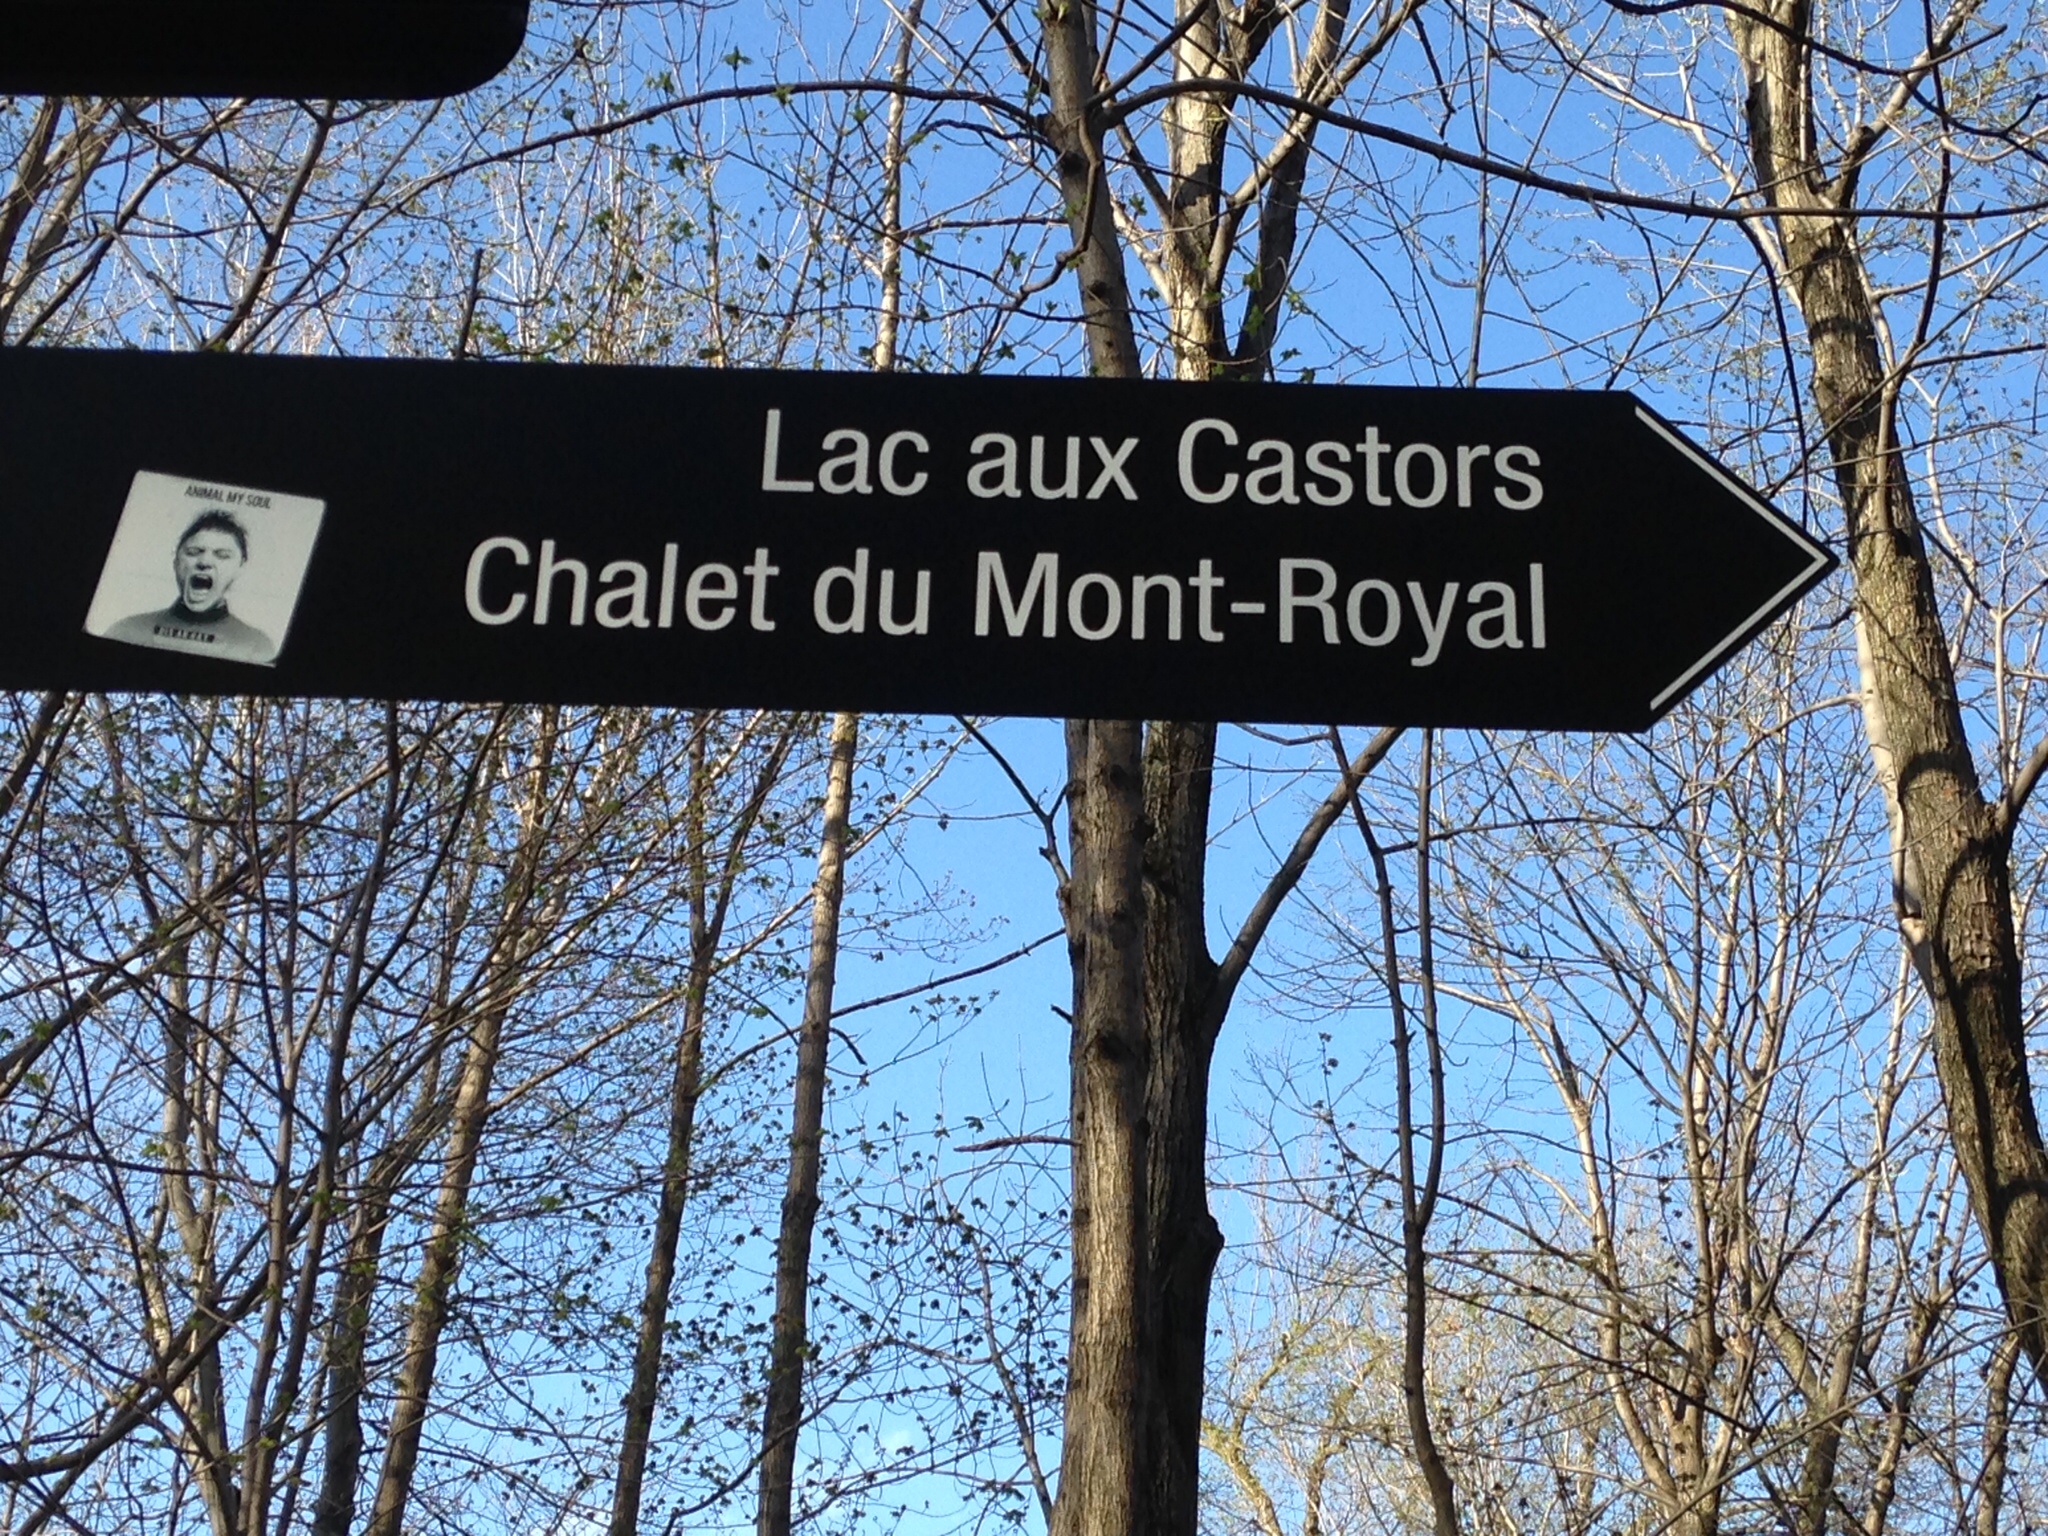
After our heavenly experience we wandered around and made our way to Mount Royal to see the tam tams, aka, a drum circle. Also to climb to the top and see the view of the city. It was another beautiful day and everyone was out just lapping up the sun and music. After a little rest we headed to our final destination, the top of Mount Royal. We lazed around on the lawn chairs took in the scenic view, walked over to the very large cross and then made our descent back down and to our hotel for the night.
Sadly our last day was a short one. We just took it easy, had a picnic at La Fountaine Park, played our ukuleles and soaked in the sun. We then hoped on the bus, checked ourselves through airport security and flew home. Another adventure down and many more to come!


 website like this
Recent Comments